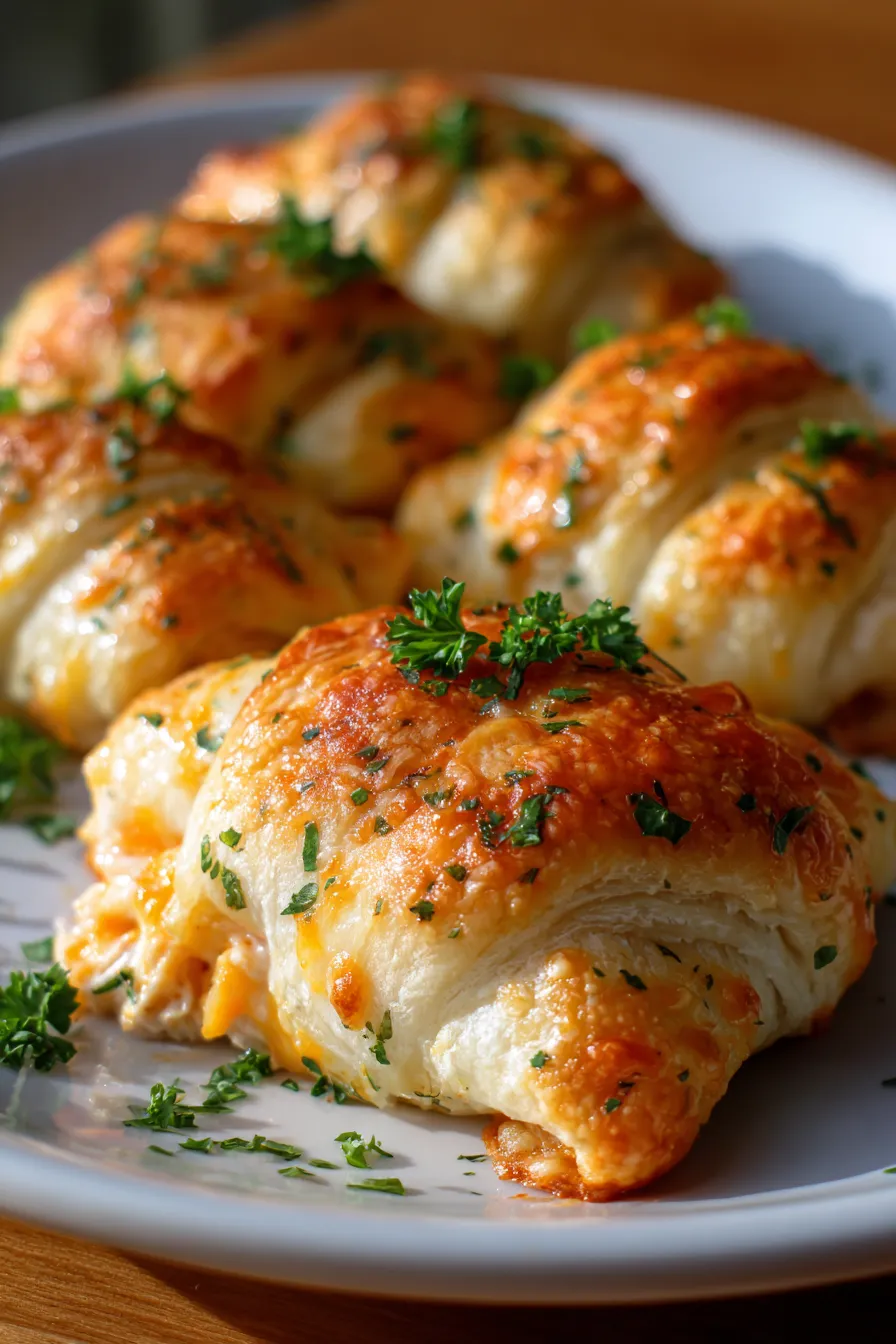
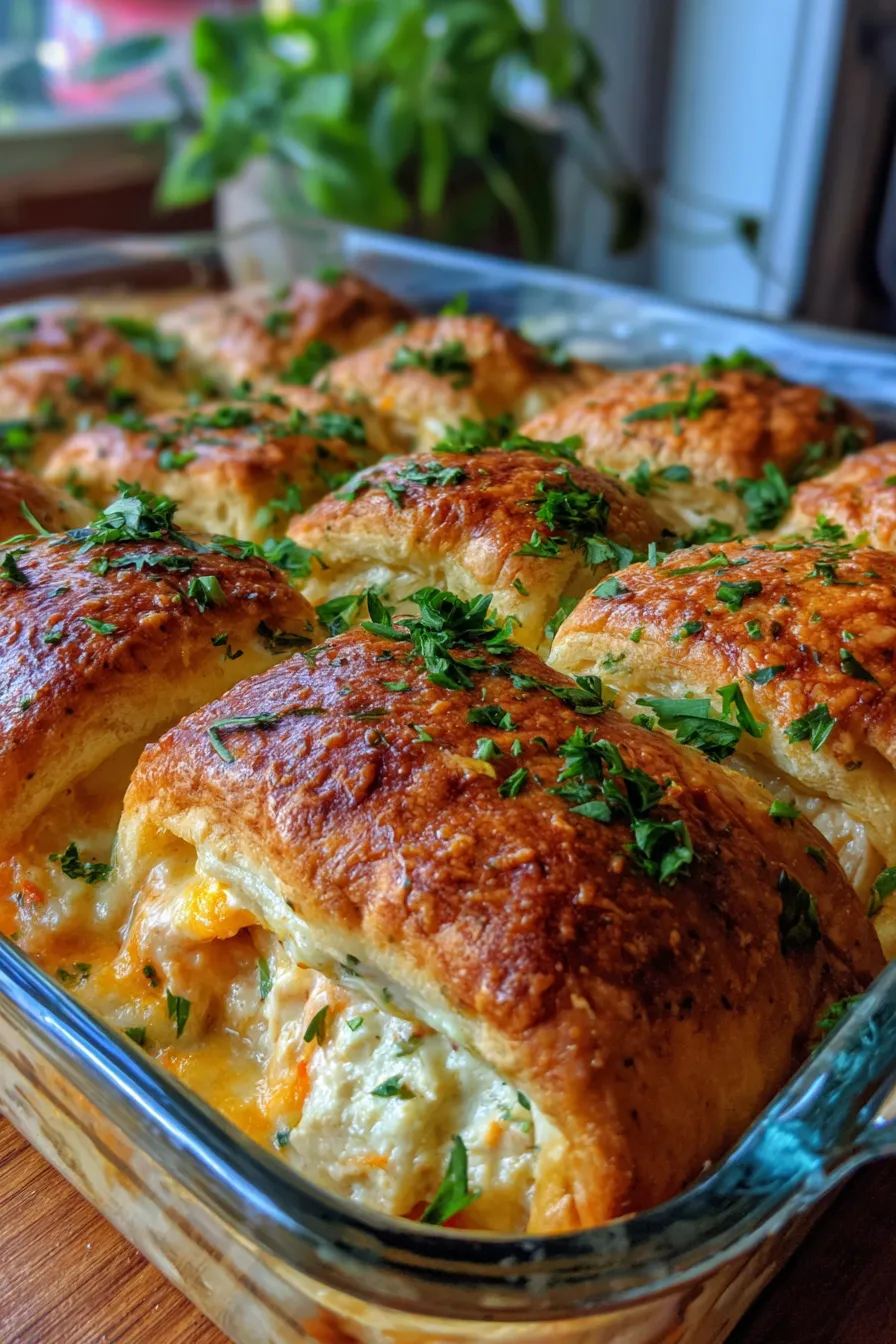
Easy Cheesy Chicken Crescent Bake: Your New Family Favorite!
There’s nothing quite like a recipe that brings back a flood of warm memories, is there? For me, this Cheesy Chicken Crescent Bake instantly transports me back to those cozy, slightly chaotic weeknights when everyone was buzzing, and I needed a truly satisfying dinner on the table, fast. It started one rainy Tuesday evening when I was staring into the fridge, utterly stumped. With hungry eyes looking my way, I decided to get creative with some leftover rotisserie chicken and a forgotten tube of crescent rolls. What emerged from the oven was a golden, bubbly, utterly irresistible dish that silenced the room in the best way possible. It was an instant hit, quickly earning its spot as a `family favorite` and a go-to `easy dinner` solution.
Since that serendipitous evening, this Cheesy Chicken Crescent Bake has been a regular star in our rotation. It’s the kind of `comfort food` that wraps you in a warm hug after a long day, simple enough for beginners but packed with flavor that even the most discerning palates will appreciate. Whether it’s a quick `weeknight meal` or a dish for a casual gathering, this recipe is a testament to how humble ingredients can create something truly spectacular. I’ve tested and tweaked it over the years, and I can confidently say this version is pure perfection – reliable, delicious, and utterly foolproof. Get ready to add this one to your keeper file!
Why You’ll Love This Recipe
❤️ Here are just a few reasons why this Cheesy Chicken Crescent Bake is about to become your new kitchen MVP:
- Effortless Preparation: Seriously, this recipe is a breeze! With pre-cooked chicken, you’re looking at minimal prep time, making it ideal for those hectic evenings when you need a delicious meal on the table without a fuss.
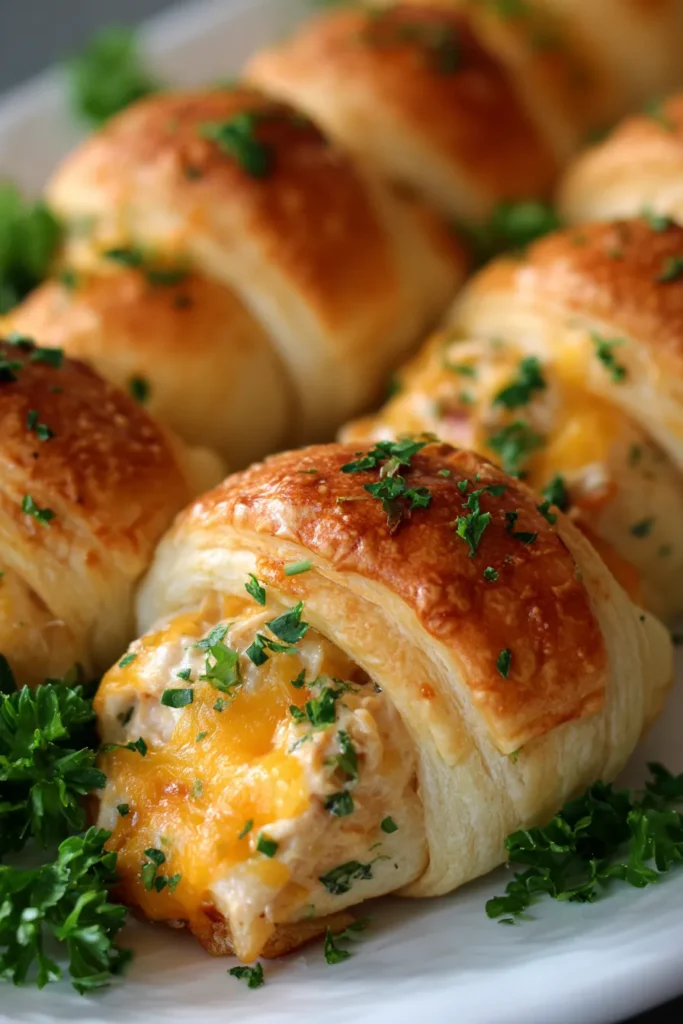
- Unbeatable Flavor Combo: The creamy, savory chicken filling nestled inside warm, flaky crescent rolls, all topped with a generous layer of bubbly, melted cheese? It’s a symphony of textures and tastes that’s utterly addicting and deeply satisfying.
- Family-Friendly Favorite: This dish is a proven winner with kids and adults alike. There’s something universally appealing about cheesy, flaky goodness, ensuring clean plates and happy smiles all around the table. No picky eaters here!
- Customizable & Versatile: Easily adapt this recipe to suit your family’s preferences or whatever you have on hand. Add veggies, swap cheeses, or change up the seasonings – the possibilities are endless for creating your own signature bake.
- Ultimate Comfort Food: On a chilly evening or after a long day, this crescent bake delivers warmth and coziness in every single bite. It’s the kind of dish that truly nourishes the soul and leaves everyone feeling content.
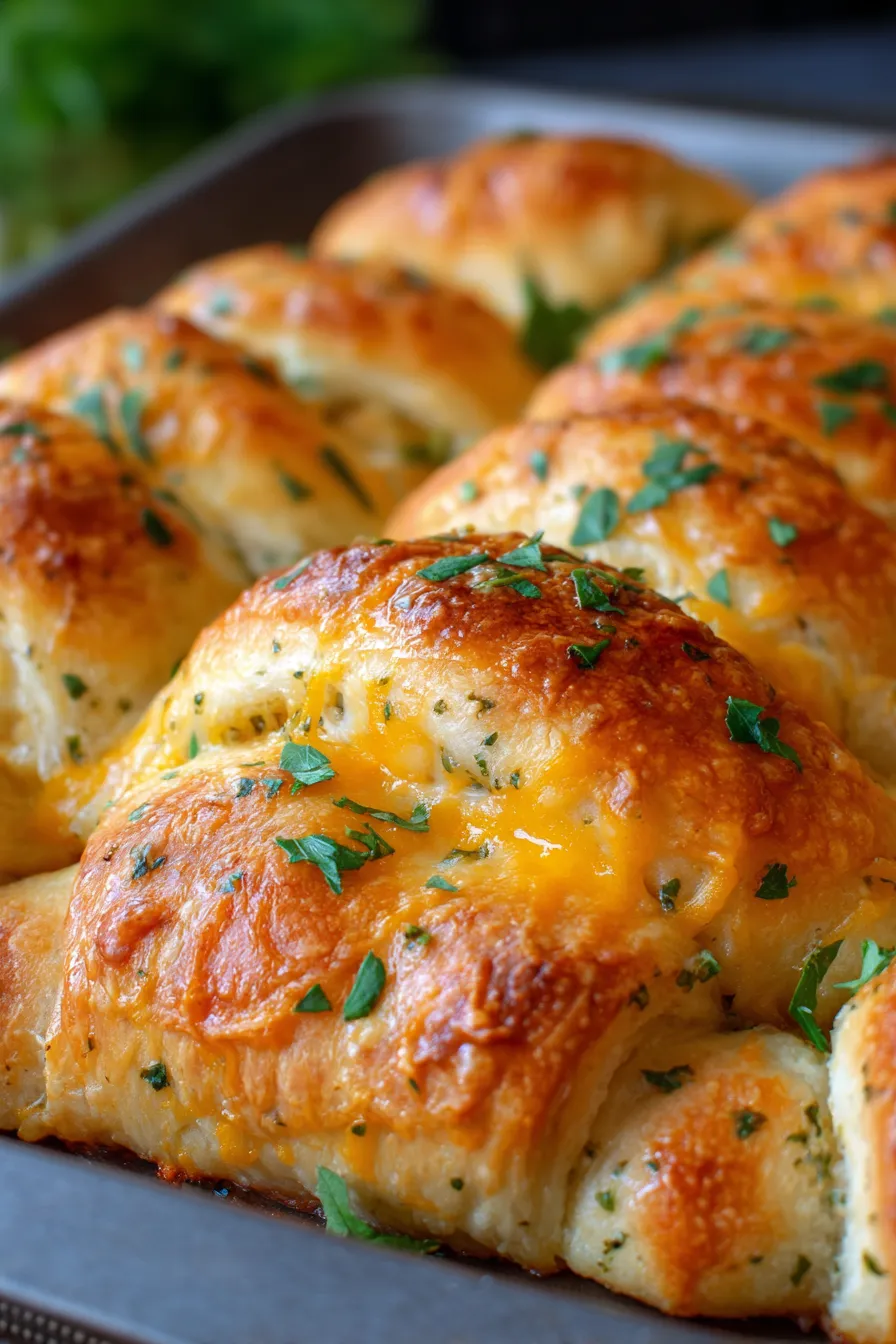
- Impressive Presentation: Despite its simplicity, this bake looks absolutely stunning when it comes out of the oven. The golden-brown rolls and bubbling cheese make for a picture-perfect meal that looks like you spent hours in the kitchen (your secret’s safe with me!).
- Perfect for Leftovers: If there are any leftovers (which is a big if!), they reheat beautifully, making for delicious lunches the next day. It’s a gift that keeps on giving!
What You Need
You only need a few simple pantry staples for this recipe! Most of these ingredients are likely already lurking in your fridge or pantry, making it a perfect last-minute meal solution. We’re talking about incredibly accessible items that combine to create something truly magical. Check the full printable recipe card below for detailed measurements and a complete list.
Expert Tips
💡 Master your Cheesy Chicken Crescent Bake with these pro tips:
- Shred Your Chicken Perfectly: For the best texture, ensure your cooked chicken is finely shredded. You can use a stand mixer with a paddle attachment on low speed for about 30 seconds for super quick shredding, or simply use two forks. This helps the filling stay cohesive and distribute evenly.
- Soften Your Cream Cheese: Always use softened cream cheese for the filling. This makes it incredibly easy to mix and ensures a smooth, lump-free consistency. Forgot to take it out? A quick 15-20 seconds in the microwave usually does the trick!
- Don’t Overfill the Crescents: While it’s tempting to load them up, resist the urge to overfill each crescent roll triangle. Too much filling can make them difficult to roll and prone to bursting during baking. About 2-3 tablespoons per triangle is usually perfect.
- Seal Those Edges: After rolling, gently press the edges of the crescent rolls to seal them, especially on the sides. This helps prevent any cheesy goodness from oozing out during baking, keeping your filling perfectly contained.
- Pre-bake for Extra Crispness: For an even crispier bottom crust, you can partially bake the crescent rolls for about 5-7 minutes *before* adding the filling and cheese. This creates a barrier against any moisture from the filling.
- Cheese Choice Matters: While cheddar is classic, feel free to experiment! Monterey Jack, Colby, or a Mexican blend would all be delicious. Freshly shredded cheese melts much more smoothly than pre-shredded varieties, which often contain anti-caking agents.
- The Golden-Brown Indicator: Keep a close eye on your oven! The bake is perfectly done when the crescent rolls are deeply golden brown and the cheese is bubbly and slightly caramelized at the edges. Don’t pull it out too soon, or the rolls might be doughy.
- Rest Before Serving: Allow the Cheesy Chicken Crescent Bake to rest for 5-10 minutes after pulling it from the oven. This allows the filling to set slightly, making it easier to slice and serve without everything falling apart, and prevents scorching hot cheese.
- Serve with a Side: This rich bake pairs wonderfully with a fresh, crisp green salad tossed in a light vinaigrette or some steamed green beans to balance out the richness.
Variations & Substitutions
One of the best things about this recipe is how incredibly adaptable it is! Don’t be afraid to make it your own.
- Vegetable Boost: Fold in finely diced cooked broccoli, spinach (squeezed dry!), bell peppers, or corn into the chicken filling for added nutrients and color.
- Protein Swap: Not a chicken fan? Cooked turkey (perfect for Thanksgiving leftovers!), ham, or even a can of drained tuna could work in a pinch.
- Spice It Up: Add a pinch of cayenne pepper, a dash of hot sauce, or some diced jalapeños to the filling for a spicy kick. Cajun seasoning or a sprinkle of smoked paprika would also be fantastic.
- Cheese Please! While cheddar is king, feel free to mix it up. Try a Monterey Jack, Colby, pepper jack for a little heat, or even some Parmesan mixed into the filling.
- Herb Garden Fresh: Incorporate fresh herbs like chopped chives, dill, or parsley into your chicken mixture for a burst of fresh flavor.
- Cream of Soup Shortcut: For an even creamier, richer filling, some folks like to add a small amount of condensed cream of chicken or mushroom soup (about 1/4 cup) to the mixture.
- Gluten-Free Option: Look for gluten-free crescent roll dough if you need to adapt this recipe for dietary restrictions. The filling itself is naturally gluten-free (ensure seasonings are GF).
- Low-Carb Twist: While the crescent rolls are key, for a lower-carb option, you could use fathead dough or even serve the cheesy chicken mixture stuffed into bell peppers or zucchini boats and bake until bubbly.
Storage & Freezing
Want to enjoy this cheesy goodness even longer? Here’s how to store and freeze your Cheesy Chicken Crescent Bake:
- Storing Leftovers: Allow any leftover crescent bake to cool completely. Transfer it to an airtight container and store it in the refrigerator for up to 3-4 days.
- Reheating: For best results, reheat individual portions in the microwave until warm, or in a toaster oven or conventional oven at 350°F (175°C) for 10-15 minutes, or until heated through and crispy. Covering it lightly with foil can prevent over-browning.
- Freezing Instructions: This dish freezes remarkably well!
- To Freeze Unbaked: Assemble the crescent bake as directed, but do not bake. Place the assembled crescents on a baking sheet and freeze until solid. Once frozen, transfer them to a freezer-safe airtight container or heavy-duty freezer bag for up to 2-3 months. When ready to bake, thaw overnight in the refrigerator and then bake as directed, or bake from frozen, adding extra baking time (around 10-15 minutes).
- To Freeze Baked: Allow the baked crescent bake to cool completely. You can freeze it whole or slice it into individual portions. Wrap tightly in plastic wrap, then in aluminum foil, or place in a freezer-safe container. Freeze for up to 2-3 months. Thaw in the refrigerator overnight and reheat as described above.
FAQ
Q: Can I use pre-cooked chicken from a rotisserie chicken?
A: Absolutely! Using a store-bought rotisserie chicken is one of my favorite shortcuts for this recipe. It saves so much time and adds incredible flavor. Just shred the chicken and you’re good to go!
Q: What if I don’t have crescent rolls? Can I use puff pastry?
A: While crescent rolls give this dish its signature flaky texture, puff pastry can be a good substitute in a pinch. Roll it out, cut it into triangles or squares, and proceed with the filling. The baking time might vary slightly, so keep an eye on it.
Q: Can I make the filling ahead of time?
A: Yes, you certainly can! Prepare the chicken and cream cheese mixture, cover it tightly, and store it in the refrigerator for up to 2 days. When you’re ready to assemble, just give it a good stir before spreading it onto the crescent rolls.
Q: How do I prevent the crescent rolls from getting soggy on the bottom?
A: To combat sogginess, make sure your chicken filling isn’t too wet. You can also lightly brush the baking sheet with butter or spray it with non-stick spray, and ensure your oven is preheated to the correct temperature for quick baking. Using a perforated baking sheet can also help promote air circulation.
There you have it! This Cheesy Chicken Crescent Bake is more than just a recipe; it’s a ticket to a stress-free, delicious dinner that will have everyone asking for seconds. Don’t forget to Pin this recipe for later so you can easily whip it up whenever that comfort food craving strikes. Happy cooking, friends!
Easy Cheesy Chicken Crescent Bake: Your New Family Favorite!
Ingredients
- 2 cups shredded cooked chicken
- 8 oz cream cheese, softened
- 1/2 cup shredded cheddar cheese (plus more for topping)
- 1/4 cup sour cream (optional, for extra creaminess)
- 1 tsp garlic powder
- 1/2 tsp onion powder
- 1/4 tsp black pepper
- 1/4 cup chopped fresh chives or parsley (optional)
- 2 (8-count) cans refrigerated crescent roll dough
- 2 tbsp melted butter
Instructions
- Step 1 Preheat your oven to 375°F (190°C). Lightly grease a 9x13 inch baking dish.
- Step 2 In a large bowl, combine the shredded chicken, softened cream cheese, 1/2 cup cheddar cheese, sour cream (if using), garlic powder, onion powder, pepper, and chives/parsley (if using). Mix until well combined and creamy.
- Step 3 Unroll each can of crescent roll dough. Separate the dough into 8 triangles. You can leave them as triangles or lightly press two triangles together to form a rectangle for a larger pocket (this yields 8 larger bakes instead of 16 smaller ones).
- Step 4 Spoon about 2-3 tablespoons of the chicken mixture onto the wider end of each crescent triangle.
- Step 5 Starting from the wide end, carefully roll up each crescent roll, tucking in the sides as you go, to fully enclose the filling.
- Step 6 Place the rolled crescents seam-side down in the prepared baking dish. You may arrange them in rows or in a circular pattern, ensuring they fit snugly.
- Step 7 Brush the tops of the crescent rolls with melted butter. Sprinkle generously with additional shredded cheddar cheese.
- Step 8 Bake for 20-25 minutes, or until the crescent rolls are golden brown and puffed up, and the cheese is bubbly and melted.
- Step 9 Remove from the oven and let rest for 5-10 minutes before serving. This allows the filling to set slightly. Serve warm and enjoy!