Best Ever Classic New York Cheesecake (Ultra Creamy) Recipe
My earliest memory of true dessert magic involves a slice of New York Cheesecake. It was a drizzly Sunday afternoon, and my Aunt Clara, a baker of legendary status in our family, brought out her masterpiece. The first bite of that unbelievably smooth, rich, and utterly creamy cheesecake was a revelation. It wasn’t just dessert; it was pure comfort, a warm hug on a plate that lingered long after the last crumb was gone. That moment sparked my lifelong love affair with baking, and ever since, I’ve been on a quest to perfect that iconic taste.
Years of tinkering, countless attempts (some delicious, some… learning experiences!), and a secret tip from a seasoned pastry chef later, I’ve finally cracked the code to what I believe is the ultimate Classic New York Cheesecake (Ultra Creamy). This isn’t just any cheesecake; it’s the cheesecake—a truly spectacular dessert recipe that promises that signature dense yet velvety texture and a perfect balance of sweet and tangy. It’s been tested countless times, becoming a steadfast family favorite for every special occasion, a true centerpiece for any gathering.
If you’ve ever felt intimidated by making cheesecake, I promise you, this tried-and-true recipe simplifies the process without compromising on that luxurious, bakery-quality finish. Get ready to bake a dessert that will earn you rave reviews and create lasting memories, just like Aunt Clara’s did for me.
Why You’ll Love This Recipe
❤️ Here’s why this Classic New York Cheesecake will become your new go-to:
- Unbelievably Creamy Texture: This recipe delivers that iconic New York-style density and richness, combined with an ethereal, melt-in-your-mouth smoothness. We achieve this through specific ingredient ratios and baking techniques that eliminate dryness and cracks, ensuring every bite is pure velvety bliss. It’s the kind of texture that makes you close your eyes in enjoyment.
- Perfect Balance of Flavor: Expect a harmonious blend of tangy cream cheese, subtle vanilla, and just the right amount of sweetness. It’s rich without being cloying, allowing the pure dairy notes to shine through. This isn’t a dessert that overwhelms; it’s one that perfectly satisfies your cravings for something truly decadent.
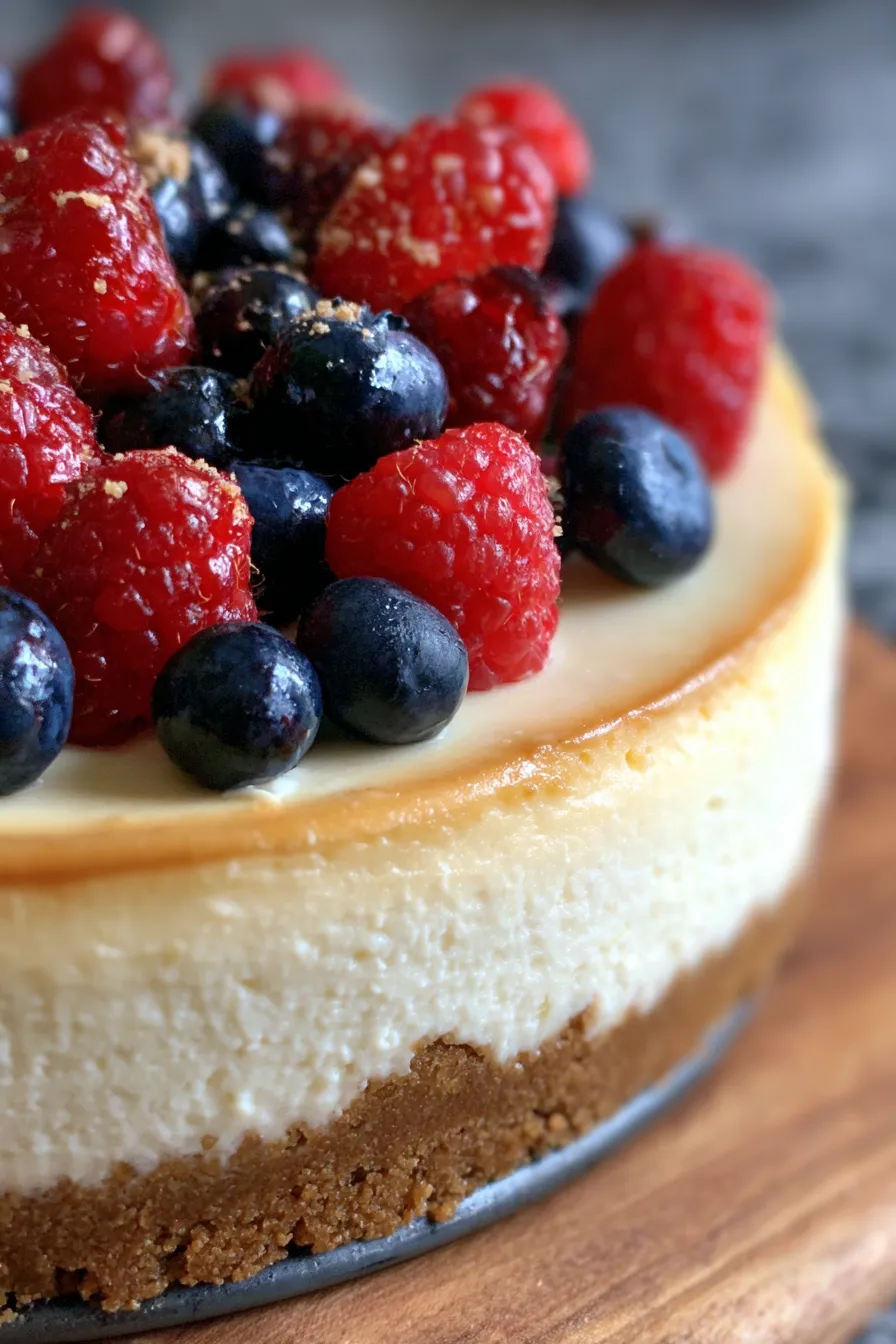
- Flawless Presentation: Say goodbye to dreaded cheesecake cracks! Our method, including a gentle water bath and proper cooling, guarantees a beautiful, pristine top every single time. Your cheesecake will emerge from the oven looking like it came straight from a gourmet patisserie, ready to impress.
- Simple Yet Sophisticated: While the results are undeniably impressive, the process itself is surprisingly straightforward. With clear instructions and our expert tips, even novice bakers can confidently tackle this recipe and achieve spectacular results. You don’t need fancy equipment, just a springform pan and a little patience.
- Make-Ahead Friendly: Cheesecake actually tastes better the day after it’s made, giving the flavors time to meld and deepen. This makes it an ideal dessert for entertaining, as you can prepare it in advance, freeing up your party day for other tasks. It’s the ultimate stress-free elegant dessert.
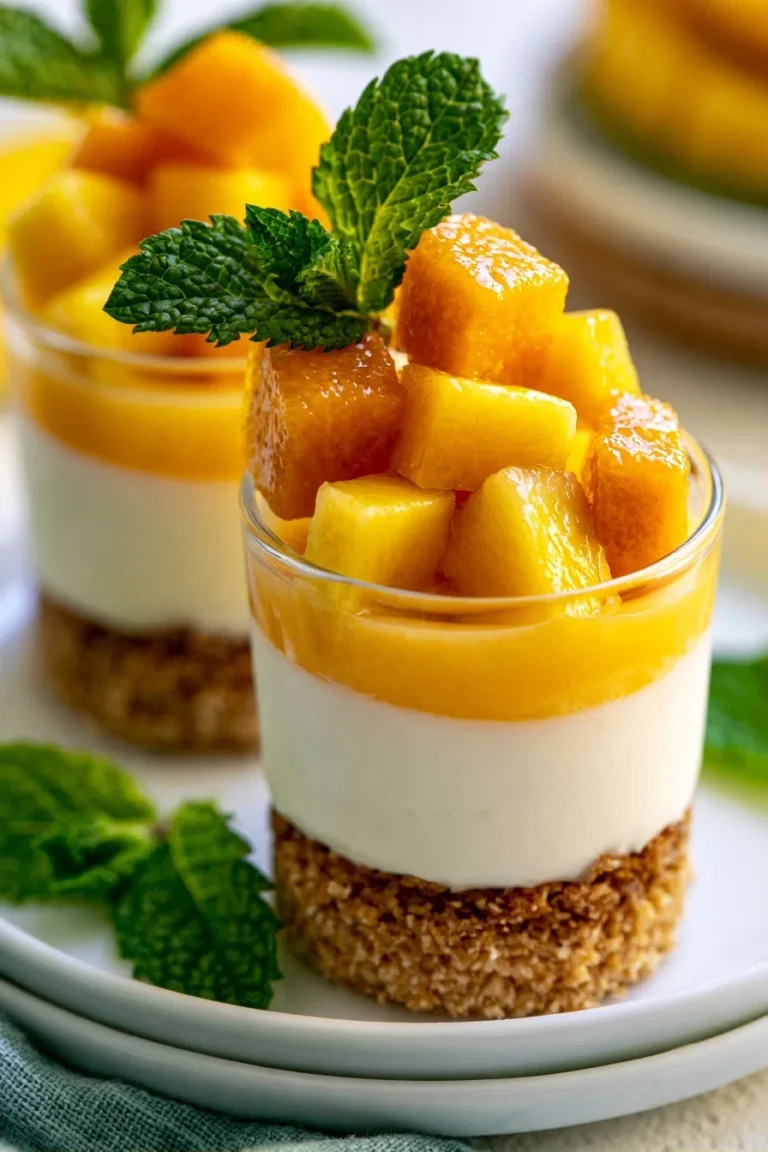
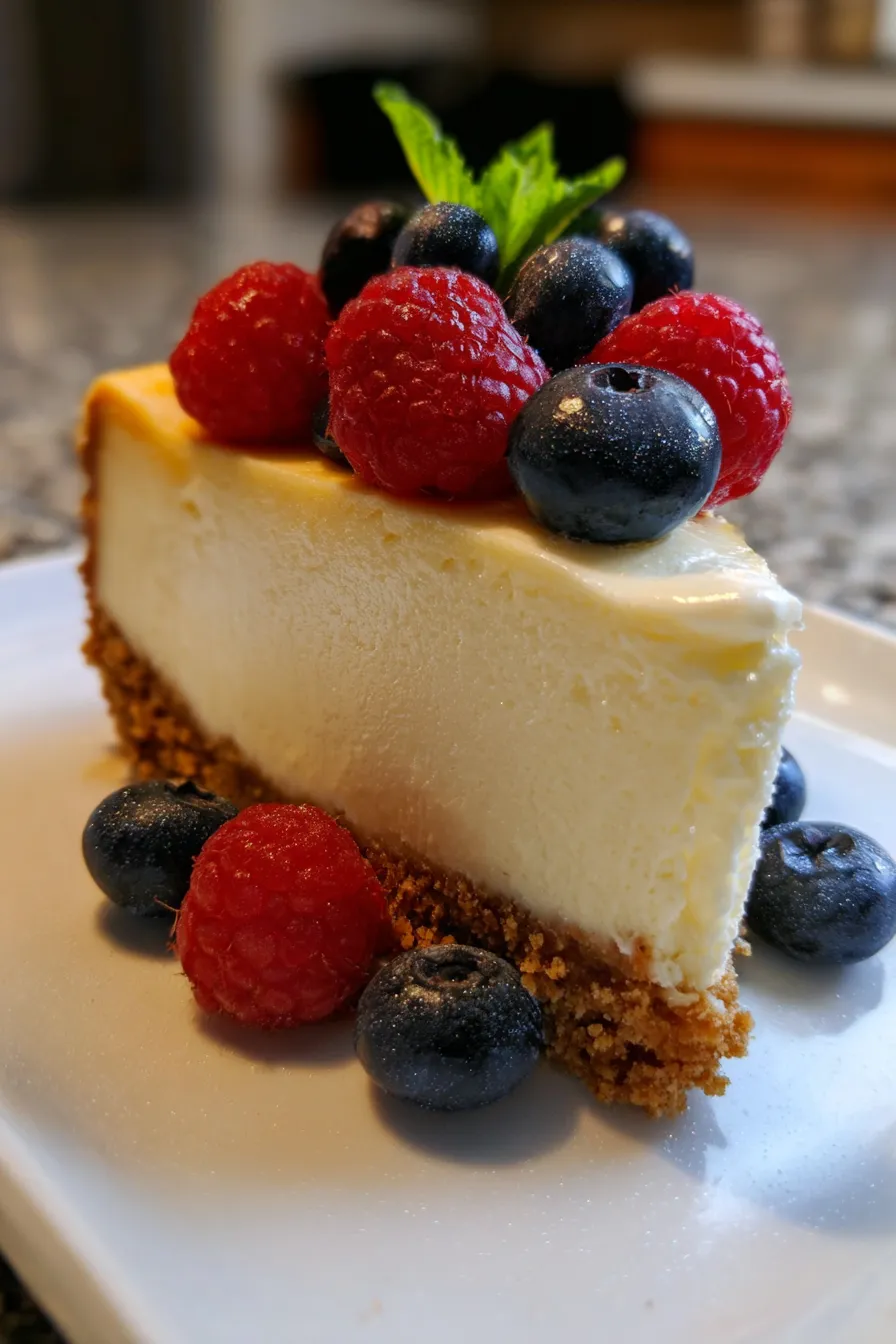
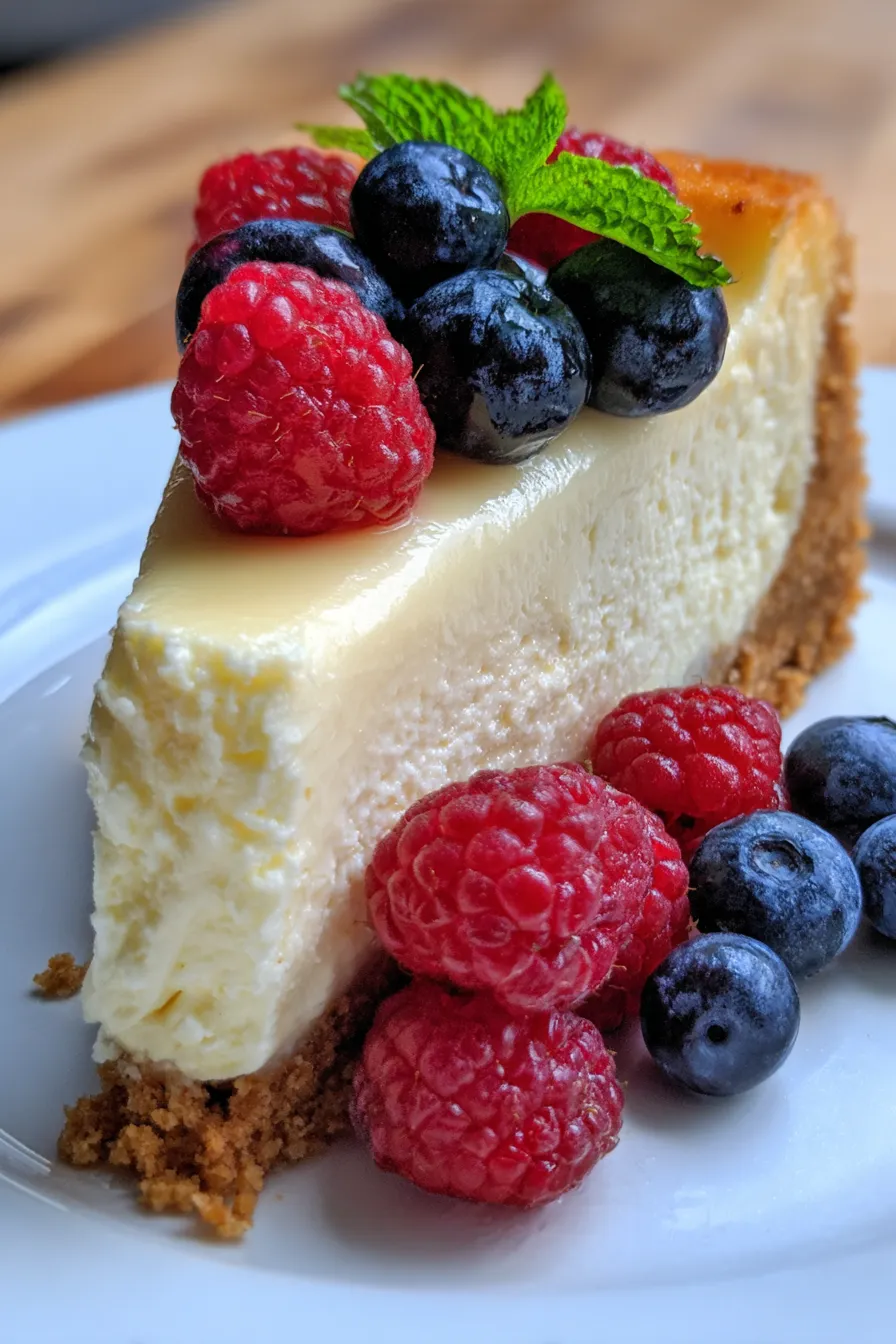
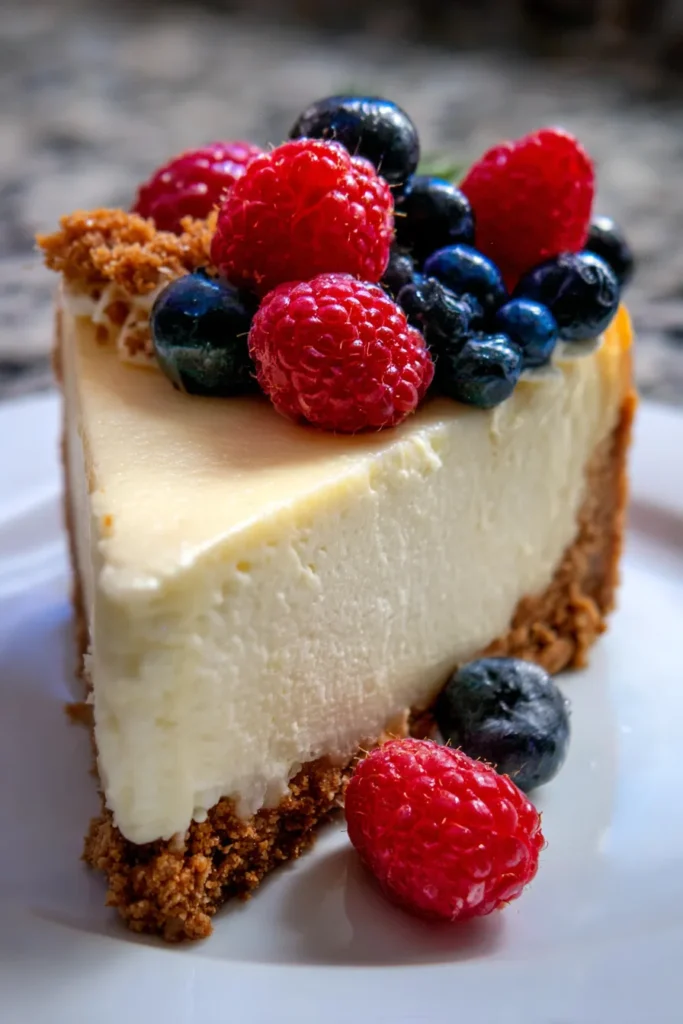
- Versatile Toppings: While truly phenomenal on its own, this cheesecake serves as a perfect canvas for countless toppings. Whether you prefer fresh berries, a vibrant fruit compote, a luscious chocolate ganache, or a simple dollop of whipped cream, it complements everything beautifully. You can customize it to suit any taste or occasion.
- Crowd-Pleaser Guaranteed: Who doesn’t love a classic New York cheesecake? Its timeless appeal and luxurious taste make it an instant hit at dinner parties, family gatherings, holidays, or simply as a well-deserved treat for yourself. Prepare for gasps of delight and requests for the recipe!
What You Need
You only need a few simple pantry staples for this classic dessert! The star ingredients are, of course, cream cheese, along with heavy cream, eggs, and a few other baking essentials to create that iconic rich flavor and ultra-creamy texture. Check the full printable recipe card below for detailed measurements and a complete list.
Expert Tips
💡 Achieving cheesecake perfection is easier than you think with these professional insights:
- Room Temperature Ingredients are Non-Negotiable: This is perhaps the most critical tip! Ensure your cream cheese, eggs, and sour cream (if using in the recipe card) are at true room temperature. Cold ingredients don’t emulsify properly, leading to a lumpy batter and a less smooth final texture. Plan ahead and take them out of the fridge at least 1-2 hours before baking.
- Don’t Overmix the Batter: Overmixing is the enemy of a smooth, crack-free cheesecake. Once you add the eggs, mix on low speed just until combined. Incorporating too much air will cause the cheesecake to puff up in the oven and then collapse and crack as it cools. Gentle mixing is key for that dense, velvety consistency.
- The Water Bath is Your Best Friend: A water bath (bain-marie) is essential for a truly ultra-creamy cheesecake. It provides a moist, even heat environment, preventing the edges from baking faster than the center and significantly reducing the risk of cracks. It also contributes to that signature silky texture by slowing down the cooking process. Make sure your springform pan is properly wrapped in heavy-duty foil to prevent water seepage.
- Avoid Opening the Oven Door: Resist the urge to peek during baking! Fluctuations in oven temperature can cause the cheesecake to crack. Trust the baking time and only open the door when absolutely necessary to check for doneness towards the end.
- Cool Slowly and Gradually: After baking, turn off the oven and leave the cheesecake inside with the door slightly ajar for at least an hour. This slow, gradual cooling process is vital for preventing cracks from drastic temperature changes. Then, transfer it to a wire rack to cool completely at room temperature before chilling in the refrigerator.
- Chill for at Least 8 Hours (Preferably Overnight): Patience is a virtue when it comes to cheesecake! A minimum of 8 hours, or ideally overnight, in the refrigerator allows the cheesecake to fully set, firm up, and for its flavors to truly meld and deepen. Rushing this step will result in a less firm texture and less intense flavor.
- Grease Your Springform Pan Properly: Lightly grease the bottom and sides of your springform pan. For an extra layer of protection against sticking, you can line the bottom with a circle of parchment paper. This ensures easy release and a perfectly shaped cheesecake.
- Run a Knife Around the Edge: Once the cheesecake has cooled at room temperature for a bit, but before refrigerating, run a thin knife around the edge of the pan. This helps prevent the cheesecake from sticking to the sides as it continues to cool and potentially shrink, which can also cause cracks.
- Crust Protection: To prevent the crust from becoming soggy in the water bath, ensure your springform pan is completely sealed with at least two layers of heavy-duty aluminum foil. You can also bake the crust for 8-10 minutes before adding the filling to help it crisp up and create a barrier.
Variations & Substitutions
While the classic is undeniably perfect, you can easily customize your cheesecake to suit different tastes or dietary needs:
- Gluten-Free Crust: Simply swap out traditional graham crackers for gluten-free graham crackers or use a almond flour-based crust. The taste and texture will still be wonderfully satisfying.
- Flavor Infusions:
- Lemon Zest: Add 1-2 tablespoons of finely grated lemon zest to the cream cheese filling for a brighter, tangy profile.
- Espresso: Mix 1-2 teaspoons of instant espresso powder (dissolved in a tiny bit of hot water) into the filling for a subtle coffee undertone that pairs beautifully with the rich cream cheese.
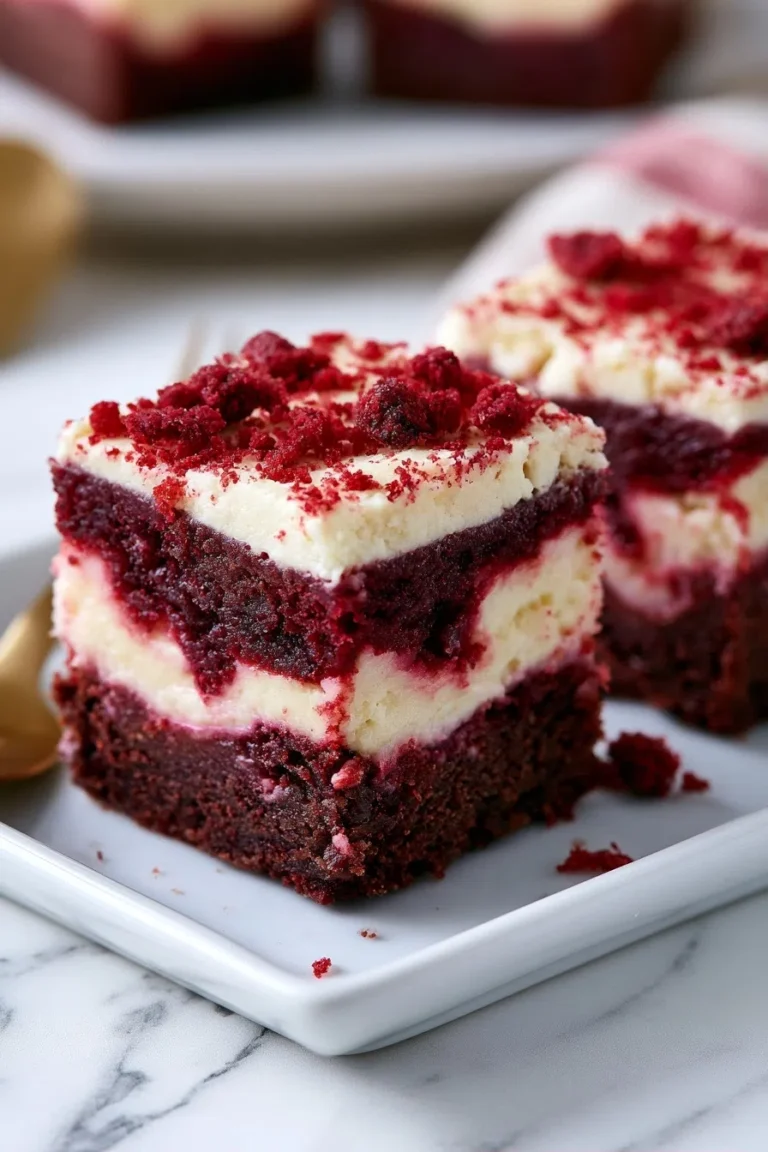
- Chocolate Swirl: Melt 4 oz of good quality dark chocolate and swirl it into the batter just before baking for a marbled effect.
- Topping Adventures: Get creative with toppings!
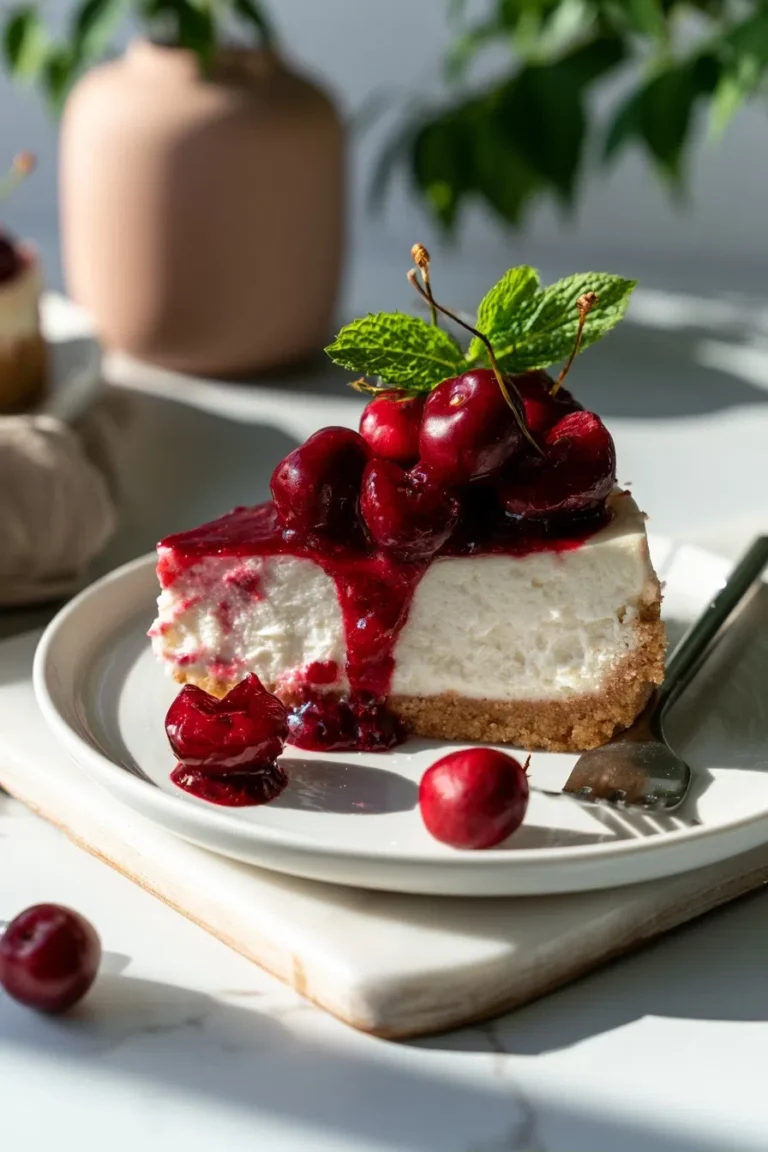
- Fresh Berries & Mint: A simple, elegant choice.
- Cherry or Strawberry Compote: Homemade or store-bought fruit sauces add a lovely tart contrast.
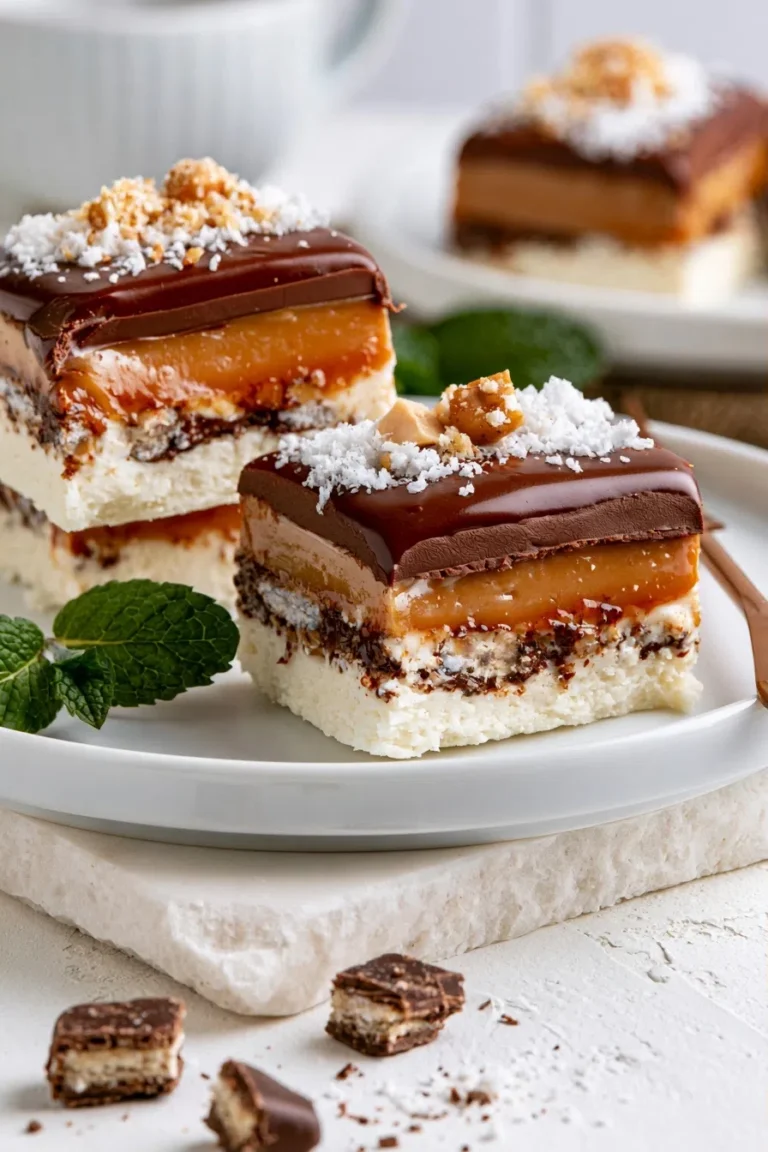
- Salted Caramel Sauce: Drizzle generously for a sweet and salty indulgence.
- Chocolate Ganache: A rich, decadent chocolate topping is always a winner.
- Whipped Cream: Keep it simple and light with a cloud of homemade whipped cream.
- Reduced Sugar Options: For a slightly less sweet version, you can carefully reduce the sugar in the filling by up to 1/4 cup. Always taste your batter (before adding raw eggs, of course!) and adjust to your preference.
Storage & Freezing
- Refrigerator: Once completely cooled, cover the cheesecake tightly with plastic wrap and store it in the refrigerator for up to 5-7 days. The longer it chills, the better the flavors will meld, though its peak freshness is within the first 3-4 days.
- Freezing Whole: For longer storage, you can freeze an entire cheesecake! Once thoroughly chilled, place the cheesecake (uncovered) in the freezer for about 1-2 hours until firm. Then, remove it and wrap it tightly first in plastic wrap, then in aluminum foil, ensuring no air can get in. Freeze for up to 1-2 months.
- Freezing Slices: If you prefer to freeze individual slices, place them on a baking sheet lined with parchment paper and freeze until firm (about 1-2 hours). Once firm, wrap each slice individually in plastic wrap, then in foil, and store in an airtight container in the freezer for up to 1 month. This is perfect for portion control!
- Thawing: To thaw a frozen cheesecake (whole or slices), transfer it to the refrigerator and let it thaw slowly overnight. Do not thaw at room temperature, as this can affect the texture. Enjoy within a day or two of thawing.
FAQ
Q: Why did my cheesecake crack?
A: Cracking is usually caused by overmixing the batter (incorporating too much air), baking at too high a temperature, uneven cooling, or a sudden change in temperature. Ensure your ingredients are at room temperature, don’t overmix, use a water bath, avoid opening the oven door, and cool the cheesecake very gradually in the oven before refrigerating. Our expert tips above specifically address these common issues to help prevent cracks!
Q: Do I really need a water bath?
A: While some recipes skip it, a water bath is highly recommended for a truly “ultra creamy” and crack-free New York cheesecake. It creates a moist, consistent heat environment that ensures even baking and a superior silky texture. Without it, your cheesecake is more likely to overbake on the edges, become dry, and crack on top. It’s a small extra step with a huge payoff!
Q: How can I tell when my cheesecake is done?
A: A New York cheesecake is ready when the edges are set, but the very center (about a 2-3 inch circle) still has a slight jiggle to it when you gently tap the side of the pan. It shouldn’t be liquidy, but a subtle wobble is perfect. It will continue to cook and set as it cools. Overbaking leads to a dry, crumbly texture and cracks.
Q: Can I make this cheesecake ahead of time for a party?
A: Absolutely! In fact, cheesecake is one of those magical desserts that actually tastes *better* the next day. Preparing it 1-2 days in advance allows the flavors to fully develop and the texture to firm up perfectly. Just be sure to keep it tightly covered in the refrigerator until serving. This makes it an ideal choice for entertaining and stress-free hosting!
There you have it—the ultimate guide to baking a Classic New York Cheesecake (Ultra Creamy) that will rival any bakery! With its luxurious texture, balanced flavor, and stunning presentation, this recipe is guaranteed to impress. Don’t be afraid to give it a try; the rewards are truly delicious. Happy baking, and don’t forget to Pin this recipe for later so you can revisit this timeless dessert again and again!
Ultra Creamy Classic New York Cheesecake Recipe
Ingredients
- 1 ½ cups graham cracker crumbs
- u2153 cup unsalted butter, melted
- 32 oz full-fat cream cheese, softened
- 1 ¾ cups granulated sugar
- ¼ cup all-purpose flour
- 1 tbsp vanilla extract
- ½ cup sour cream, room temperature
- 4 large eggs, room temperature
- ¼ cup heavy cream
Instructions
- Step 1 Preheat oven to 325°F (160°C). Prepare 9-inch springform pan with foil for water bath. Combine crumbs and melted butter; press into pan. Bake 10 minutes, then cool.
- Step 2 In a large bowl, beat softened cream cheese until smooth. Gradually add sugar, then flour, mixing until just combined.
- Step 3 Stir in vanilla extract and sour cream. Beat in eggs one at a time, mixing on low speed just until each is incorporated. Stir in heavy cream.
- Step 4 Pour filling over cooled crust. Place springform pan in a larger roasting pan. Fill roasting pan with hot water halfway up the sides of the springform pan.
- Step 5 Bake for 1 hour 15 minutes, or until edges are set but center slightly jiggles. Turn off oven, leave door ajar for 1 hour. Remove from water bath, cool on wire rack completely. Refrigerate at least 8 hours or overnight before serving.
- Step 6 Serve chilled, optionally with fresh berries or desired toppings.