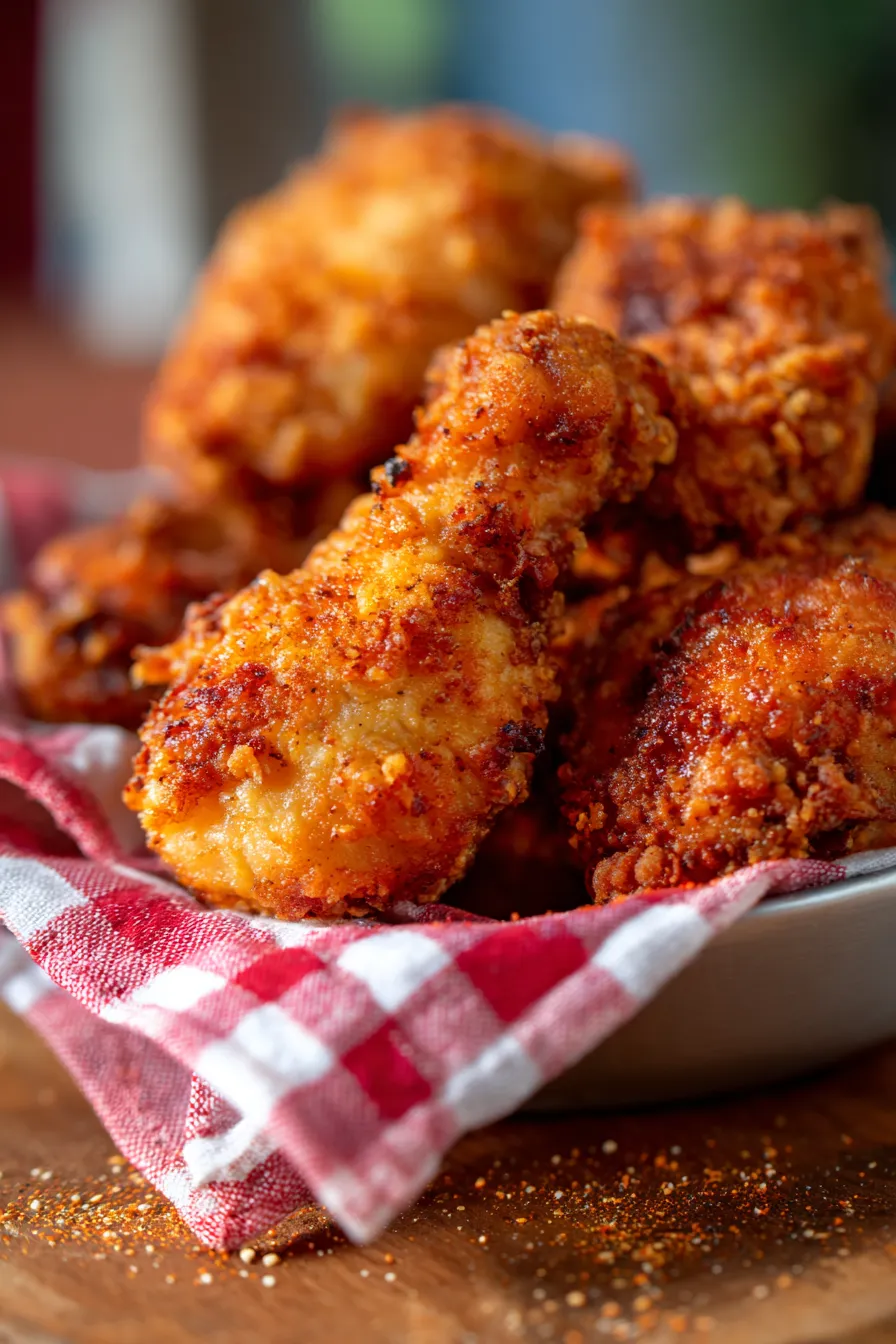
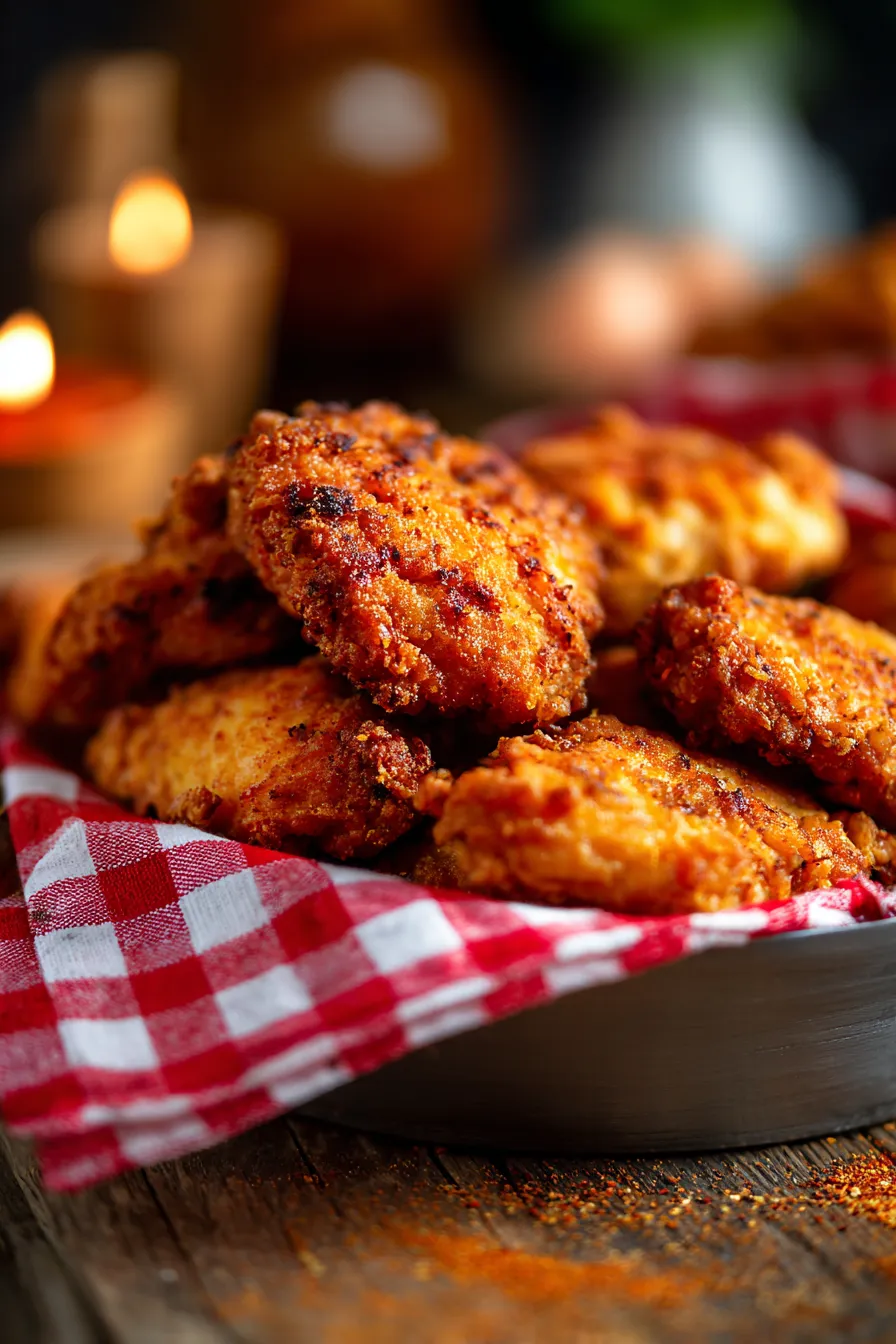
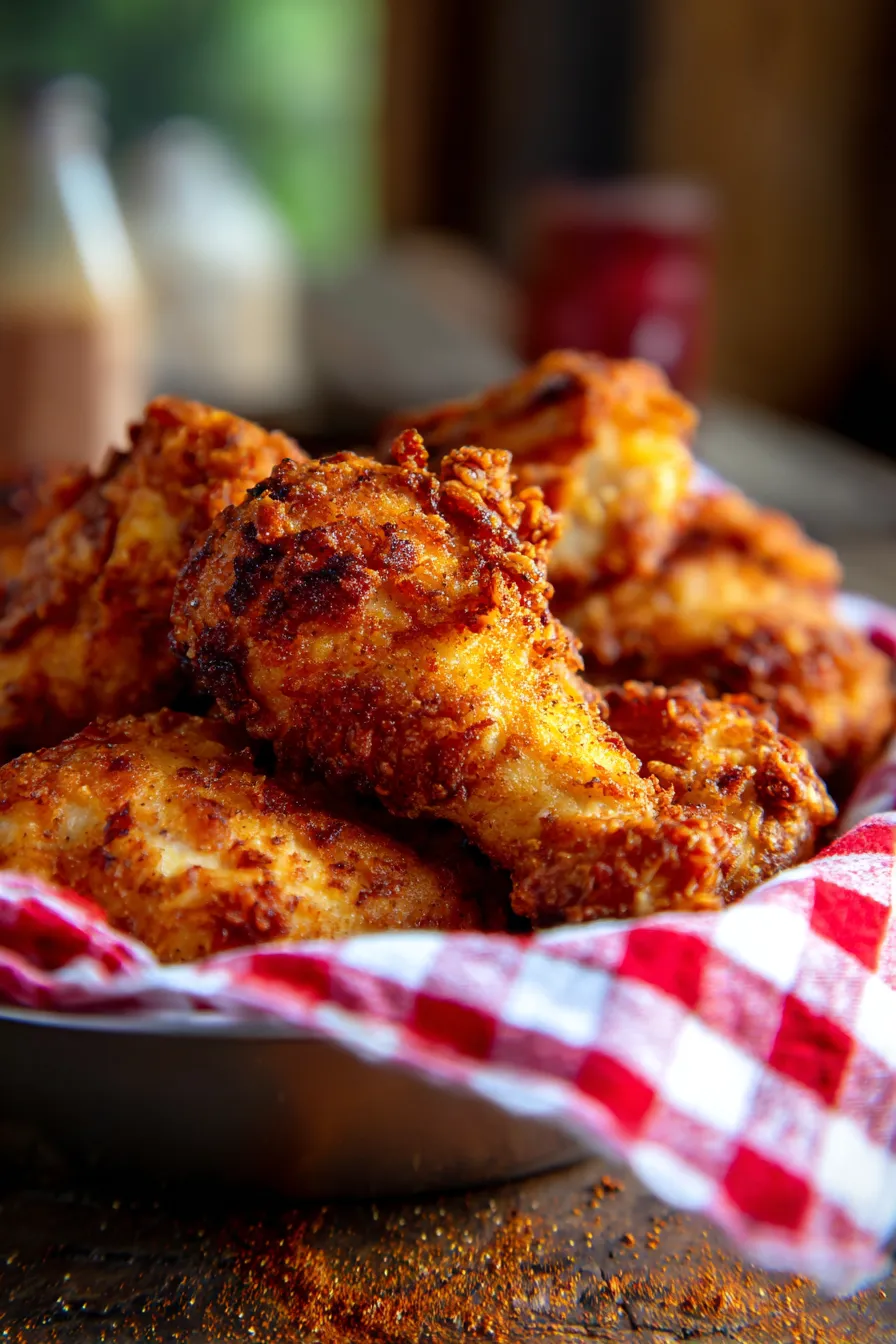
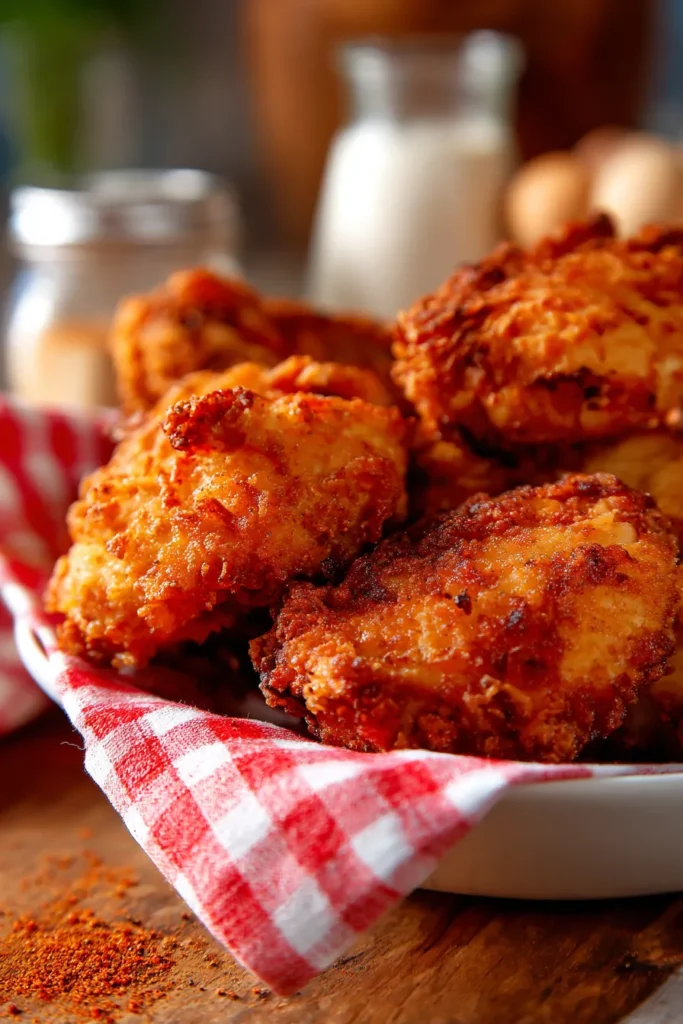
Ultimate Crispy Chicken Fried Chicken Recipe for Unforgettable Comfort Food Nights
Do you remember those childhood dinners? For me, it was always Sunday at Grandma’s, the kitchen thick with the comforting aroma of something delicious frying. Her secret? A simple, yet profoundly satisfying, Crispy Chicken Fried Chicken Recipe for Comfort Food Nights. It wasn’t just a meal; it was an event, a culinary hug that made every worry disappear. This dish isn’t fancy, but it’s pure, unadulterated joy.
I’ve spent years perfecting this recipe, ensuring every piece of chicken is incredibly tender on the inside, encased in a shatteringly crisp, perfectly seasoned crust. It’s truly an easy dinner solution for when you crave something hearty and satisfying. My family now begs for this version, especially on chilly evenings when only true comfort food will do. It’s a tested, beloved family favorite that brings warmth to any table.
Forget dry chicken or soggy breading. This recipe guarantees success, even for beginner cooks. We’re talking golden-brown perfection, every single time. Get ready to create some magical memories of your own, right in your kitchen!
Why You’ll Love This Recipe
- ❤️ Unrivaled Crispy Texture: This isn’t just “crispy”; it’s a profound, satisfying crunch that will echo through your kitchen. Each bite delivers that incredible texture contrast.
- ❤️ Juicy, Tender Chicken Every Time: Say goodbye to dry, overcooked chicken! Our method ensures the chicken pieces remain incredibly moist and flavorful beneath that glorious crust.
- ❤️ The Ultimate Comfort Food: There’s a reason fried chicken is a classic. It evokes feelings of home, warmth, and pure indulgence. This recipe truly hits all those nostalgic notes.
- ❤️ Simple Ingredients, Incredible Flavor: You won’t need any fancy or hard-to-find items. Just a few pantry staples transform into something extraordinary.
- ❤️ Perfect for Any Occasion: Whether it’s a casual weeknight meal, a weekend family gathering, or a potluck showstopper, this fried chicken is always a crowd-pleaser.
- ❤️ Freezer-Friendly & Great for Leftovers: Make a big batch and enjoy it later! This fried chicken tastes fantastic even cold, making it perfect for lunchboxes or quick snacks.
- ❤️ Beginner-Friendly with Expert Results: Our step-by-step guidance and expert tips ensure even novice cooks can achieve restaurant-quality fried chicken right at home.
What You Need
You only need a few simple pantry staples for this incredibly satisfying Crispy Chicken Fried Chicken! From the tender chicken pieces to the perfectly spiced flour, every ingredient plays a crucial role in creating this comfort food masterpiece. Check the full printable recipe card below for detailed measurements and a complete list of what you’ll need.
Expert Tips
- 💡 Brine Your Chicken for Tenderness: This is arguably the most crucial step for truly juicy chicken. A simple buttermilk brine (or even salted water if you’re short on time) tenderizes the meat and adds flavor. Aim for at least 2 hours, or even overnight in the fridge. This ensures the chicken stays incredibly moist during frying.
- 💡 Achieve the Perfect Breading: For that signature craggy, extra-crispy crust, a double dip is key. After dredging in seasoned flour, dip the chicken back into the buttermilk (or egg wash) and then again into the flour. Really press the flour onto the chicken firmly on the second dredge. This creates layers that become incredibly crunchy when fried. Don’t be shy with the flour!
- 💡 Season Generously, Season in Layers: Don’t just season the flour; season the chicken itself, and if using a brine, ensure that’s seasoned too. A good fried chicken is flavorful from the inside out. Think beyond salt and pepper – smoked paprika, garlic powder, onion powder, and a pinch of cayenne pepper add depth.
- 💡 Oil Temperature is Everything: This is where many go wrong. Too low, and your chicken will be greasy and soggy. Too high, and the outside will burn before the inside cooks. Aim for a consistent 325-350°F (160-175°C). Use a reliable deep-fry thermometer. Adjust heat as needed to maintain this range.
- 💡 Don’t Overcrowd the Pan: Frying too many pieces at once will drastically drop the oil temperature, leading to greasy, less crispy chicken. Fry in batches, giving each piece plenty of space. Patience is a virtue here!
- 💡 Rest Your Chicken After Frying: Once the chicken is beautifully golden and cooked through, transfer it to a wire rack set over a baking sheet. This allows excess oil to drip off and prevents the bottom from getting soggy. A brief rest also allows the juices to redistribute, ensuring maximum tenderness.
- 💡 Test for Doneness Safely: The safest way to ensure your chicken is cooked through is to use an instant-read meat thermometer. Insert it into the thickest part of the chicken (avoiding bone). It should read 165°F (74°C).
- 💡 Choose the Right Oil: Opt for an oil with a high smoke point and neutral flavor, such as peanut oil, canola oil, vegetable oil, or refined sunflower oil. These oils can withstand the higher temperatures needed for frying without imparting unwanted flavors.
- 💡 Prep Ahead for Ease: You can brine the chicken and prepare your dry flour mixture a day in advance. This makes the actual frying day much smoother and quicker.
Variations & Substitutions
- Spicy Kick: Add 1-2 teaspoons of cayenne pepper or a dash of your favorite hot sauce to the buttermilk brine for an extra fiery flavor.
- Gluten-Free Option: Substitute all-purpose flour with a high-quality gluten-free all-purpose flour blend (one that contains xanthan gum works best). The crispiness will still be fantastic!
- Herby Freshness: Incorporate finely chopped fresh herbs like thyme, rosemary, or sage into your flour mixture for an aromatic twist.
- Dairy-Free Buttermilk: No buttermilk? No problem! Combine 1 cup of dairy-free milk (like unsweetened almond or soy milk) with 1 tablespoon of white vinegar or lemon juice. Let it sit for 5-10 minutes until it curdles slightly.
- Keto/Low-Carb: For a low-carb alternative, you can use almond flour or a mixture of almond flour and pork rinds (crushed finely) for the breading. Adjust seasoning accordingly. While it won’t be exactly the same, it offers a delicious low-carb crunch.
- Air Fryer Method: While traditional deep frying yields the crispiest results, you can air fry for a healthier option. Lightly spray the breaded chicken with oil and air fry at 375°F (190°C) for 20-30 minutes, flipping halfway, until golden and cooked through.
Storage & Freezing
- Refrigeration: Leftover Crispy Chicken Fried Chicken can be stored in an airtight container in the refrigerator for up to 3-4 days. For best results, reheat in an oven or air fryer to restore crispiness, rather than a microwave.
- Freezing: To freeze, arrange cooked and cooled fried chicken in a single layer on a baking sheet and freeze until solid (about 2 hours). Once frozen, transfer the pieces to a freezer-safe bag or container, removing as much air as possible. It will keep for up to 3 months.
- Reheating from Frozen: Reheat frozen fried chicken in a preheated oven at 375°F (195°C) for 25-35 minutes, or until heated through and crispy. You can also use an air fryer.
FAQ
There you have it – your ultimate guide to creating the most incredible, shatteringly crispy, and unbelievably tender Crispy Chicken Fried Chicken Recipe for Comfort Food Nights. This recipe is more than just food; it’s a memory maker, a tradition in the making. Gather your loved ones, roll up your sleeves, and prepare for a meal that will be talked about for years to come. Don’t forget to Pin this recipe for later so you can revisit this golden goodness whenever the craving strikes!
Ultimate Crispy Chicken Fried Chicken Recipe | Comfort Food
Ingredients
- 3 lbs bone-in, skin-on chicken pieces (drumsticks, thighs, or cutlets)
- 2 cups buttermilk
- 2 tbsp hot sauce (optional)
- 2 cups all-purpose flour
- 1/4 cup cornstarch (for extra crispiness)
- 2 tbsp seasoned salt
- 1 tbsp black pepper
- 1 tbsp smoked paprika
- 1 tsp garlic powder
- 1 tsp onion powder
- 1/2 tsp cayenne pepper (optional, for heat)
- 4-6 cups neutral oil for frying (peanut, canola, or vegetable)
Instructions
- Step 1 **Brine Chicken:** In a large bowl, combine buttermilk and hot sauce (if using). Add chicken pieces, ensuring they are fully submerged. Cover and refrigerate for at least 2 hours, or preferably overnight. This is crucial for juicy chicken!
- Step 2 **Prepare Flour Mixture:** In a large, shallow dish, whisk together all-purpose flour, cornstarch, seasoned salt, black pepper, smoked paprika, garlic powder, onion powder, and cayenne pepper (if using). Ensure it's well combined.
- Step 3 **Dredge Chicken:** Remove chicken from buttermilk, allowing excess to drip off slightly. Dip each piece into the seasoned flour mixture, ensuring it's completely coated. For extra crispiness, dip the floured chicken *back* into the buttermilk briefly, then *again* into the flour mixture, pressing firmly to create a thick, craggy coating. Place coated chicken on a wire rack.
- Step 4 **Heat Oil:** Pour oil into a large, heavy-bottomed pot or Dutch oven (at least 3 inches deep). Heat over medium-high heat until it reaches a consistent temperature of 325-350°F (160-175°C). Use a deep-fry thermometer to monitor.
- Step 5 **Fry Chicken:** Carefully lower 2-3 pieces of chicken into the hot oil, ensuring not to overcrowd the pot. Fry for about 6-8 minutes per side, turning occasionally, until golden brown and cooked through. The internal temperature should reach 165°F (74°C). Adjust heat as needed to maintain oil temperature.
- Step 6 **Drain & Serve:** Using tongs, remove fried chicken and place on a clean wire rack set over a baking sheet to drain excess oil. Repeat with remaining chicken. Serve hot with your favorite sides. Enjoy your ultimate comfort food!