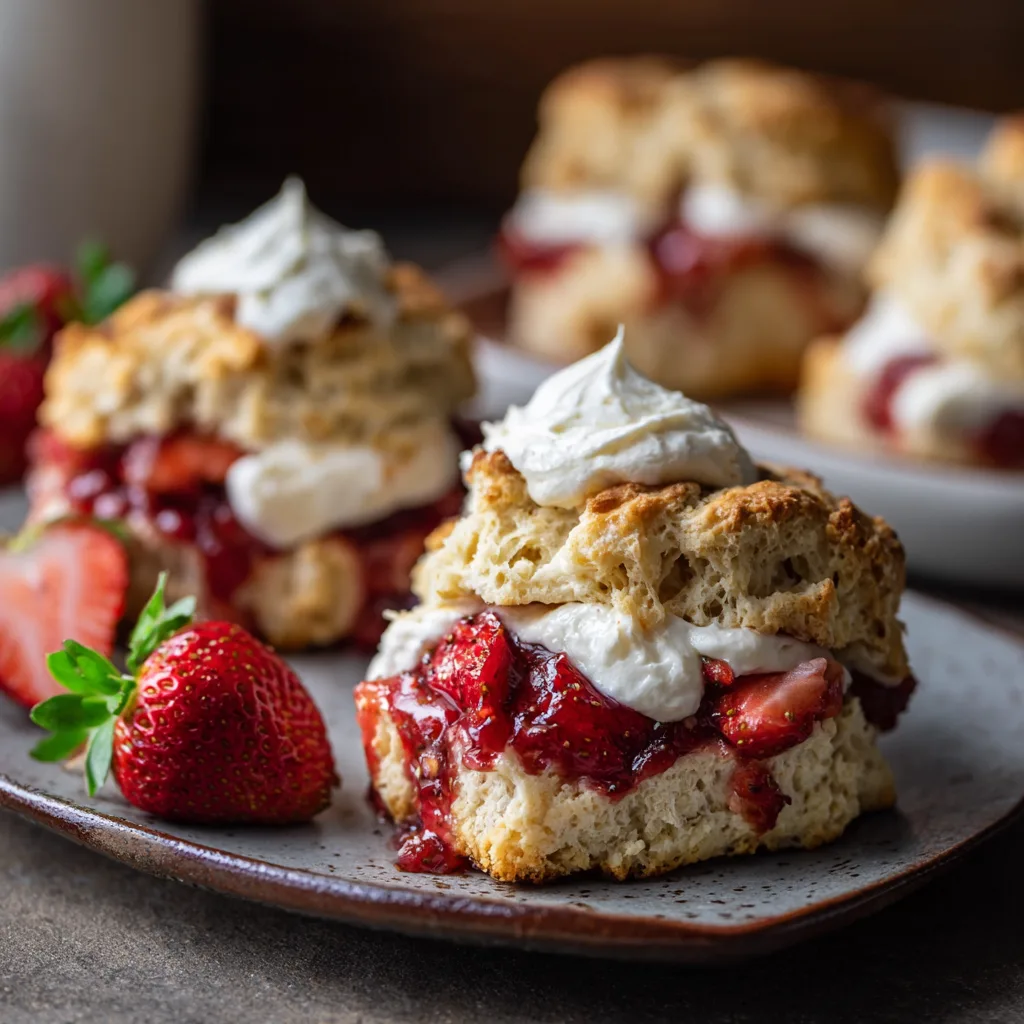
There is something undeniably nostalgic about the combination of macerated strawberries and sweet cream, but when you marry those flavors into the buttery, flaky architecture of a classic scone, you create the ultimate breakfast-meets-dessert hybrid. These Strawberry Shortcake Scones offer a sophisticated upgrade to the traditional biscuit, featuring a tender, cake-like interior and a golden, crisp exterior that shatters satisfyingly with every bite. Whether you are hosting an elegant weekend brunch or simply looking for a way to use a seasonal haul of sun-ripened berries, this recipe delivers a bakery-quality result with minimal effort.
Ingredients
For the Scones:
-
2 cups all-purpose flour (plus extra for dusting)
-
1/3 cup granulated sugar
-
1 tablespoon baking powder
-
1/2 teaspoon salt
-
6 tablespoons unsalted butter, very cold and cubed
-
1 cup fresh strawberries, hulled and finely chopped
-
2/3 cup heavy cream, cold
-
1 large egg, cold
-
1 teaspoon pure vanilla extract
For the Topping:
-
1 tablespoon heavy cream (for brushing)
-
2 tablespoons turbinado or coarse sanding sugar
For the Optional Vanilla Glaze:
-
1 cup powdered sugar
-
2 tablespoons heavy cream or milk
-
1/2 teaspoon vanilla extract
Step-by-Step Instructions
-
Prep the Oven and Pan: Preheat your oven to 400°F (200°C). Line a large baking sheet with parchment paper or a silicone baking mat to prevent sticking and ensure even browning.
-
Whisk Dry Ingredients: In a large mixing bowl, whisk together the flour, granulated sugar, baking powder, and salt until well combined.
-
Cut in the Butter: Add the cold, cubed butter to the flour mixture. Using a pastry cutter or two knives, work the butter into the flour until the mixture resembles coarse crumbs with some pea-sized pieces of butter remaining.
-
Toss the Berries: Gently fold the chopped strawberries into the flour-butter mixture. Coating the berries in the flour helps prevent them from sinking or bleeding too much juice into the dough.
-
Combine Wet Ingredients: In a separate small bowl, whisk together the heavy cream, egg, and vanilla extract.
-
Form the Dough: Pour the wet ingredients into the dry ingredients. Use a rubber spatula to fold the mixture together just until a shaggy dough forms. Do not overmix, as this will result in a tough scone.
-
Shape and Cut: Turn the dough out onto a lightly floured surface. Gently pat it into an 8-inch circle, about 1 inch thick. Using a sharp knife or a bench scraper, cut the circle into 8 even wedges.
-
Brush and Sugar: Transfer the wedges to the prepared baking sheet, spacing them about 2 inches apart. Brush the tops lightly with heavy cream and sprinkle generously with turbinado sugar.
-
Bake: Bake for 18 to 22 minutes, or until the scones are puffed and the tops are a light golden brown.
-
Cool and Glaze: Allow the scones to cool on the baking sheet for 5 minutes before transferring them to a wire rack. If using the glaze, whisk the powdered sugar, cream, and vanilla together until smooth and drizzle over the slightly warm scones.
The Secret to the Perfect Flaky Texture
The hallmark of a superior scone is its texture—light, airy, and layered. Achieving this requires a firm commitment to keeping your ingredients as cold as possible. When the cold butter hits the high heat of the oven, the water content in the butter evaporates, creating small pockets of steam. This process is what causes the scone to “lift” and form those coveted flaky layers. If the butter melts into the dough before it reaches the oven, the result will be a flatter, denser, more bread-like pastry.
To ensure success, many professional bakers recommend chilling your cubed butter in the freezer for ten minutes before starting. Additionally, once your dough is shaped and cut, you can place the entire baking sheet in the refrigerator or freezer for 15 minutes before sliding it into the oven. This “cold shock” helps the scones maintain their shape and maximizes the rise.
Equally important is the handling of the dough. Overworking the flour develops gluten, which is great for chewy sourdough but detrimental to tender scones. When mixing the wet and dry ingredients, stop as soon as the flour is moistened. If the dough looks a bit “messy” or craggy before you pat it into a circle, you are exactly where you need to be.
Choosing and Preparing Your Strawberries
While this recipe is straightforward, the quality of your fruit plays a starring role. Fresh, seasonal strawberries are ideal because they possess a deep sweetness and firm texture. When prepping the berries, aim for a small dice—roughly a quarter-inch. If the pieces are too large, they create large moisture pockets that can make the surrounding dough soggy; if they are too small, they disappear into the pastry.
One common challenge when baking with fresh fruit is excess moisture. If your strawberries are particularly juicy, pat them dry with a paper towel after chopping. You might also notice the dough turning slightly pink; this is normal and adds to the “shortcake” aesthetic.
If you find yourself craving these scones in the off-season, you can use frozen strawberries. However, do not thaw them first. Thawing releases too much liquid, which will ruin the consistency of the dough. Instead, chop them while frozen, toss them quickly in a tablespoon of flour to absorb surface moisture, and fold them in at the very last second. Note that frozen berries may require an extra two to three minutes of bake time.
Customizations and Flavor Variations
The beauty of the strawberry shortcake profile is its versatility. While the classic recipe is a crowd-pleaser, you can easily adapt it to suit your pantry or personal preferences. For a brighter, citrus-forward note, add the zest of one lemon to the sugar and flour mixture. The acidity of the lemon cuts through the richness of the heavy cream and complements the sweetness of the berries beautifully.
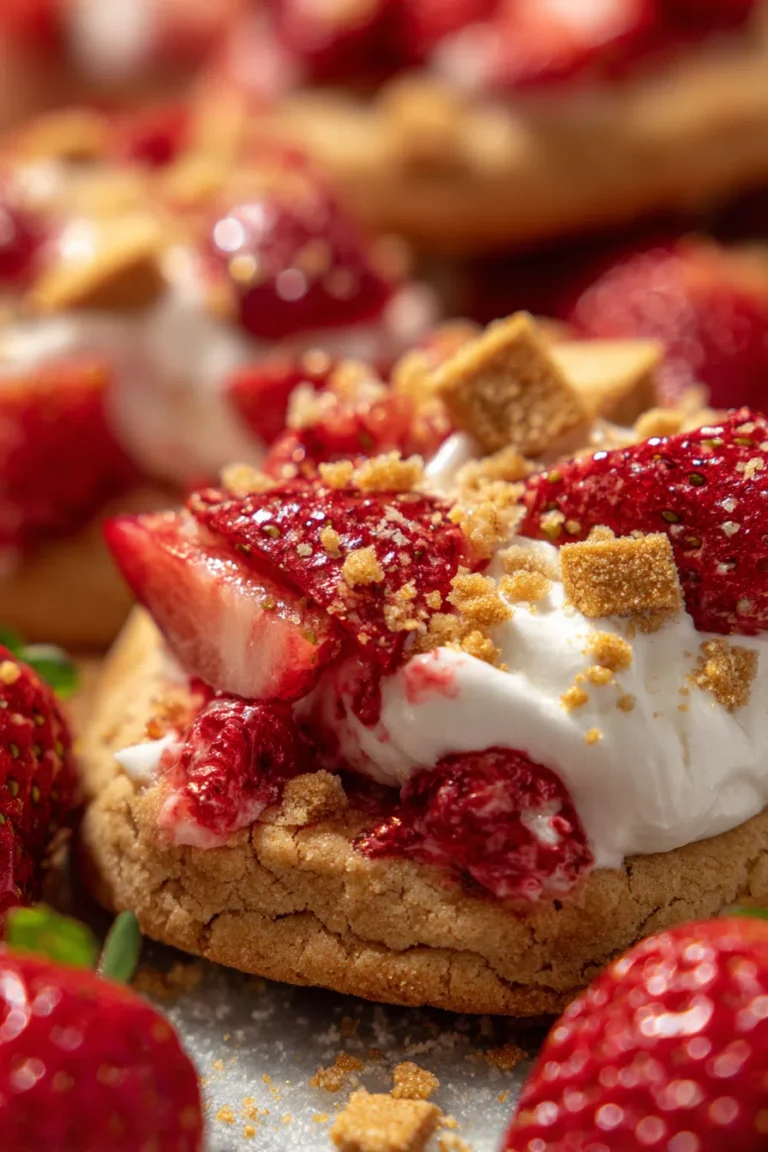
If you prefer a more “shortcake-style” presentation, omit the vanilla glaze. Instead, once the scones are cooled, split them in half horizontally. Top the bottom half with a dollop of homemade whipped cream and an extra spoonful of sliced strawberries, then replace the top. This transforms the scone into a portable, slightly sturdier version of the traditional plated dessert.
For those with dietary preferences, these scones are surprisingly adaptable. You can substitute the heavy cream with full-fat canned coconut milk for a hint of tropical flavor, and use a high-quality plant-based butter stick in place of dairy butter. Just ensure the substitutions are chilled thoroughly to maintain that essential crumbly texture.

Storage, Freezing, and Make-Ahead Tips
Scones are notoriously best served warm, shortly after they emerge from the oven. However, if you have leftovers, they can be stored in an airtight container at room temperature for up to two days. To revive the texture, avoid the microwave, which can make them rubbery. Instead, place them in a 350°F oven for 5 to 8 minutes until the edges crisp up again.
If you want to plan ahead, these scones are an excellent candidate for freezing. You have two options:
-
Freezing Unbaked Dough: After cutting the dough into wedges, place them on a tray and freeze until solid. Transfer the frozen wedges to a zip-top bag. When you’re ready to eat, bake them directly from the freezer, adding about 3 to 5 minutes to the total baking time. This allows you to have “fresh-baked” scones on demand.
-
Freezing Baked Scones: Allow the baked scones to cool completely (and skip the glaze). Wrap them individually in plastic wrap and store them in a freezer bag for up to three months. Thaw at room temperature and reheat in the oven before serving.
By mastering these simple techniques, you can bring the bright, summery flavors of strawberry shortcake to your table any time of year, wrapped in a buttery, golden crust that defines the perfect scone.