The Ultimate Strawberry Shortcake Layered Dessert: A Fresh Summer Classic
Few desserts capture the essence of a sun-drenched afternoon quite like a strawberry shortcake layered dessert. This dish elevates the traditional biscuit-and-berry combination into a visually stunning, crowd-pleasing masterpiece that balances the tartness of sun-ripened fruit with the velvety richness of a cream-based filling and the airy lightness of sponge cake. Whether you are hosting a backyard barbecue, a holiday brunch, or a simple family dinner, this layered treat offers a refreshing finish that feels both sophisticated and nostalgically familiar. Its beauty lies in its simplicity, relying on high-quality ingredients and a thoughtful assembly process to create a dessert that is as delicious as it is beautiful.
Ingredients
-
Fresh Strawberries: 2 pounds, hulled and sliced
-
Granulated Sugar: 1/4 cup (for macerating the berries)
-
Cake Base: 1 prepared pound cake or angel food cake (10–12 ounces), cut into 1-inch cubes
-
Cream Cheese: 8 ounces, softened to room temperature
-
Powdered Sugar: 1 cup
-
Vanilla Extract: 1 teaspoon
-
Heavy Whipping Cream: 2 cups, chilled (or one 8-ounce tub of whipped topping)
-
Fresh Mint: Optional, for garnish
Step-by-Step Instructions
-
Prepare the Berries: In a medium bowl, toss the sliced strawberries with the granulated sugar. Let them sit at room temperature for at least 30 minutes. This process, known as maceration, draws out the natural juices to create a light syrup.
-
Create the Cream Layer: In a large mixing bowl, beat the softened cream cheese with the powdered sugar and vanilla extract until smooth and creamy. In a separate chilled bowl, whip the heavy cream until stiff peaks form. Gently fold the whipped cream into the cream cheese mixture until no streaks remain.
-
Prepare the Cake: Cube your chosen cake into bite-sized pieces. Ensure they are uniform in size to create even layers in your serving dish.
-
Assemble the First Layer: In a large glass trifle bowl or a 9×13-inch baking dish, place half of the cake cubes in an even layer at the bottom.
-
Add Fruit and Cream: Spoon half of the strawberries (including the syrup) over the cake. Follow this with half of the cream mixture, spreading it to the edges to seal the layers.
-
Repeat: Repeat the layering process with the remaining cake, strawberries, and cream.
-
Chill and Serve: Cover and refrigerate for at least 2 to 4 hours before serving. This allows the cake to absorb the strawberry juices and the cream to set. Garnish with fresh mint or extra berries just before presenting.
The Anatomy of the Perfect Layered Dessert
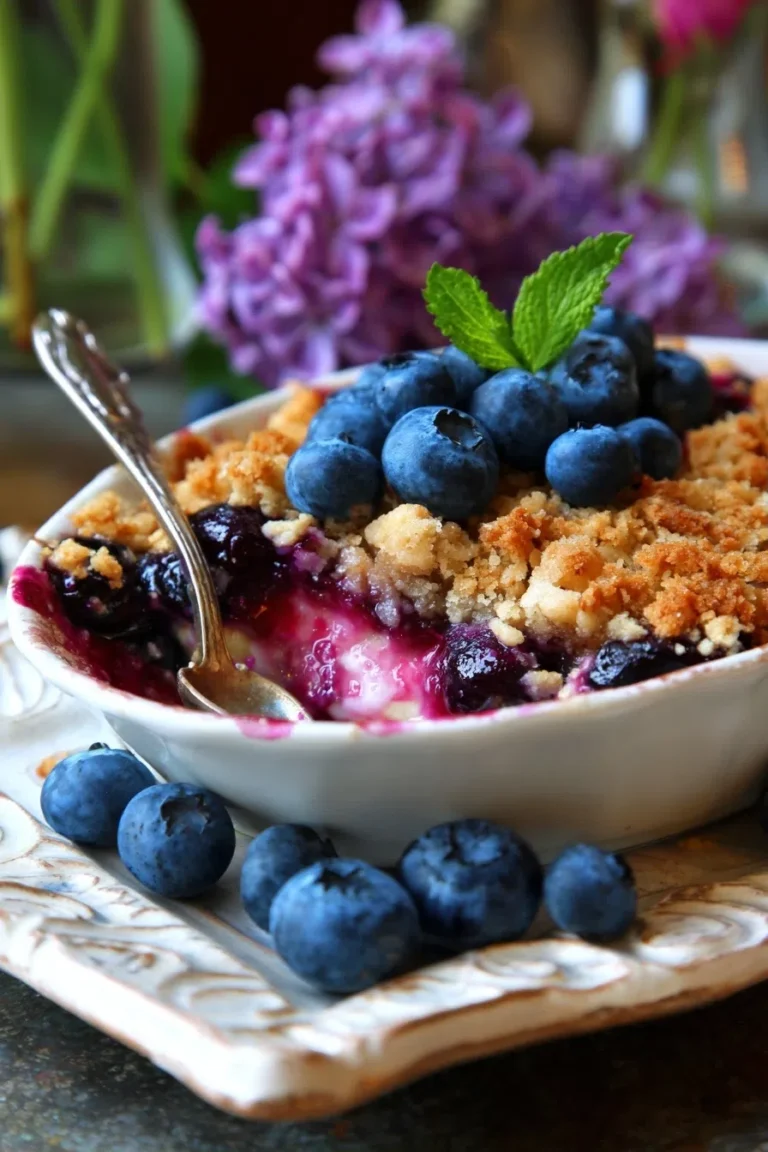
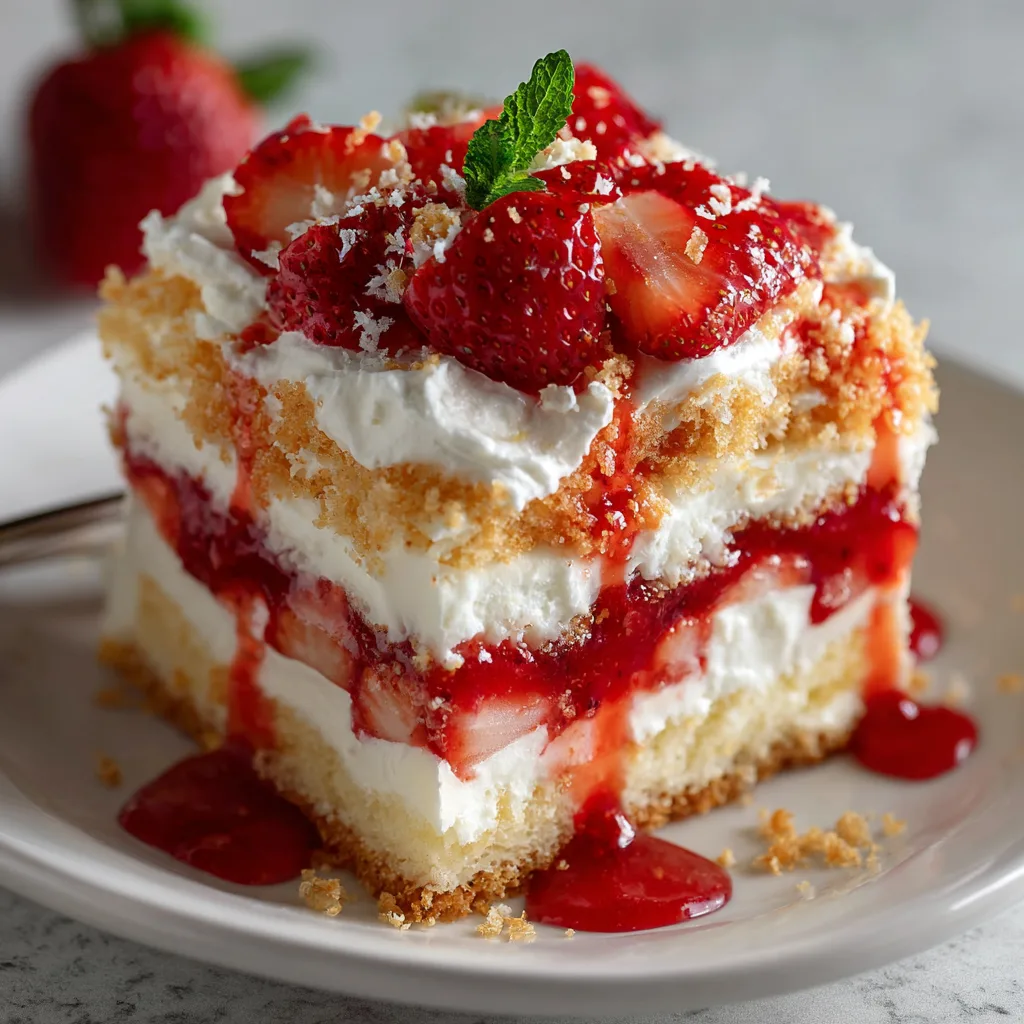
The success of a layered strawberry dessert depends entirely on the harmony of three distinct textures: the structural base, the creamy binder, and the fruit highlight. Unlike a standard cake, a layered dessert (often referred to as a “trifle” or “icebox cake”) relies on the interplay of moisture. The cake serves as a sponge, designed to soak up the syrupy juices from the macerated strawberries without becoming completely disintegrated. This is why denser cakes like pound cake or slightly sturdier angel food cakes are preferred over delicate chiffon cakes.
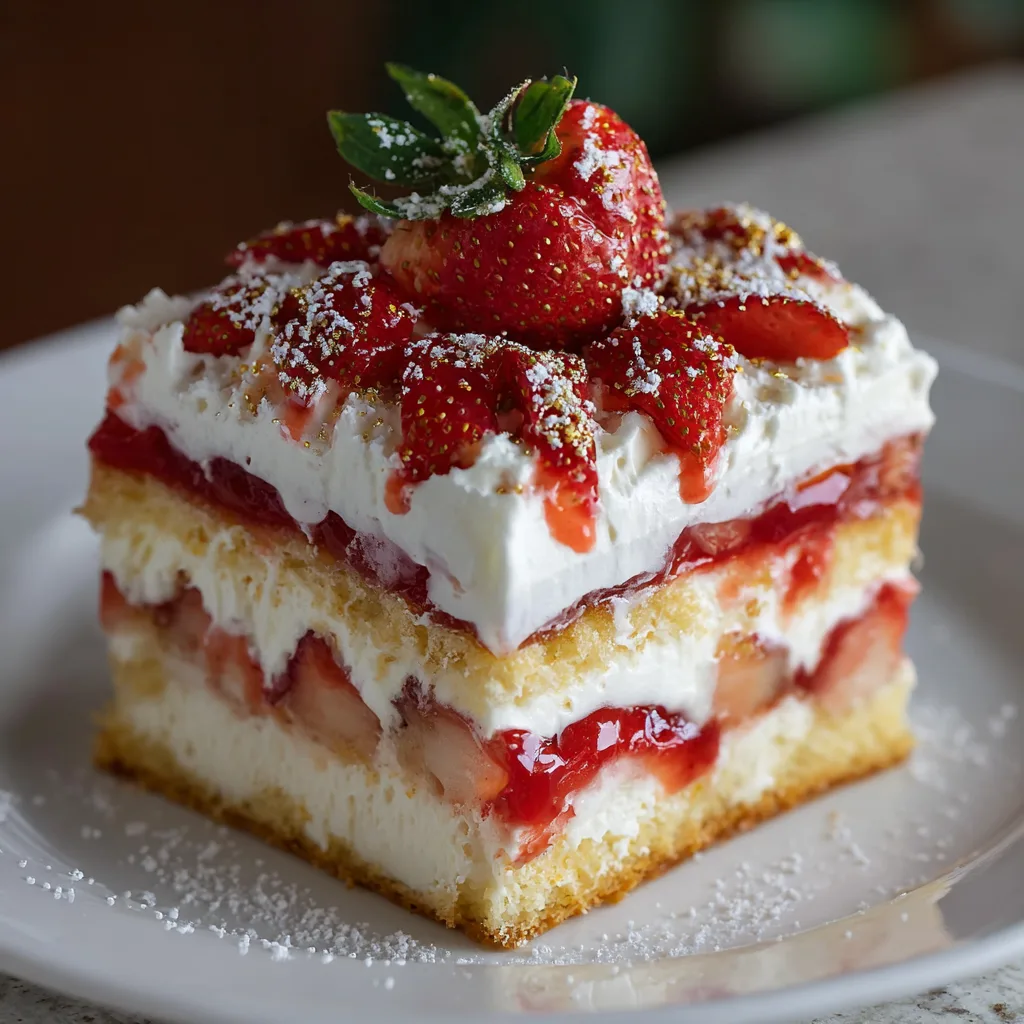
The creamy layer acts as the decadent bridge between the fruit and the bread. By incorporating cream cheese into the whipped cream, you achieve a “stiff” consistency that holds its shape under the weight of the layers. This added stability prevents the dessert from collapsing into a soup-like consistency when scooped. Furthermore, the slight tang of the cream cheese cuts through the sweetness of the sugar, providing a balanced flavor profile that keeps the palate refreshed. When these components are layered in a glass vessel, they create a stunning visual gradient of red, white, and gold that signals a handmade quality to your guests.
Selecting and Preparing the Best Seasonal Fruit
The strawberries are the undisputed star of this show, meaning the quality of your produce will dictate the quality of your results. When shopping, look for berries that are deep red from top to bottom; unlike some fruits, strawberries do not continue to ripen significantly after being picked. Smaller, organic berries often pack a more concentrated flavor than larger, hollower commercial varieties. If you find yourself making this dessert out of peak season, look for “ever-bearing” varieties which maintain a better sugar-to-acid ratio in the cooler months.
Preparation is a critical step that many home bakers rush. Washing the berries should be done just before assembly to prevent them from absorbing excess water and becoming mushy. Once sliced, the maceration process is vital. By tossing the berries in sugar, you are triggering osmosis—drawing water out of the fruit cells. This creates a natural strawberry glaze that permeates the cake layers. For a sophisticated twist, some chefs add a teaspoon of balsamic vinegar or a squeeze of lemon juice during this stage. The acidity brightens the fruit’s natural sugars and adds a layer of complexity to the finished dessert.
Creative Customizations and Flavor Variations
While the classic strawberry and cream combination is timeless, this recipe serves as a versatile canvas for culinary creativity. For those who prefer a “no-bake” approach, using store-bought ladyfingers or shortbread cookies can provide a different textural experience, leaning closer to a strawberry tiramisu. If you want a lighter version, Greek yogurt can be folded into the whipped cream to replace the cream cheese, offering a probiotic boost and a sharper zing.
Seasonal swaps are also encouraged. You can create a “Mixed Berry Shortcake” by incorporating blueberries, raspberries, and blackberries alongside the strawberries. For a tropical flair, consider adding a layer of toasted coconut flakes between the cream and the cake. If you are serving an adult-only crowd, brushing the cake cubes with a splash of Grand Marnier or a strawberry liqueur can elevate the dessert into a more indulgent, “boozy” treat. These small adjustments allow you to tailor the dessert to specific dietary preferences or seasonal availability without changing the fundamental assembly technique.
Professional Serving and Storage Tips
Presentation is half the experience with a layered dessert. If you are using a trifle bowl, ensure you press the cream and fruit layers firmly against the glass sides to eliminate air pockets and show off the distinct colorful tiers. For a more modern look, this recipe can be assembled in individual mason jars or wine glasses. This not only makes for easy serving at parties but also ensures that every guest gets the perfect ratio of cake, cream, and fruit.
Storage is the final piece of the puzzle. Because this dessert relies on the cake absorbing moisture, it actually tastes better after it has “matured” in the refrigerator for a few hours. However, there is a window of peak deliciousness. After 24 hours, the cake may become overly saturated. To keep the dessert looking fresh, always wait to add the final garnish of mint or whole berries until the moment of service. If you have leftovers, they should be kept tightly covered in the refrigerator and consumed within two days. By following these storage guidelines, you ensure that every bite remains a perfect balance of light, creamy, and fruit-forward excellence.