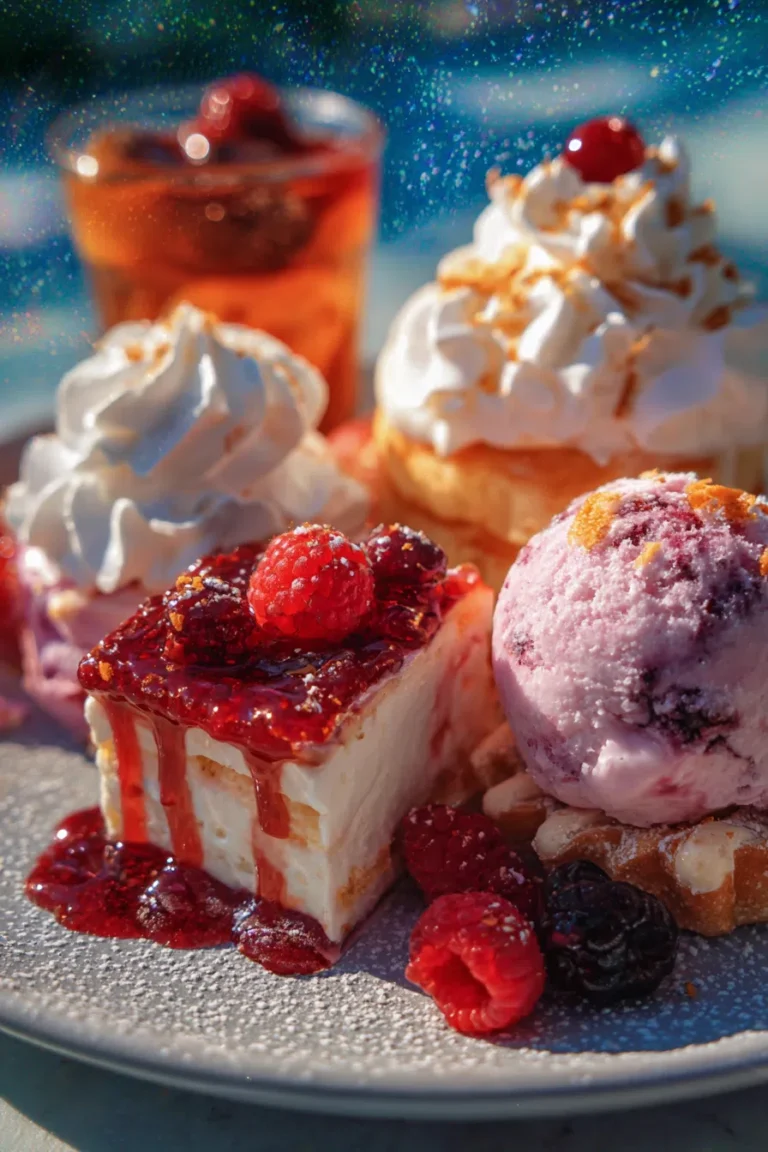
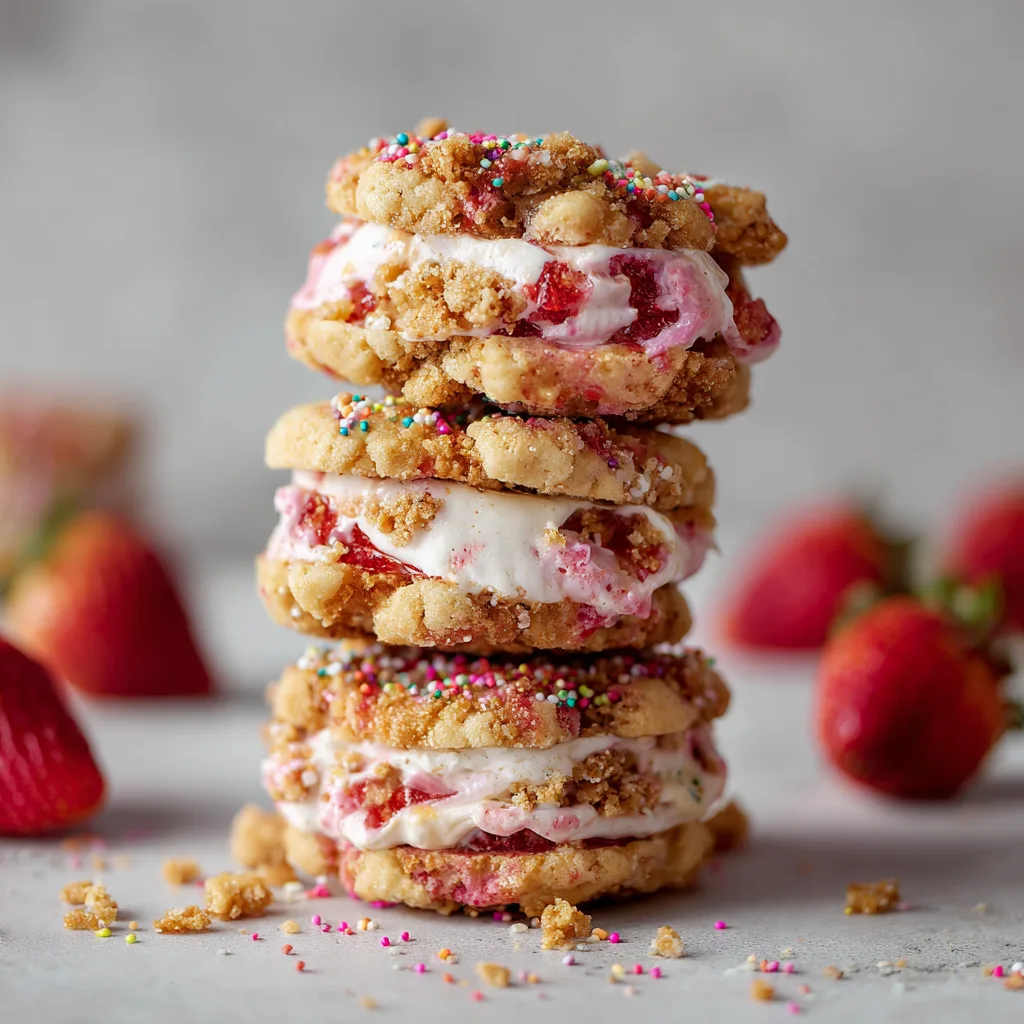
Few desserts capture the essence of childhood joy and summer nostalgia quite like the Strawberry Crunch Cookie Sandwich. This delightful treat transforms the beloved classic Strawberry Shortcake Ice Cream Bar into an elegant, handheld baked good, blending the buttery softness of a perfect cookie with a rich, tangy cream cheese filling and the signature, irresistible strawberry crunch crumble. Whether you are seeking a standout dessert for a summer picnic, a festive pink treat for a special occasion, or simply an elevated twist on a nostalgic favorite, mastering this recipe is a rewarding endeavor that yields genuinely impressive results. The complexity lies not in the difficulty of the steps, but in achieving the ideal balance of textures: the soft, chewy cookie; the creamy, tart filling; and the vibrant, crunchy topping.
Ingredients
This recipe is divided into three key components: the soft strawberry cookie, the iconic strawberry crunch topping, and the tangy cream cheese filling.
I. For the Strawberry Crunch Topping
-
20 Golden Oreo cookies (vanilla sandwich cookies)
-
3 oz box of Strawberry Gelatin mix (Jell-O)
-
1/4 cup unsalted butter, melted
II. For the Soft Strawberry Cookies
-
1 cup (2 sticks) unsalted butter, softened to room temperature
-
3/4 cup granulated white sugar
-
3/4 cup packed light brown sugar
-
2 large eggs, room temperature
-
2 teaspoons vanilla extract
-
1 teaspoon strawberry extract (optional, for intense flavor)
-
2 2/3 cups all-purpose flour
-
1 teaspoon baking soda
-
1/2 teaspoon salt
-
1/2 cup freeze-dried strawberries, finely ground into a powder
-
Pink or red food coloring (optional, for deeper color)
III. For the Cream Cheese Filling
-
8 ounces cream cheese, softened to room temperature
-
1/2 cup (1 stick) unsalted butter, softened to room temperature
-
3 to 4 cups powdered sugar, sifted
-
1 teaspoon vanilla extract
-
1/4 teaspoon salt
-
2 tablespoons strawberry puree (optional, for flavor) or 1 tablespoon freeze-dried strawberry powder
Step-by-Step Instructions
Part 1: Prepare the Strawberry Crunch Topping
-
Crush the Cookies: Place the Golden Oreos in a large zip-top bag or a food processor. Crush the cookies until they resemble a coarse crumb, leaving some larger pieces for optimal crunch texture.
-
Combine Dry Ingredients: Transfer the crushed Oreos to a medium bowl. Add the full box of strawberry gelatin mix. Stir until the powder is fully incorporated, coating all the cookie pieces.
-
Add Fat: Pour the 1/4 cup of melted butter over the crumb mixture. Use a fork or spatula to mix thoroughly until the crumbs are evenly moistened and begin to form small clusters.
-
Dry and Reserve: Spread the strawberry crunch mixture onto a parchment-lined baking sheet and let it dry out at room temperature while preparing the cookies. Alternatively, you can briefly bake the topping at 300°F for about 5 minutes to set the clusters, but this step is often omitted.
Part 2: Bake the Strawberry Cookies
-
Preheat and Prepare: Preheat your oven to 350°F (175°C). Line two large baking sheets with parchment paper.
-
Cream Butter and Sugars: In the bowl of a stand mixer fitted with the paddle attachment, or using a hand mixer, cream together the softened butter, granulated sugar, and brown sugar until light and fluffy (about 3–4 minutes).
-
Add Wet Ingredients: Beat in the eggs one at a time, mixing well after each addition. Add the vanilla extract, strawberry extract (if using), and food coloring (if desired).
-
Combine Dry Ingredients: In a separate medium bowl, whisk together the flour, baking soda, salt, and the finely ground freeze-dried strawberry powder.
-
Mix Dough: Gradually add the dry ingredients to the wet ingredients, mixing on low speed until just combined. Do not overmix; stop as soon as no streaks of flour remain.
-
Scoop and Bake: Scoop the dough into uniform balls (about 2 tablespoons each) and place them 2 inches apart on the prepared baking sheets.
-
Bake: Bake for 10–12 minutes, or until the edges are lightly golden but the centers still look slightly soft. The cookies will continue to set as they cool.
-
Cool: Let the cookies cool on the baking sheet for 5 minutes before transferring them to a wire rack to cool completely. They must be fully cool before assembling.
Part 3: Make the Cream Cheese Filling and Assemble
-
Whip Frosting Base: In a clean mixing bowl, beat the softened cream cheese and butter together until completely smooth and creamy. Ensure there are no lumps.
-
Add Flavor and Sweetener: Beat in the vanilla extract and salt. Gradually add the sifted powdered sugar, one cup at a time, until the frosting reaches a thick, pipeable consistency. If using, mix in the strawberry puree or strawberry powder.
-
Assemble Sandwiches: Match the cooled cookies into pairs based on size. Transfer the cream cheese filling to a piping bag fitted with a large round tip (or use a zip-top bag with the corner snipped off).
-
Pipe and Sandwich: Pipe a generous swirl of frosting onto the flat side of one cookie. Gently place the matching cookie on top and press lightly to secure the sandwich.
-
Add the Crunch: Roll the edge of each filled cookie sandwich through the reserved strawberry crunch topping, pressing gently so the filling is completely coated in the crumble.
-
Chill: Store the finished cookie sandwiches in an airtight container in the refrigerator for at least 30 minutes to allow the filling to set before serving.
The Nostalgic Inspiration: From Ice Cream Bar to Gourmet Cookie
The “Strawberry Crunch” concept is inextricably linked to the iconic Good Humor Strawberry Shortcake bar, a beloved frozen treat that dominated ice cream truck routes for decades. The bar’s genius lay in its simplicity: a core of strawberry and vanilla ice cream coated in a delicate layer of creamy frosting, all covered in a mixture of sweet, crunchy, pink and white crumbles. This textural interplay is the foundation of the cookie sandwich phenomenon.
Translating this freezer-aisle hero into a baked dessert required bakers to innovate, particularly concerning the signature crumb. The goal was to recreate the classic, slightly dense, buttery texture and bold, artificial pink hue of the original topping.
Replicating the Crunch: Jell-O vs. Freeze-Dried Fruit
Home bakers developed two primary, highly effective methods for recreating the essential strawberry crunch:
-
The Jell-O Method (Vibrant & Authentic): This is the most common and arguably the most authentic flavor-profile match. By mixing crushed Golden Oreos (or vanilla wafers) with melted butter and a box of strawberry gelatin mix, the topping achieves an incredible, uniform pink color and the distinct, slightly tart, artificial strawberry flavor reminiscent of the original ice cream bar. This method provides the vibrant color without the need for additional food coloring.
-
The Freeze-Dried Method (Intense & Natural): This method appeals to those seeking a deeper, more natural strawberry flavor. It combines crushed vanilla cookies with melted butter and ground freeze-dried strawberries. The freeze-dried fruit powder imparts an intense, concentrated berry taste and a more muted, natural pink color, often providing a more elevated, gourmet feel to the final product.
Regardless of the method chosen, the key to a successful crunch is texture management. The crushed cookie pieces should not be fine powder; they should retain a coarse texture with some larger clusters, which is best achieved by combining the melted butter with the dry ingredients and allowing them to set. This prevents the topping from simply disappearing into the frosting and ensures that satisfying crunch in every bite.
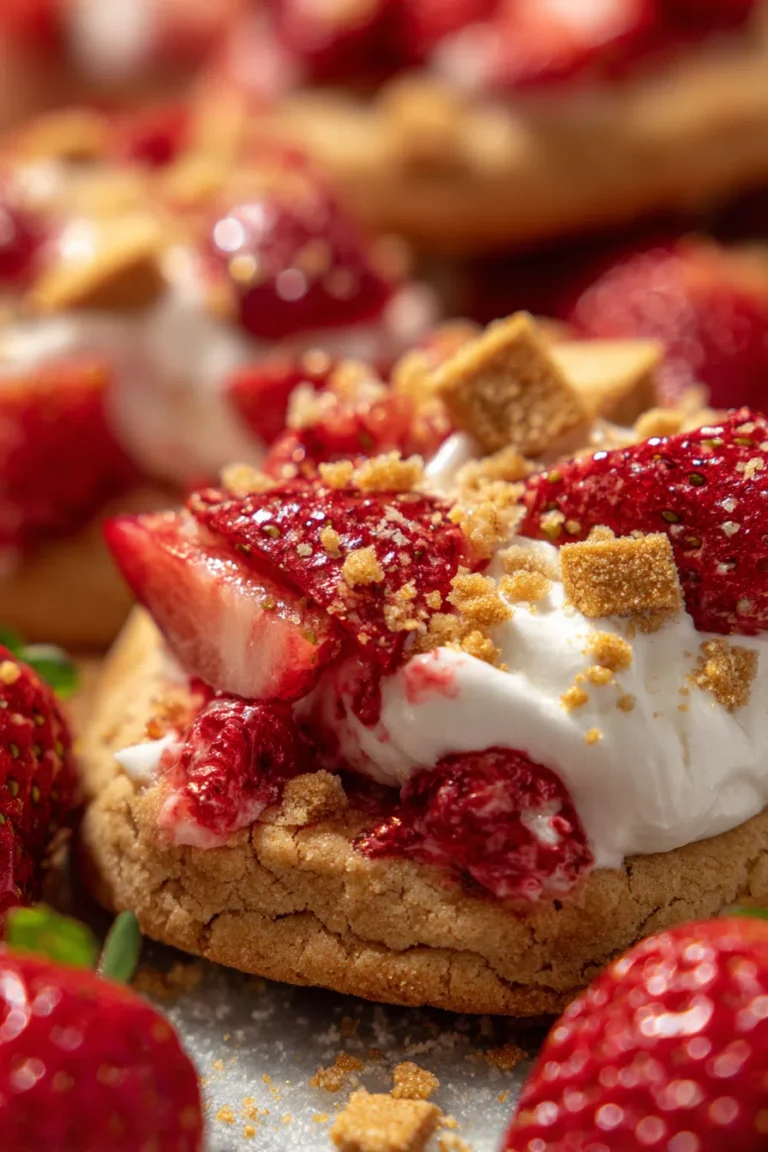
Mastering the Cookie Base: Achieving Ideal Structure and Flavor
The quality of the final sandwich relies heavily on the cookie base, which must be sturdy enough to hold the generous filling yet soft and tender enough to bite through easily. The cookie itself must contribute significant strawberry flavor without becoming dry.
The Two Pathways to the Perfect Cookie
Many popular recipes offer a dichotomy in cookie preparation: the quick shortcut and the refined scratch method.
1. The Cake Mix Shortcut
For bakers prioritizing speed and consistency, the strawberry cake mix method is a phenomenal hack. By simply combining a box of strawberry cake mix, eggs, and oil or melted butter, a perfectly pink, uniformly flavored, and reliably soft cookie dough is formed in minutes.
-
Tip for Elevation: To make the cake mix cookie taste less artificial, substitute half of the oil with melted butter and add 1 teaspoon of vanilla extract. Furthermore, adding a tablespoon of all-purpose flour to the mix helps the cookies retain a slightly thicker, more homemade structure that resists excessive spreading.
2. The Scratch-Made Technique
The superior flavor is often achieved through a carefully balanced scratch recipe, utilizing freeze-dried fruit for flavor depth and traditional creaming methods for texture.
-
The Power of Freeze-Dried Strawberries: When ground into a fine powder, these berries act as a natural flour, flavoring agent, and colorant. They provide a pure, intense strawberry note that cannot be matched by extracts or preserves alone.
-
Controlling the Spread: To ensure a thicker, softer sandwich cookie:
-
Chill the Dough: Refrigerate the scooped dough balls for at least 30 minutes. This solidifies the fats, preventing rapid spreading in the oven.
-
Use Proper Leavening: Ensure the recipe uses both baking soda (for spread) and baking powder (for rise) or a balance of baking soda and a slightly acidic ingredient (like brown sugar or cream of tartar) to achieve the perfect puff.
-
Avoid Over-Beating: After adding the flour, mix only until the dough comes together. Over-mixing develops gluten, which results in a tougher, less tender cookie, defeating the purpose of a soft sandwich.
-
The ideal strawberry cookie should be pale pink, possess a soft, slightly chewy center, and have edges that are just barely set, ensuring the final sandwich remains pliable when chilled.
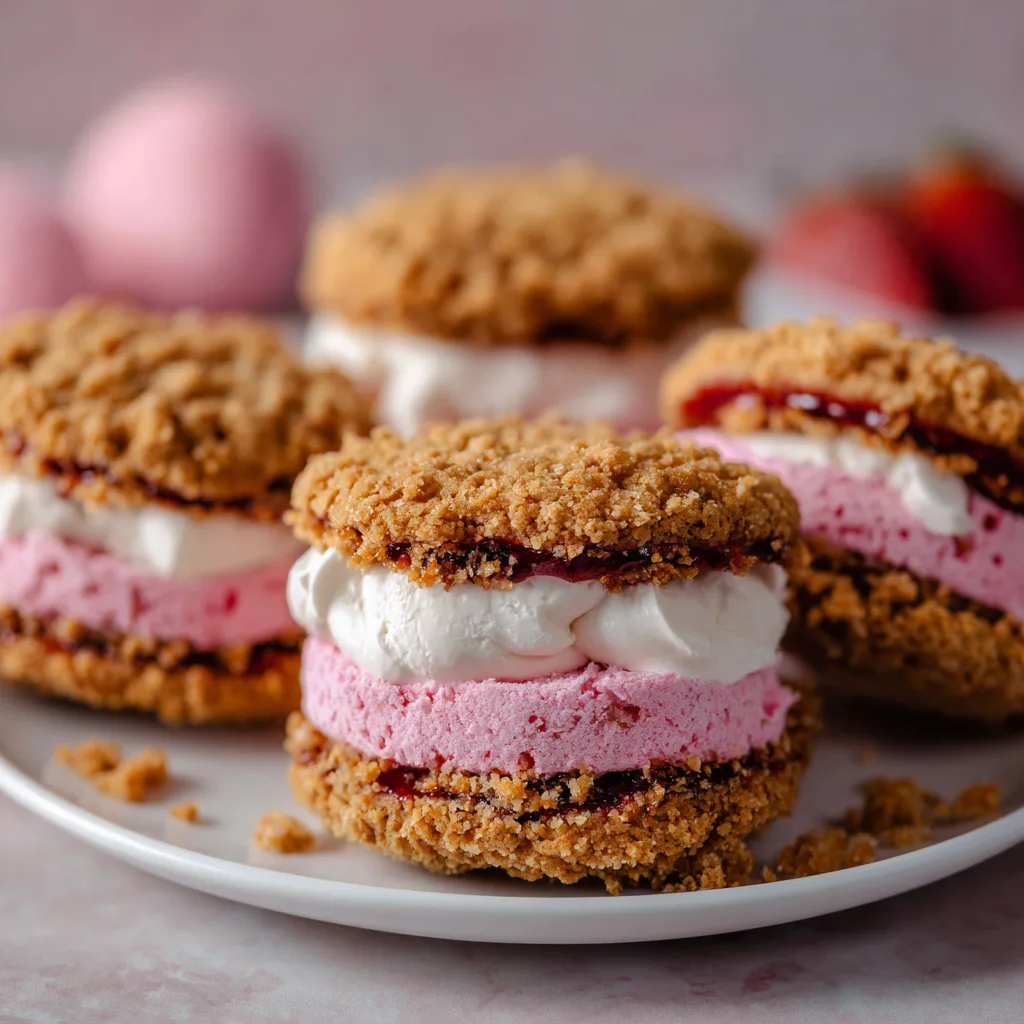
Perfecting the Filling and Assembly Techniques
The filling is the creamy, cooling contrast to the crunchy, sweet cookie exterior. The most common choice is cream cheese frosting, prized for its tangy profile that cuts through the sweetness of the strawberry cookie and the crunch topping.
The Essential Filling Varieties
-
Strawberry Cream Cheese Frosting (Recommended): The high fat content in cream cheese and butter ensures a stable filling that holds up well when pressed and refrigerated. To integrate the strawberry flavor, use finely ground freeze-dried strawberry powder, which colors and flavors the frosting without adding excess liquid that could destabilize the mixture. For a richer flavor, some recipes advocate for roasting fresh strawberries to create an intense, syrupy puree to swirl into the cream cheese base.
-
Classic Buttercream or Italian Meringue: For a lighter, sweeter profile, a standard American buttercream works well. For an ultra-stable, less sweet, and more professional filling, Italian meringue buttercream, incorporating strawberry puree or flavoring, is an excellent alternative, offering a silky smooth texture.
-
Ice Cream Sandwiches: For the ultimate summer treat, the filling is simply vanilla or strawberry ice cream. The technique requires softening the ice cream slightly, scooping it onto the cooled cookie, pressing the top cookie on, and freezing immediately before rolling the edges in the crunch.
Precision in Assembly
Achieving a clean, professional-looking cookie sandwich requires careful technique:
-
Piping vs. Spreading: While spreading the frosting with a knife works, using a piping bag (with or without a star tip) is superior. Piping ensures an even, consistent layer of filling across the surface of the cookie, which is crucial for a uniform appearance.
-
The “Jam Border” Technique: For an added layer of complexity and moisture, some gourmet recipes suggest piping a circle of cream cheese frosting around the perimeter of the bottom cookie and filling the empty center with a dollop of strawberry jam, puree, or curd. This provides a burst of juicy fruit flavor in the middle, mimicking the fruit center often found in classic shortcakes.
-
Applying the Crunch: The best method for coating is to gently hold the assembled sandwich vertically and roll the exposed filling edge through a shallow dish of the strawberry crunch. This ensures the topping adheres firmly only to the creamy filling, creating a clean, defined border. For maximum coverage, gently press additional crunch onto the sides using your fingers.
Storage, Serving, and Flavor Innovations
The final section of mastering the Strawberry Crunch Cookie Sandwich involves understanding how to store them for peak freshness, how to serve them for maximum enjoyment, and how to adapt the core recipe to new flavors.
Storing for Peak Quality
Due to the cream cheese or buttercream filling, these cookies are perishable and require refrigeration.
-
Refrigerator Storage: Store the finished sandwiches in an airtight container in the refrigerator for up to 3 to 5 days. For the best flavor and texture, allow the cookies to sit at room temperature for about 10–15 minutes before serving; this softens the cookie and filling slightly.
-
Freezer Storage (Long-Term): For longer storage, flash-freeze the assembled, crunch-coated cookies on a baking sheet until firm, then transfer them to a freezer-safe, airtight container or individually wrap them in plastic wrap. They can last in the freezer for up to two weeks, making them perfect for grab-and-go desserts.
Creative Flavor Twists
The strawberry crunch template is highly adaptable. By simply swapping the fruit flavor and adjusting the cookie base, countless variations can be created:
-
The Chocolate Crunch: Use chocolate Oreos (or plain chocolate wafers), chocolate cake mix (for the quick method), and a chocolate or vanilla pudding/Jell-O mix for the crunch. Pair with a chocolate ganache or peanut butter cream cheese filling.
-
Orange Creamsicle Crunch: Use Golden Oreos and Orange Gelatin mix for the crunch. The cookie base can be a standard vanilla or orange-flavored cookie. Fill with an orange-zest cream cheese frosting.
-
Lemon Blueberry Crunch: Use vanilla wafers and dehydrated blueberry powder for the crunch. Pair with a lemon shortbread cookie and a tangy lemon curd filling.
The Strawberry Crunch Cookie Sandwich is more than just a recipe; it is a construction project—a masterful blend of a perfectly flavored cookie, a rich and stable filling, and a meticulously crafted, nostalgic topping. By focusing on the structural integrity of the cookie and the delicate balance of the filling’s tang against the crunch’s sweetness, any baker can successfully recreate this sophisticated, yet deeply comforting, classic dessert.