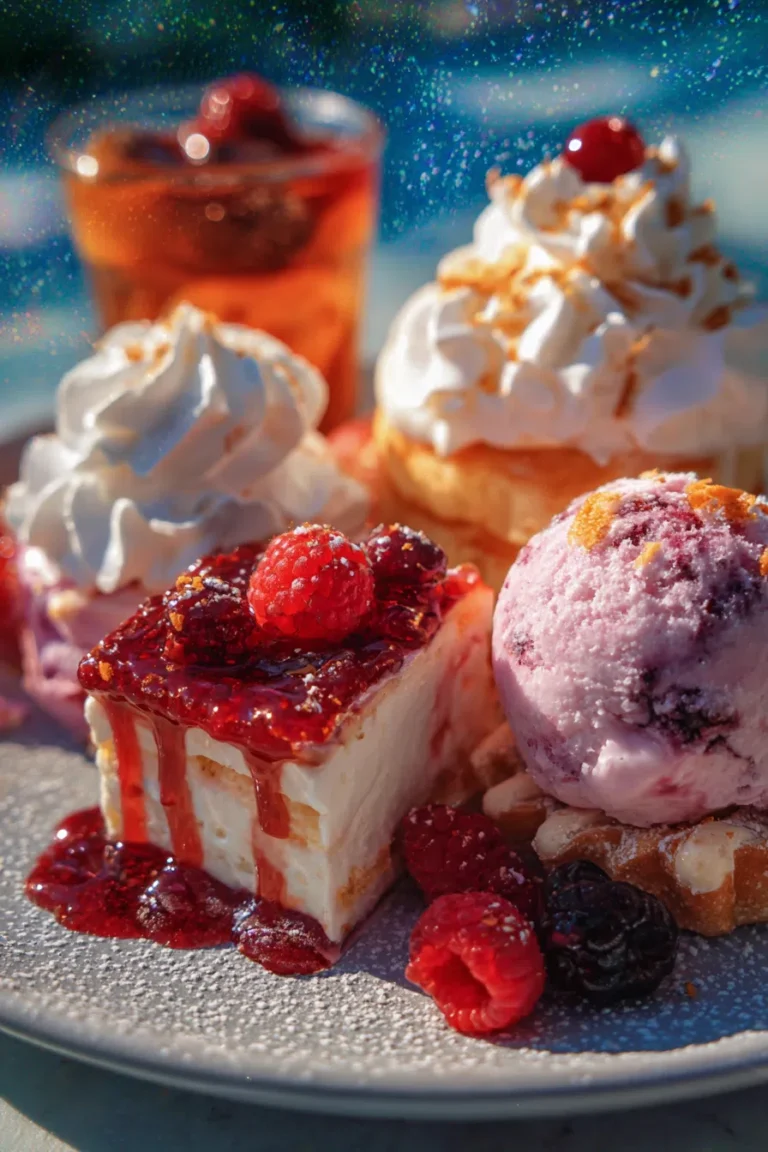
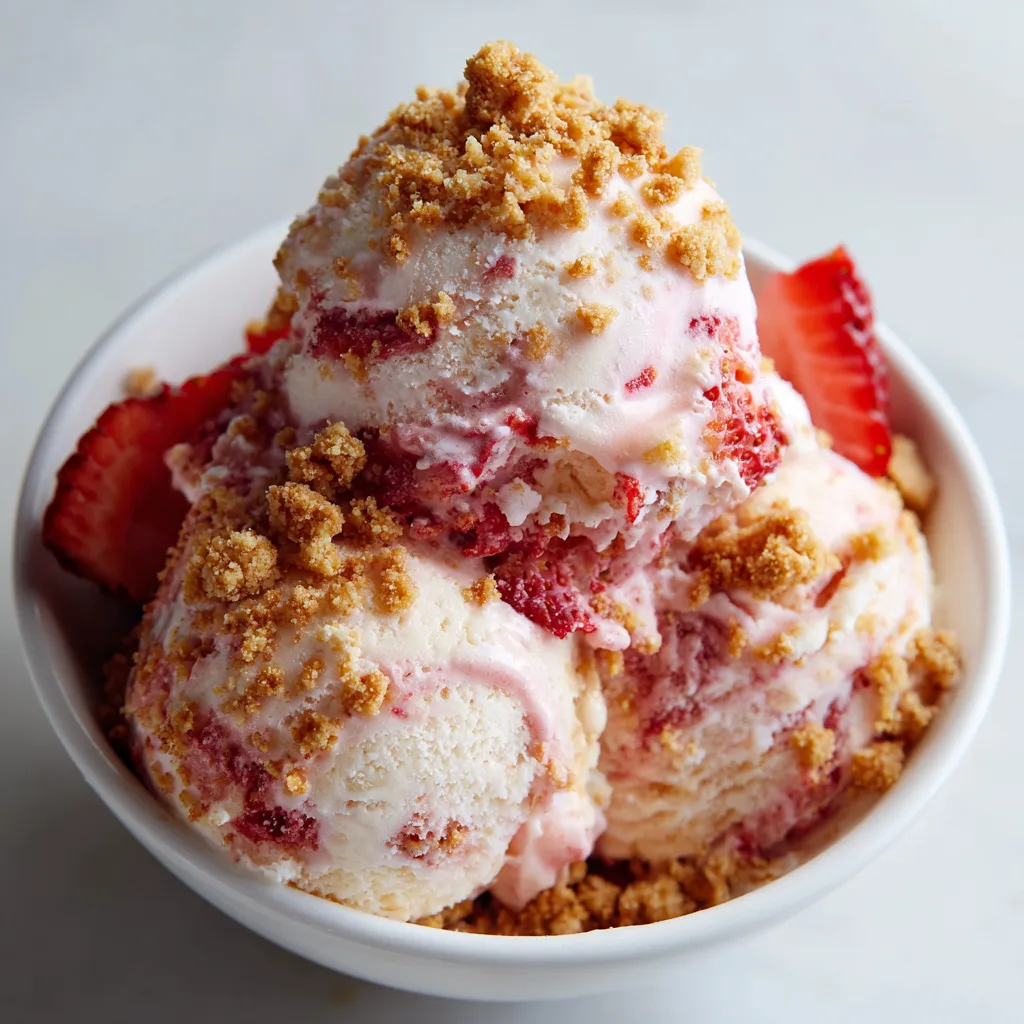
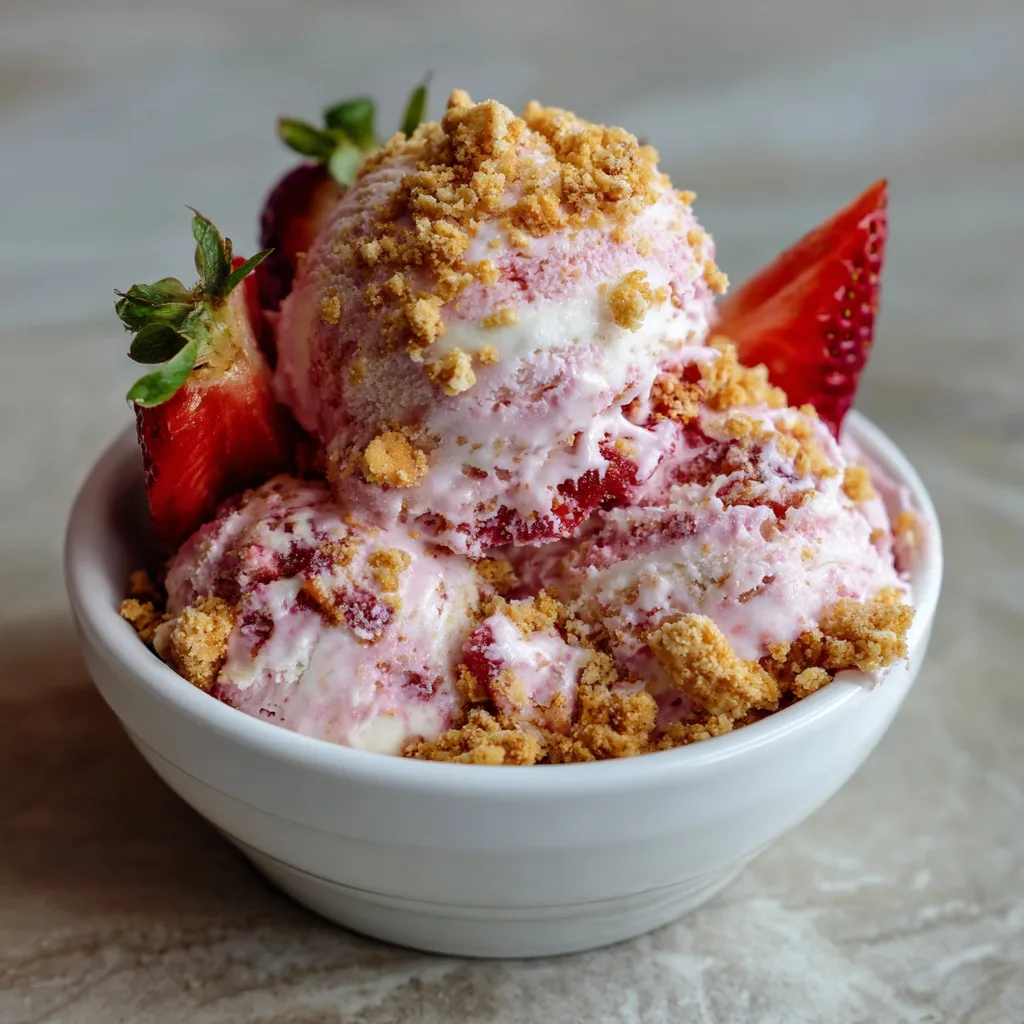
The Strawberry Crunch Cheesecake Ice Cream is more than just a dessert; it is a convergence of two beloved classics—the creamy indulgence of New York-style cheesecake and the satisfying, nostalgic texture of the iconic strawberry shortcake ice cream bar from childhood. This decadent hybrid brings together a rich, tangy cream cheese base, a bright ribbon of strawberry swirl, and a signature crispy, flavorful cookie crumble that delivers the ultimate balance of sweet, tart, creamy, and crunchy in every spoonful. Whether you are looking to recapture the joy of the ice cream truck or simply create a show-stopping frozen dessert, mastering this recipe yields an unforgettable homemade treat that truly elevates the standard frozen dessert.
The Essential Homemade Recipe
This recipe is designed for an ice cream maker to produce the creamiest base, incorporating all three key components: the cheesecake ice cream base, the homemade strawberry sauce, and the signature crunch topping.
Ingredients
For the Strawberry Crunch Topping:
-
1 cup Golden Oreo or vanilla wafer cookies, crushed
-
½ cup freeze-dried strawberries, powdered or finely crushed
-
2 Tbsp granulated sugar
-
4 Tbsp unsalted butter, melted
For the Strawberry Swirl Sauce:
-
1 ½ cups fresh or frozen strawberries, chopped
-
¼ cup granulated sugar
-
1 Tbsp cornstarch
-
1 Tbsp lemon juice (optional, for brightness)
-
2 Tbsp water
For the Cheesecake Ice Cream Base:
-
8 oz (1 block) full-fat cream cheese, softened
-
1 cup granulated sugar
-
2 cups heavy whipping cream
-
1 cup whole milk
-
1 tsp pure vanilla extract
-
½ tsp lemon juice (optional, to enhance tanginess)
Step-by-Step Instructions
1. Prepare the Strawberry Swirl Sauce Combine the chopped strawberries, sugar, cornstarch, lemon juice, and water in a medium saucepan. Heat over medium heat, stirring frequently, until the mixture thickens into a sauce (about 5-7 minutes). If you prefer a smoother sauce, blend briefly with an immersion blender. Remove from heat and transfer to a bowl. Refrigerate for at least 1 hour until completely cool.
2. Create the Signature Crunch Topping In a food processor, pulse the Golden Oreos or vanilla wafers until they form coarse crumbs. In a separate bowl, crush the freeze-dried strawberries until they form a fine powder (alternatively, use a strawberry gelatin mix for artificial color and flavor, if desired). Combine the cookie crumbs, strawberry powder/gelatin, granulated sugar, and melted butter. Mix well until the mixture resembles wet sand. Spread the mixture onto a parchment-lined baking sheet and bake for 8-10 minutes at 350°F (175°C) to set the crunch. Allow to cool completely, then break into crumbles. Reserve half for swirling and half for topping.
3. Churn and Assemble the Ice Cream In a large bowl, use a hand mixer or stand mixer to beat the softened cream cheese and sugar until the mixture is completely smooth and lump-free. Add the heavy cream, whole milk, vanilla extract, and lemon juice. Whisk until all ingredients are fully incorporated and homogenous. Chill the entire mixture for at least 4 hours, or ideally overnight. Pour the chilled mixture into your ice cream machine and churn according to the manufacturer’s instructions (usually 20-30 minutes), until the base reaches a soft-serve consistency.
4. Layer and Freeze To assemble, transfer one-third of the freshly churned ice cream base into a freezer-safe container (such as a loaf pan). Drizzle one-third of the chilled strawberry swirl sauce over the ice cream. Sprinkle one-third of the reserved crunch topping mixture. Using a knife or offset spatula, gently swirl the layers together 2-3 times—do not overmix. Repeat the layering process until all ingredients are used. Cover the container tightly with plastic wrap pressed directly onto the surface to prevent freezer burn. Freeze for 6 hours, or overnight, until firm.
Decoding the Crunch: Achieving the Perfect Texture
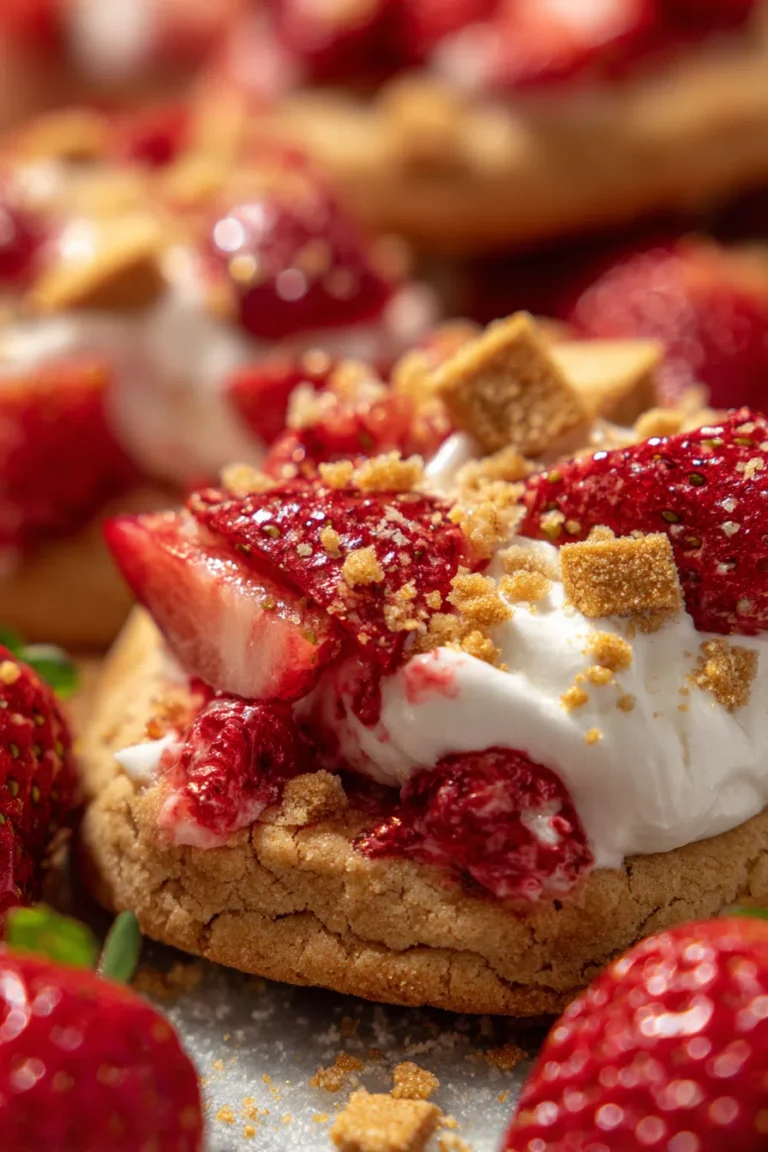
The “crunch” is arguably the most critical component, providing the textural contrast necessary to balance the creamy ice cream and smooth fruit swirl. This crumble is inspired by the coating of the famous ice cream bar, but its preparation requires specific consideration for optimal results in a frozen environment.
The foundational choice lies in the cookie base. While traditional recipes often use graham crackers, for true authenticity and flavor, many popular iterations favor Golden Oreo cookies or Nilla Vanilla Wafers. These provide a neutral, slightly buttery base that allows the strawberry flavor to dominate.
Key Methods for Flavoring the Crunch:
-
The Freeze-Dried Strawberry Method (Natural Color & Flavor): Using ground freeze-dried strawberries provides an intense, natural strawberry flavor and color without introducing excessive moisture that could lead to a soggy texture when mixed with melted butter. This is the cleaner, more professional method.
-
The Gelatin/Jell-O Method (Vibrant Color & Flavor Boost): For a more vivid pink color and a distinct, sweet, and slightly artificial “strawberry shortcake bar” flavor, some recipes use dry strawberry gelatin powder mixed into the crushed cookies and butter.
Preventing Soggy Crumbles:
Crucially, the crunch must resist the moisture of the ice cream. The best technique for achieving a sturdy, long-lasting crunch is to bake or toast the mixture lightly after combining it with melted butter. This step sets the cookie crumbs, making them more resilient to the moisture migration from the ice cream base and ensuring they remain crunchy even after several days in the freezer. Alternatively, if skipping the baking step for convenience, ensure the crumbs are added during the final layering stage, rather than incorporating them into the base mix, and use a high ratio of melted butter to coat the particles thoroughly.
The Cheesecake Component: Churned vs. No-Churn Methods
The “cheesecake” element of this dessert is achieved through the inclusion of cream cheese in the ice cream base itself, providing the characteristic tanginess and richness that sets it apart from simple strawberry ice cream.
The Classic Churned Method
As utilized in the main recipe, the churned method involves creating a custard-like base using heavy cream, milk, sugar, and a significant portion of softened, well-whipped cream cheese. The benefits are:
-
Superior Texture: Churning incorporates air and breaks down ice crystals, resulting in an exceptionally smooth, dense, and creamy texture typical of premium ice cream.
-
Authentic Flavor: The cream cheese is fully integrated into the base, delivering a consistent, tangy “cheesecake” note in every bite.
The Convenient No-Churn Alternative
For those without an ice cream maker, a no-churn approach is highly effective. This method relies on whipping heavy cream to stiff peaks and then folding it into sweetened condensed milk, which acts as both the sweetener and the stabilizer. To introduce the cheesecake flavor:
-
Whip softened cream cheese with powdered sugar and vanilla separately until smooth.
-
Fold this tangy cream cheese mixture into the whipped cream/condensed milk base.
While the no-churn base may be slightly lighter or icier than the churned version, it still provides the desired flavor profile and is a much faster preparation method, ready for the layering step immediately after mixing.
The characteristic “swirl” is achieved during assembly, not during the churning process. Whether using a churned or no-churn base, layering the ice cream, chilled sauce, and crunch, followed by a gentle folding motion, ensures distinct ribbons of flavor and texture throughout the final product.
Elevating the Experience: Serving Suggestions and Variations
This sophisticated, multi-layered dessert offers various presentation and flavor possibilities, making it highly adaptable for any occasion.
Creative Serving Applications
Beyond serving scoops in a bowl, the Strawberry Crunch Cheesecake Ice Cream can be adapted into several creative formats:
-
Ice Cream Bars: Layer the entire assembled mixture into an 8×8 inch pan. Once frozen, cut into bars and dip the sides or bottoms in melted white chocolate before rolling them in extra crunch topping for a perfect hand-held treat, directly mimicking its nostalgic inspiration.
-
Cheesecake Cones: Use the ice cream base (or a no-bake cream cheese filling) to fill sugar or waffle cones that have been previously dipped in melted white chocolate and coated with the crunch topping, creating a structurally sound and fun dessert.
-
Parfaits: Layer the ice cream, swirl, and crunch crumbles with fresh whipped cream and sliced strawberries in individual clear glasses for an elegant, portion-controlled dessert.
Flavor and Dietary Variations
To keep the concept fresh or to accommodate dietary needs, simple swaps can be made:
-
Vegan/Dairy-Free: Swap the dairy cream cheese and heavy cream for high-quality, full-fat vegan cream cheese and cashew cream or vegan heavy whipping cream substitutes, often utilizing the no-bake/no-churn method for simplicity.
-
Lemon-Berry Twist: Increase the amount of lemon zest and juice in both the cheesecake base and the strawberry sauce to brighten the profile and emphasize the tart notes of a classic New York cheesecake.
-
Chocolate Accent: Introduce mini white chocolate chips into the base mixture for added sweetness and texture, or use crushed chocolate Oreo cookies in place of Golden Oreos in the crunch topping for a chocolate-strawberry crunch combination.
Optimizing Storage and Quality
Maintaining the premium quality and delicate textures of homemade ice cream requires attention to proper storage, especially for a complex recipe involving crunchy and saucy inclusions.
Storage Best Practices:
-
Airtight Container: Always transfer the assembled ice cream from a loaf pan to a dedicated, airtight freezer container once it has initially firmed up. This minimizes exposure to air, which is the leading cause of ice crystals and freezer burn.
-
Press-on Plastic Wrap: Before sealing the container lid, press a layer of plastic wrap directly onto the surface of the ice cream. This creates an additional barrier against moisture and air.
-
Deep Freeze: Store the ice cream in the coldest part of your freezer, away from the door, where temperatures fluctuate most. A temperature of 0°F (-18°C) or lower is ideal.
-
Shelf Life: Homemade ice cream, due to the lack of commercial stabilizers, is best consumed within two weeks to enjoy the peak freshness of the crunch and the smoothest texture of the base.
The Perfect Scoop:
Allow the frozen dessert to temper on the counter for 5 to 10 minutes before attempting to scoop. This brief softening period, known as tempering, allows the dense, creamy base to become pliable, making it easy to slice through the layers of crunch and swirl and ensuring the most satisfying serving experience.