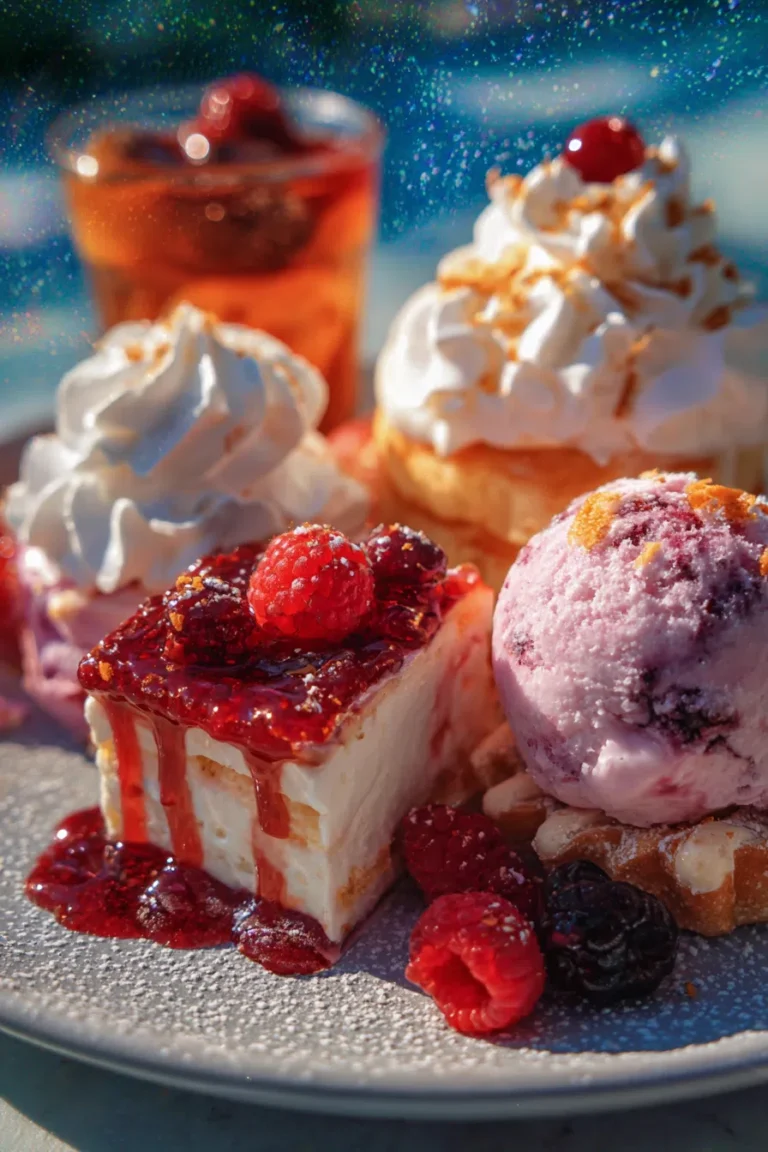
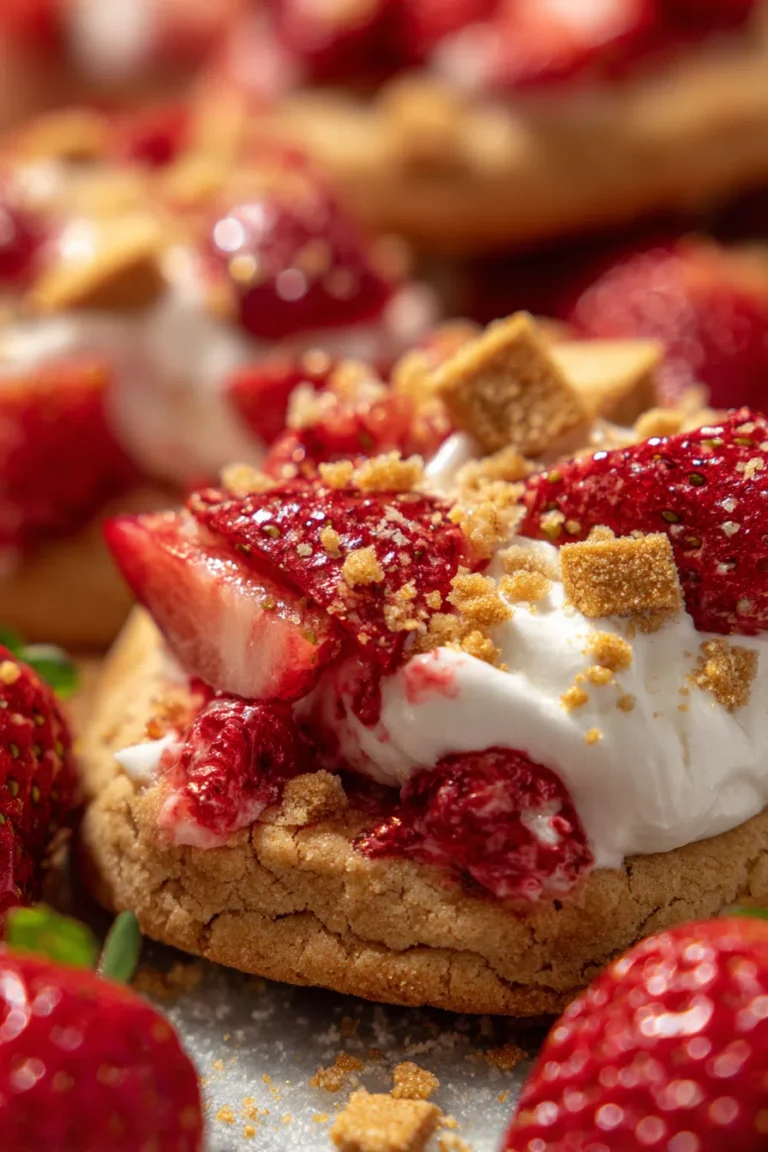
The Strawberry Cheesecake Cone is a modern dessert phenomenon, capturing the creamy indulgence of classic no-bake cheesecake and pairing it with the satisfying crunch of a decorated sugar or waffle cone. This dessert is celebrated for its irresistible combination of textures—the smooth, tangy filling, the fresh burst of strawberry, and the signature crunchy cookie crumble—all packaged in a portable, fun-to-eat format. Perfect for parties, summer gatherings, or a simple indulgent treat, mastering this recipe is simpler than you might think, provided you follow the expert techniques for preparing its distinct components.
Strawberry Crunch Cheesecake Cones
This recipe yields approximately 6-8 cones, depending on cone size.
Ingredients
For the Strawberry Crunch Topping
-
10-12 Golden Oreo cookies (or vanilla sandwich cookies)
-
2 tablespoons unsalted butter, melted
-
2 tablespoons Strawberry Gelatin powder (dry mix, not prepared)
-
Optional: 1 tablespoon instant French vanilla pudding mix (dry mix)
For the Decorated Cones & Glaze
-
6-8 Sugar cones or waffle cones
-
8 oz White chocolate melting wafers (or high-quality white chocolate)
-
1 teaspoon refined coconut oil or shortening (optional, for smooth dipping)
-
1 cup Powdered sugar (for optional glaze/drizzle)
-
2 tablespoons Milk or heavy cream (for optional glaze/drizzle)
For the No-Bake Cheesecake Filling
-
16 oz Full-fat cream cheese, softened to room temperature
-
1 cup Powdered sugar (confectioners’ sugar)
-
1 teaspoon Pure vanilla extract
-
½ cup Heavy cream (or 8 oz thawed Cool Whip for a lighter filling)
-
1 tablespoon Fresh lemon juice (optional, for tang)
For Garnishing
-
1 cup Fresh strawberries, finely diced, or sliced for topping
Step-by-Step Instructions
1. Prepare the Strawberry Crunch (Bake Method)
-
Preheat your oven to 350°F (175°C). Line a small baking sheet with parchment paper.
-
In a food processor, pulse the Golden Oreos until they form coarse crumbs—they should not be pulverized into a fine powder.
-
Transfer the crumbs to a bowl. Add the melted butter, dry Strawberry Gelatin mix, and optional instant pudding mix. Stir until the mixture resembles wet sand.
-
Spread the mixture onto the prepared baking sheet. Bake for 8-10 minutes, or until fragrant and slightly crunchy. Let it cool completely. Once cool, break up any large clumps to create a loose, crumbly texture.
2. Make the No-Bake Cheesecake Filling
-
Ensure the cream cheese is fully softened. In the bowl of a stand mixer or with a hand mixer, beat the cream cheese on medium speed until smooth and creamy (about 2 minutes).
-
Add the powdered sugar, vanilla extract, and lemon juice (if using). Beat until combined, smooth, and lump-free, scraping down the sides of the bowl.
-
In a separate chilled bowl, whip the heavy cream until stiff peaks form. Alternatively, gently fold in the thawed Cool Whip.
-
Gently fold the whipped cream (or Cool Whip) into the cream cheese mixture with a spatula until just combined. Overmixing will deflate the filling.
-
Transfer the filling to a piping bag fitted with a large star tip (or a large Ziploc bag with the corner snipped) and chill for at least 30 minutes to firm up.
3. Decorate the Cones
-
Melt the white chocolate melting wafers (and coconut oil, if using) in a microwave-safe bowl in 30-second intervals until smooth.
-
Pour the cooled strawberry crunch onto a flat plate.
-
Dip the rim of each cone into the melted white chocolate, rotating to coat evenly. Gently shake off the excess chocolate.
-
Immediately press the chocolate-dipped cone rim into the strawberry crunch mixture, twisting gently to coat thoroughly.
-
Place the decorated cones upright in a glass or a cone stand to allow the chocolate to set completely (about 10-15 minutes).
4. Assembly and Serve
-
Pipe the chilled cheesecake filling into the prepared cones, starting at the bottom and spiraling upward to create a beautiful, ice cream-like swirl on top.
-
Garnish the top of the filling with finely diced fresh strawberries.
-
Optional: Whisk together the powdered sugar and milk/cream to create a quick glaze, and drizzle it over the finished cones.
-
Serve immediately or chill until ready to enjoy.
The Anatomy of a Perfect Cheesecake Cone
The success of the Strawberry Cheesecake Cone hinges on the meticulous preparation of its three distinct structural elements: the cone, the filling, and the crunch topping. These components must work in harmony, offering contrasting textures and complementary flavors.
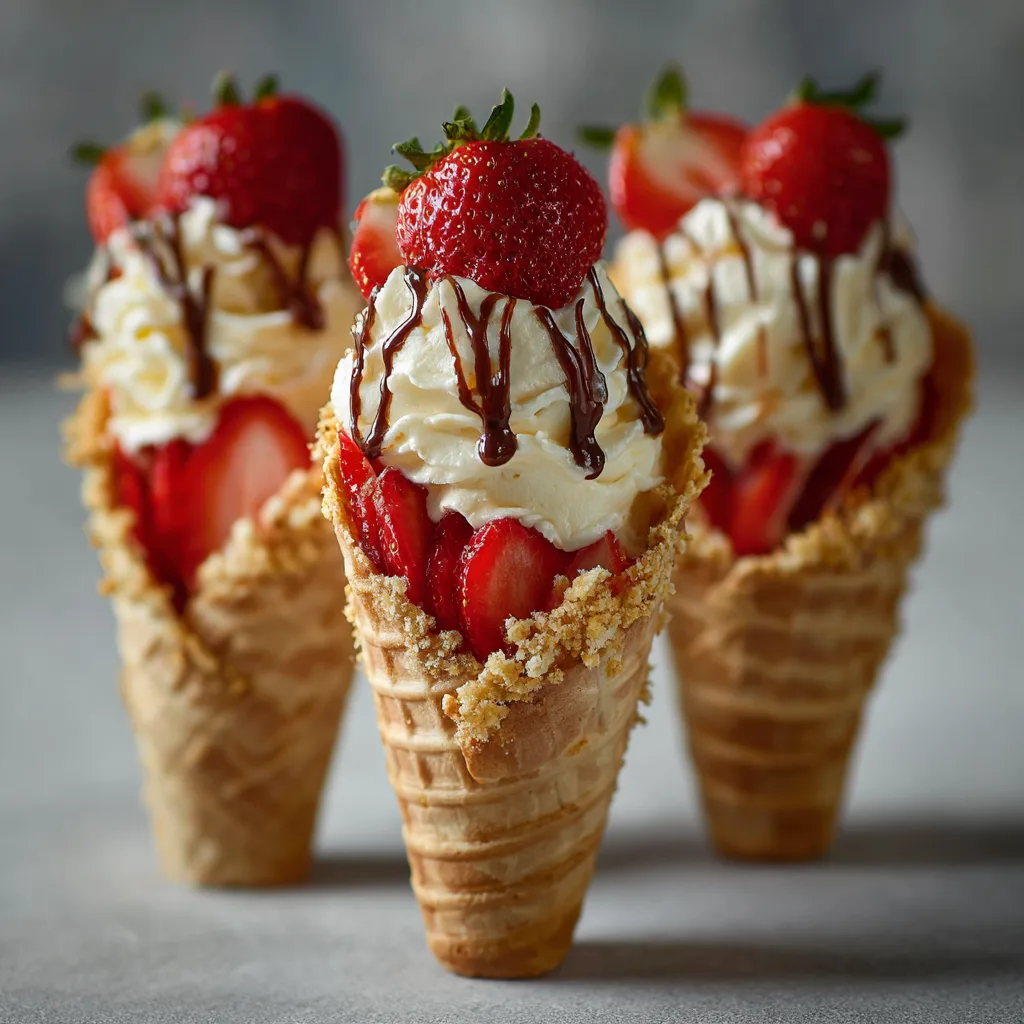
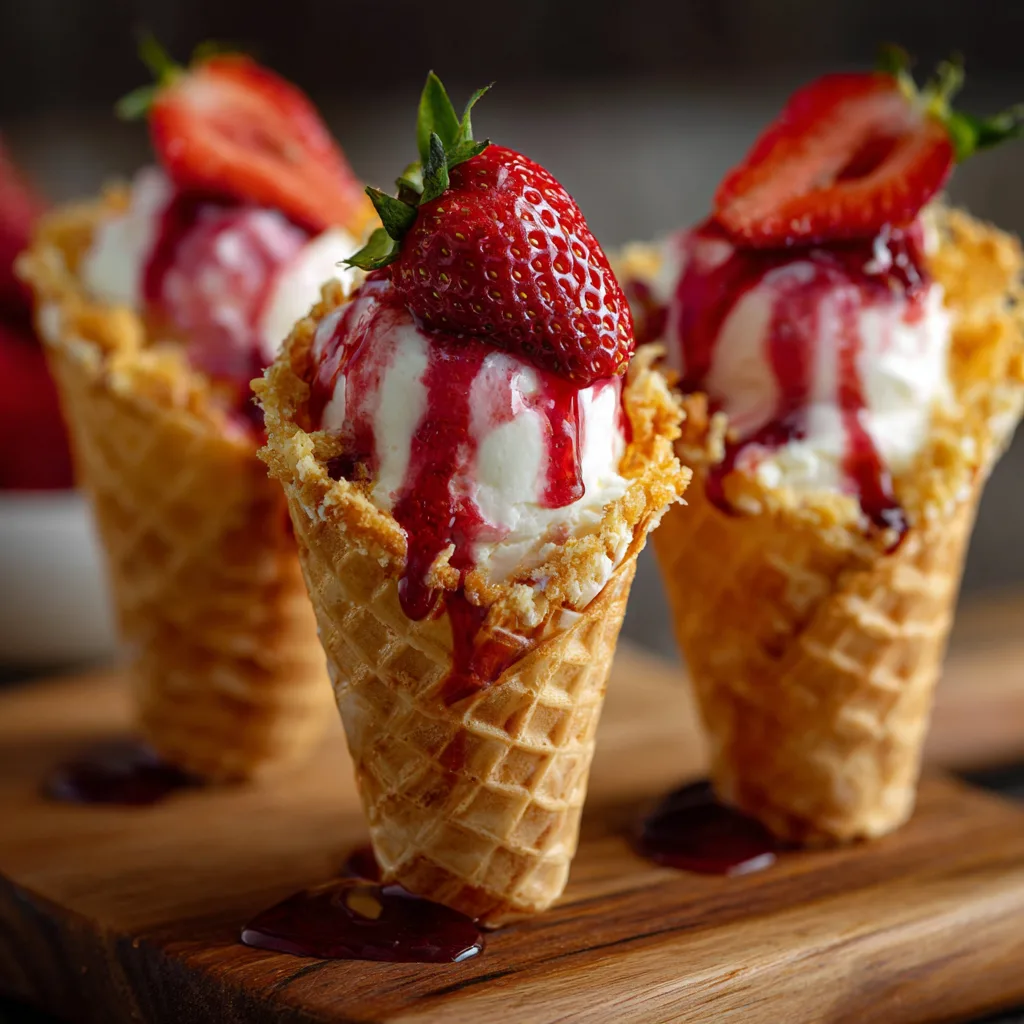
The Cone acts as the crucial vessel. While sugar cones are a durable, classic choice, the larger surface area and robust structure of a waffle cone often make it the preferred canvas for decoration and holding the substantial filling. It’s important that the cone is fresh to maximize its inherent crispness, which provides a satisfying textural contrast to the creamy filling.
The No-Bake Filling must achieve a delicate balance of flavor and structure. A good filling is tangy and sweet, utilizing full-fat cream cheese for richness and a touch of lemon juice to cut through the sweetness. Structurally, it must be firm enough to hold a piped shape without being dense or overly heavy. This rigidity is typically achieved by folding in stiffly whipped heavy cream or a stable alternative like frozen whipped topping.
Finally, the Strawberry Crunch Topping is the defining feature. Inspired by the classic strawberry crunch ice cream bar, this element provides color, flavor, and a necessary textural counterpoint. It is most often created by crushing vanilla cookies (like Golden Oreos) and blending them with dry strawberry gelatin mix and a binder like melted butter or white chocolate. The complexity of this dessert lies in marrying these three elements effectively into a cohesive, non-soggy treat.
Mastering the No-Bake Cheesecake Filling
The key to a flawless cheesecake cone lies in a filling that is both smooth in texture and stable enough to pipe and hold its shape. The filling is essentially a simplified, stabilized no-bake cheesecake mousse.
To begin, temperature is paramount. Ensure your full-fat cream cheese is completely softened to room temperature. This simple step is critical; cold cream cheese will resist blending, resulting in a lumpy, grainy filling that cannot be salvaged once the whipping begins. Beat the softened cream cheese first, smoothing out any resistance before introducing the powdered sugar. Powdered sugar is preferred over granulated sugar because its fine texture dissolves instantly, preventing a gritty mouthfeel and aiding in the filling’s stability.
The structure of the filling is built on a dairy base—either heavy whipping cream or a stabilized whipped topping like Cool Whip. If opting for homemade whipped cream, ensure your mixing bowl and whisk attachment are chilled. Whipping the heavy cream separately until it reaches stiff peaks before folding it into the cream cheese mixture is the most reliable method for achieving the desired light yet firm consistency. Folding should be gentle and brief; use a rubber spatula to cut through the center and scoop from the bottom, turning the bowl slowly. This technique prevents the delicate air bubbles in the whipped cream from deflating. If your filling seems too soft, a quick chill in the refrigerator for 30–60 minutes prior to piping will help it firm up dramatically.
Crafting the Signature Strawberry Crunch Topping
The signature “Strawberry Crunch” is what elevates this dessert from a simple filled cone to an iconic treat. The topping is a carefully engineered crumble designed to offer maximum flavor and crispness.
The base of the crunch is typically a vanilla sandwich cookie, such as Golden Oreos. The crushing technique is important: use a food processor to pulse the cookies until they are coarse crumbs, avoiding the mistake of turning them into fine dust. The ideal texture should resemble wet sand with small, distinguishable pieces remaining to ensure a satisfying bite. The distinct pink hue and strawberry flavor are achieved by blending in dry strawberry gelatin powder. In some recipes, melted butter is added, and the mixture is briefly baked to set the crunch, enhancing its stability and preventing it from becoming oily. Other variations omit the butter and baking, relying on crushed freeze-dried strawberries and the gelatin mix for flavor.
The crunch is applied by dipping the cones into a binder, most commonly melted white chocolate. High-quality melting wafers work best for a smooth, even coating. A small addition of coconut oil or shortening can improve the chocolate’s viscosity, making it thinner and easier to dip and ensuring a clean application. Once the cone is dipped and the excess chocolate is shaken off, it is immediately rolled or pressed into the prepared strawberry crunch. It is crucial to work quickly, as the white chocolate sets fast, and the crunch must adhere while the surface is still wet. Allow the decorated cones to set fully before filling them to prevent the coating from cracking or crumbling during the piping process.
Expert Techniques for Seamless Assembly and Presentation
The final assembly transforms the individual components into a polished dessert. Utilizing the right tools and techniques can ensure your cones look as professional as they taste.
Piping for Professionalism: While scooping the filling into the cone is possible, using a piping bag (with a large star tip, like Wilton 1M or 2D) is essential for a beautiful presentation. The star tip creates an elegant, ridged swirl that mimics the appearance of a soft-serve ice cream cone. For the best result, fill the piping bag and twist the top to seal, then pipe the filling into the cone in a continuous spiral, starting deep within the cone and working your way up and out.
Preventing Soggy Cones: The biggest challenge when making any filled cone is preventing the shell from absorbing moisture from the filling and becoming soggy. The white chocolate coating applied in Step 3 serves a dual purpose: it acts as a decorative adhesive for the crunch and a moisture barrier for the cone itself. For longer-term storage (up to a day), some chefs also recommend coating the entire interior of the cone with a thin layer of melted white chocolate before applying the external crunch layer. This provides a complete seal, maximizing the cone’s crispness.
Garnishing and Serving: The final touch is the garnish. Freshly diced strawberries should be added right before serving, as they can bleed moisture into the filling if left for too long. For an elevated presentation, consider creating delicate strawberry roses: starting from the bottom of a small strawberry, make a series of thin, overlapping cuts around the sides, gently fanning out the slices to mimic petals. Serve the cones upright in a designated cone stand, a small juice glass, or a muffin tin for easy display and handling.
Flavor Variations, Storage, and Troubleshooting
The Strawberry Cheesecake Cone is highly adaptable, allowing for countless flavor customizations and providing flexibility for the home baker, provided a few storage rules are observed.
Creative Flavor Variations:
-
Berry Swaps: Substitute the strawberry components with other fruit flavors. Use crushed vanilla wafers mixed with blueberry gelatin powder, and fold fresh blueberries into the filling for a Blueberry Cheesecake Cone. Similarly, use peach gelatin and diced peaches.
-
Chocolate Infusion: Use dark chocolate melting wafers instead of white chocolate for the cone dip and swap the Golden Oreos for Chocolate Oreos to create a Chocolate Strawberry Cheesecake Cone.
-
Gourmet Additions: Incorporate other crunchy elements. Replace the Golden Oreos with crushed Biscoff (speculoos) cookies and fold warmed Biscoff spread into the cream cheese filling for a rich, caramel-flavored twist. You can also fold finely chopped nuts, such as pecans or almonds, into the crunch mixture for added complexity.
Make-Ahead and Storage Tips: This dessert is at its best when assembled and consumed within a few hours. However, individual components can be prepared in advance:
-
Cheesecake Filling: The filling can be made up to two days ahead and stored in an airtight container in the refrigerator. Transfer to a piping bag just before assembly.
-
Strawberry Crunch: The crumble can be baked and stored in an airtight container at room temperature for up to a week.
-
Decorated Cones: Cones dipped in chocolate and crunch can be prepared a day ahead and stored at room temperature in an airtight container, ensuring they are not exposed to humidity.
Crucial Troubleshooting:
-
Soggy Cones: As mentioned, this is the primary issue. Always create a moisture barrier (white chocolate) and only fill the cones right before serving.
-
Runny Filling: If the filling is too thin, it is usually due to using cold cream cheese or over-mixing the whipped cream/folding it in too roughly. Chill the filling for a minimum of 4–6 hours, or add a stabilizing agent like 1-2 tablespoons of instant pudding mix (dry) to the cream cheese mixture to aid in thickening.
-
Lumpy Filling: This is caused by using cold cream cheese. If lumps appear, ensure your mixture is well-scraped down, and beat on medium speed for an additional minute. If the lumps persist, chilling and hoping for the firmness to mask them is often the only remaining solution.