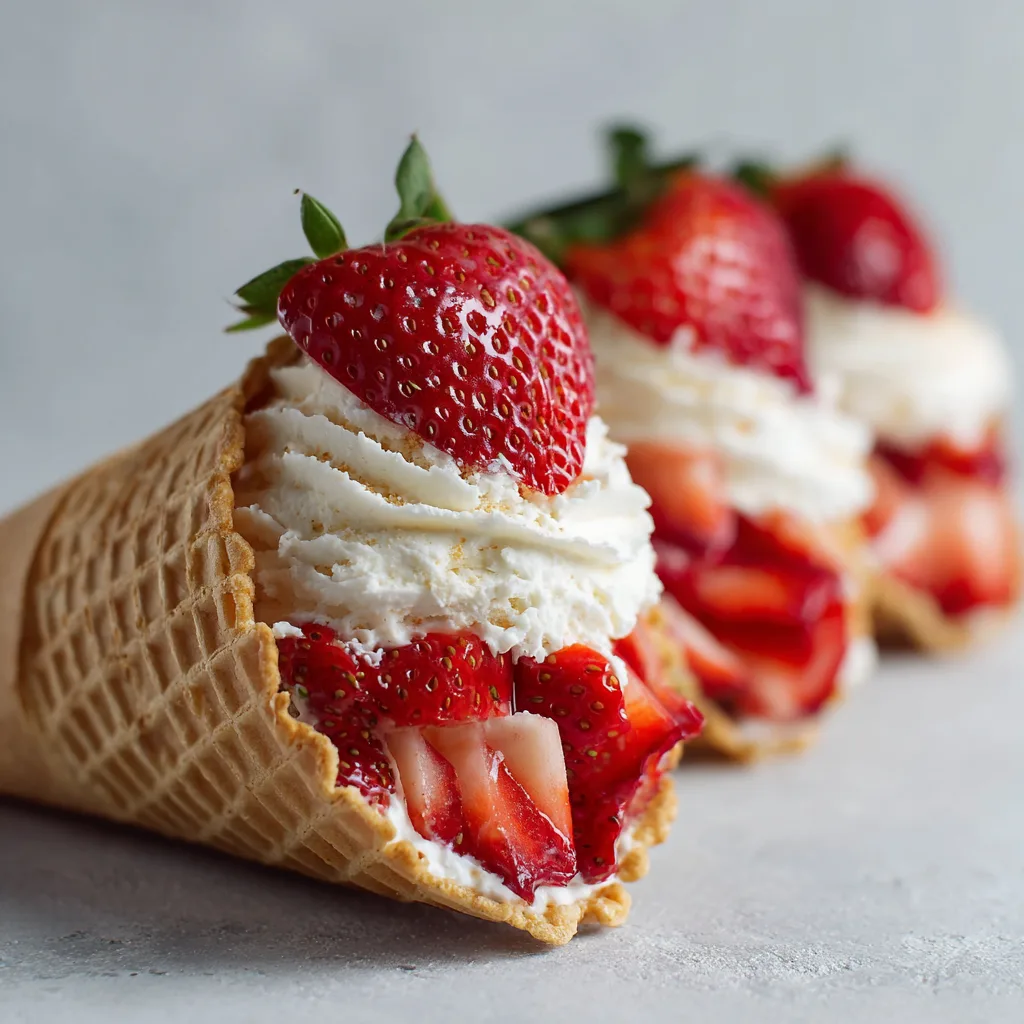
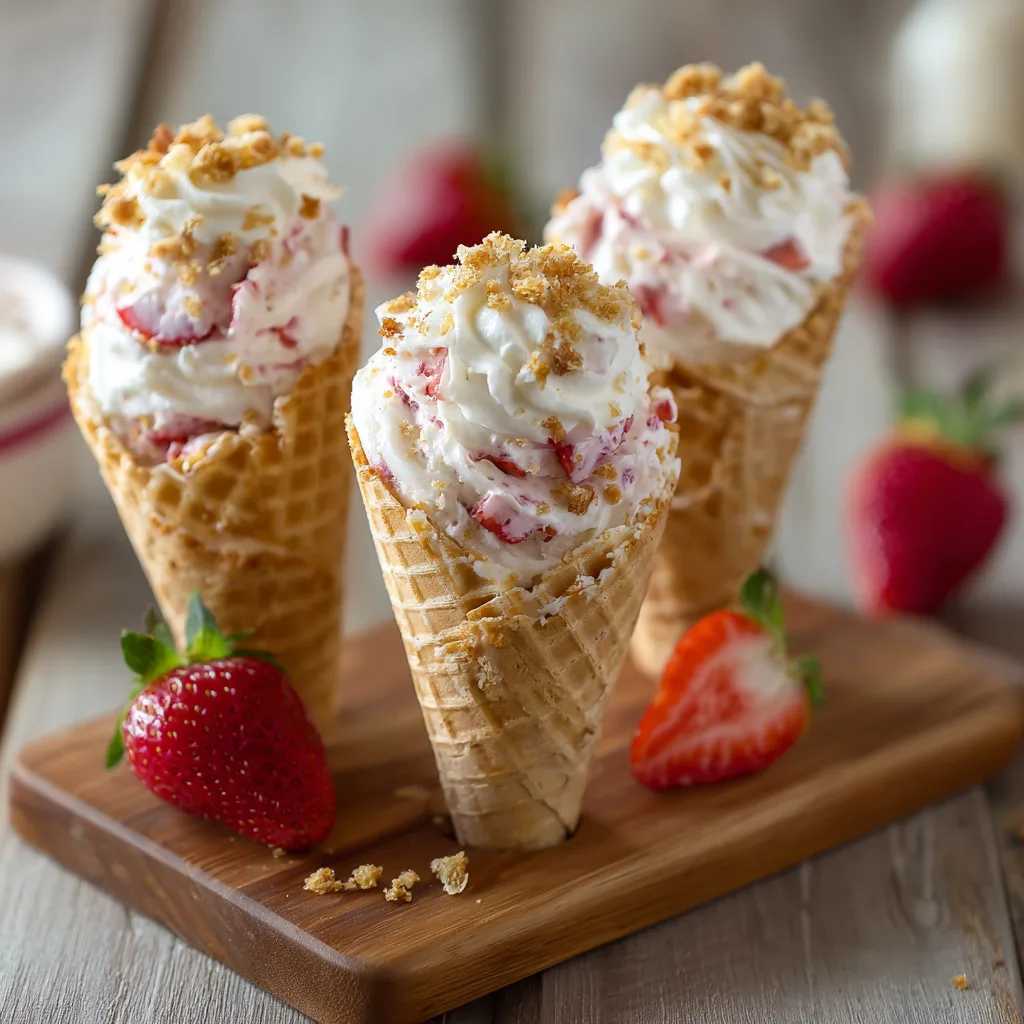
The Strawberry Cheesecake Cone is the epitome of trend-setting desserts, combining the nostalgic crunch of a classic ice cream bar with the creamy, tangy sophistication of no-bake cheesecake. This handheld masterpiece offers a delightful textural contrast: a sturdy, chocolate-coated cone rim, a vibrant strawberry crunch topping, and a light, airy cheesecake filling, all crowned with fresh, juicy fruit. It’s the perfect party dessert—fun to make, easy to serve, and guaranteed to impress.
Ingredients
This recipe yields approximately 6–8 cones, depending on cone size.
For the Strawberry Crunch Coating & Cones:
-
6–8 Waffle Cones or Sugar Cones
-
10–12 Golden Oreo Cookies (or vanilla wafers)
-
3 tablespoons Strawberry Gelatin Powder (Jello mix, dry)
-
2 tablespoons Unsalted Butter, melted (optional, for baking the crunch)
-
8 ounces White Chocolate Melting Wafers or Chips
-
2 tablespoons Freeze-Dried Strawberries, crushed (optional, for intense flavor)
For the No-Bake Cheesecake Filling:
-
16 ounces Full-Fat Cream Cheese, fully softened to room temperature
-
1 cup Heavy Whipping Cream (cold)
-
1 cup Powdered Sugar, sifted
-
1 teaspoon Pure Vanilla Extract
-
1 teaspoon Lemon Juice or Sour Cream (optional, for tang)
For the Garnish:
-
½ cup Fresh Strawberries, finely diced
-
Reserved Strawberry Crunch Crumble
Step-by-Step Instructions
1. Prepare the Strawberry Crunch Crumble
-
In a food processor, pulse the Golden Oreos until they form small, textured crumbs—avoid pulverizing them into a fine dust.
-
Transfer the crumbs to a medium bowl and stir in the dry Strawberry Gelatin powder and crushed freeze-dried strawberries (if using).
-
Optional Baking Step (for extra crunch): Add the melted butter and mix until the crumbs resemble wet sand. Spread the mixture on a parchment-lined baking sheet and bake at 350°F (175°C) for 8–10 minutes, or until fragrant and lightly set. Cool completely, then break up any clumps. Reserve 2 tablespoons for garnish.
2. Coat and Decorate the Cones
-
Melt the white chocolate melting wafers in a microwave-safe bowl in 30-second intervals, stirring until completely smooth.
-
Dip the rim of each waffle cone (about the top third) into the melted white chocolate. Gently shake off any excess.
-
Immediately roll or press the white chocolate-coated rim into the prepared Strawberry Crunch Crumble.
-
Place the decorated cones upright on a parchment-lined tray (or in small juice glasses) and let them set for 30 minutes, or speed up the process by placing them in the refrigerator for 5–10 minutes until the chocolate is fully hardened.
3. Make the No-Bake Cheesecake Filling
-
In a large, chilled mixing bowl, use a hand or stand mixer to whip the cold heavy whipping cream until stiff peaks form. Set the whipped cream aside in the refrigerator to keep it cold and stable.
-
In a separate bowl, beat the softened cream cheese until light, fluffy, and completely smooth. This step is critical to prevent lumps.
-
Add the sifted powdered sugar, vanilla extract, and optional lemon juice/sour cream to the cream cheese mixture. Beat on medium speed until fully incorporated and creamy.
-
The Fold: Using a rubber spatula, gently fold the whipped cream into the cream cheese mixture in three stages. Be careful not to deflate the air you’ve whipped into the cream, aiming for a smooth, homogenous, and airy filling.
4. Assemble and Chill
-
Transfer the cheesecake filling to a piping bag fitted with a large star tip (or a large Ziploc bag with the corner snipped off).
-
Layering Tip: Place a small spoonful of reserved strawberry crunch or diced fresh strawberries into the bottom of each cone before piping the filling.
-
Pipe the cheesecake filling into the prepared cones, creating a swirl or dome at the top.
-
Garnish the top of each cone with a spoonful of diced fresh strawberries and a light sprinkle of the reserved strawberry crunch crumble.
-
Chill the finished cones in the refrigerator for at least 30 minutes to allow the filling to set completely before serving.
Mastering the Strawberry Crunch and Cone Base
The signature “crunch” is what elevates this dessert from a simple cheesecake to a textural experience. Achieving the ideal coating requires attention to both the crumble composition and the chocolate dipping technique.
The Perfect Crumble Composition
The traditional Strawberry Crunch is a blend of crushed Golden Oreos (or vanilla wafers) and a red flavoring agent.
-
Jello Powder vs. Freeze-Dried Berries: Many recipes use dry strawberry gelatin powder (Jello mix) for intense color and flavor. For a more authentic, less artificial strawberry taste, crushed freeze-dried strawberries are an excellent substitute or addition. They offer a deep, natural flavor and a vibrant pink hue. Combining both yields the best results: the Jello powder for sweetness and color, and the freeze-dried berries for genuine fruit flavor.
-
The Crumble Texture: Use a food processor, but pulse carefully. The goal is a mix of fine and coarse crumbs, resembling wet sand, not a fine powder. This ensures a satisfying crunch when the cone is bitten. If baking the mixture (as some recipes suggest), let it cool completely before using to maintain its crispness.
Flawless Dipping Technique
The white chocolate acts as the adhesive for the crunch, but also serves as a moisture barrier to prevent the cone from quickly softening once filled.
-
Chocolate Quality: Use high-quality white melting wafers or chips. They melt smoothly and harden quickly, providing a better, more stable coating than standard white chocolate bars.
-
The Barrier Effect: Ensure the top third of the cone is completely coated in chocolate, as this is the area most exposed to the creamy filling. Once dipped, tap the cone gently to remove excess chocolate before rolling it into the crumble. A thick, uneven coating will make the dessert heavy and messy.
-
Setting Time: Allow the chocolate to harden fully before adding the filling. This crucial step guarantees the cone stays crisp. Rushing this process will lead to a soft cone and a less defined rim.
Achieving the Perfect No-Bake Cheesecake Filling
The filling must be creamy, tangy, and structurally sound enough to hold its shape within the cone, especially when piped. A classic no-bake recipe is essential here.
Temperature and Texture Tips
The secret to a silky, lump-free no-bake filling is mastering the temperature of your ingredients.
-
Cream Cheese: The cream cheese must be fully at room temperature. Cold cream cheese will result in a lumpy filling, even with prolonged mixing. Beat the cream cheese alone first until it is smooth and completely uniform before adding any sugar or liquid.
-
Whipped Cream Stability: Use cold heavy whipping cream and whip it in a chilled bowl until stiff peaks form. The cold temperature helps stabilize the structure of the whipped cream, which in turn acts as the primary stabilizer for the entire cheesecake filling. Avoid overmixing, which can cause the cream to break.
-
Folding Technique: The final step of folding the whipped cream into the cream cheese mixture must be done gently with a rubber spatula. This is a crucial step to prevent deflating the cream, which is what gives the filling its light, airy, and fluffy texture, preventing it from being dense.
Enhancing the Flavor Profile
While classic vanilla is delicious, small additions can elevate the cheesecake tang.
-
The Tang Factor: A tablespoon of fresh lemon juice or sour cream, as suggested in some top recipes, introduces a pleasant tartness that cuts through the sweetness of the white chocolate and strawberry crunch, mimicking the natural acidity of a baked cheesecake.
-
Adding Strawberry Flavor: To infuse the filling itself, you can fold in a small amount of strawberry jam or seedless strawberry preserves after the filling is assembled, or gently incorporate crushed freeze-dried strawberries for concentrated flavor without adding excess moisture.
Exciting Variations and Presentation
Once you master the classic Strawberry Crunch cone, the door is open for creative flavor mash-ups and stunning presentation techniques.
Flavor Swaps and Combinations
The “crunch cone” concept is highly adaptable.
-
Chocolate Crunch: Swap the Golden Oreos for classic Chocolate Oreos and use a dark or milk chocolate dip for a rich chocolate-strawberry profile.
-
Peach Cobbler Cones: Use vanilla wafers for the crunch, swap strawberry gelatin for peach gelatin mix, and garnish with fresh diced peaches. A touch of cinnamon in the crumble mimics the cobbler flavor.
-
Triple Berry: Incorporate small, fresh blueberries or raspberries into the filling or use a blend of crushed freeze-dried berries in the crunch for a more complex fruity taste.
-
Glazed Finish: For extra moisture and shine, prepare a simple milk and powdered sugar glaze (or a thin strawberry jam glaze) to drizzle over the piped filling before adding the final crunch garnish.
Presentation for Showstopper Status
The visual appeal is key to this dessert’s popularity.
-
Piping is Priority: Using a large star tip (like a Wilton 1M) creates an elegant, ice cream-like swirl that makes the cone look professionally finished.
-
The Strawberry Rose: For a sophisticated garnish, create a simple strawberry rose. Starting near the bottom, make thin, overlapping slices around the berry, gently fanning them out to mimic petals. Place one on top of the cream filling for a stunning centerpiece.
-
Interior Layers: For a pleasant surprise, add a thin layer of strawberry sauce or diced berries halfway through the filling process. Pipe a layer of cheesecake, spoon in the fruit, and then top with the final cheesecake layer.
Preparation, Storage, and Serving Secrets
Serving these cones requires strategic preparation to maintain the crispy integrity of the cone and the stability of the filling.
The Make-Ahead Strategy
While the final assembly should be done close to serving time, most components can be prepared in advance.
-
The Crunch: The strawberry crunch crumble can be made and stored in an airtight container at room temperature for up to a week.
-
The Filling: The no-bake cheesecake filling can be made up to 24 hours in advance and stored in the piping bag, tightly sealed, in the refrigerator. This allows it to firm up perfectly, making it easier to pipe.
-
The Cones: The chocolate-dipped and crumbled cones can be prepared 1–2 days ahead and stored upright in an airtight container at room temperature. Do not refrigerate the empty cones, as condensation can cause them to become soggy before filling.
Preventing Soggy Cones
Moisture is the enemy of a crispy cone. The white chocolate coating is the first line of defense, but proper storage is vital.
-
The Moisture Barrier: Ensure the white chocolate fully sets before adding the filling.
-
Fill Just Before Serving: For the absolute best texture, fill the cones no more than 1–2 hours before they are intended to be eaten. If you must fill them earlier, place a piece of chocolate or a small spoonful of melted white chocolate inside the very bottom tip of the cone to plug any tiny holes and create an internal moisture seal.
-
Garnish Last: Add fresh strawberries and any glaze or sauce right before serving. Cut strawberries release moisture quickly, which will travel down into the filling and eventually the cone.
Optimal Serving and Storage
Serve the cones immediately after chilling for a perfect blend of crispness and cool creaminess. Leftovers should be consumed within 2 days. While they can be stored in the refrigerator, the cone will inevitably start to absorb moisture from the air and filling after 48 hours. For storage, always keep the cones upright in a single layer to protect the piped filling and coating.