Pakora (Indian Vegetable Fritters)
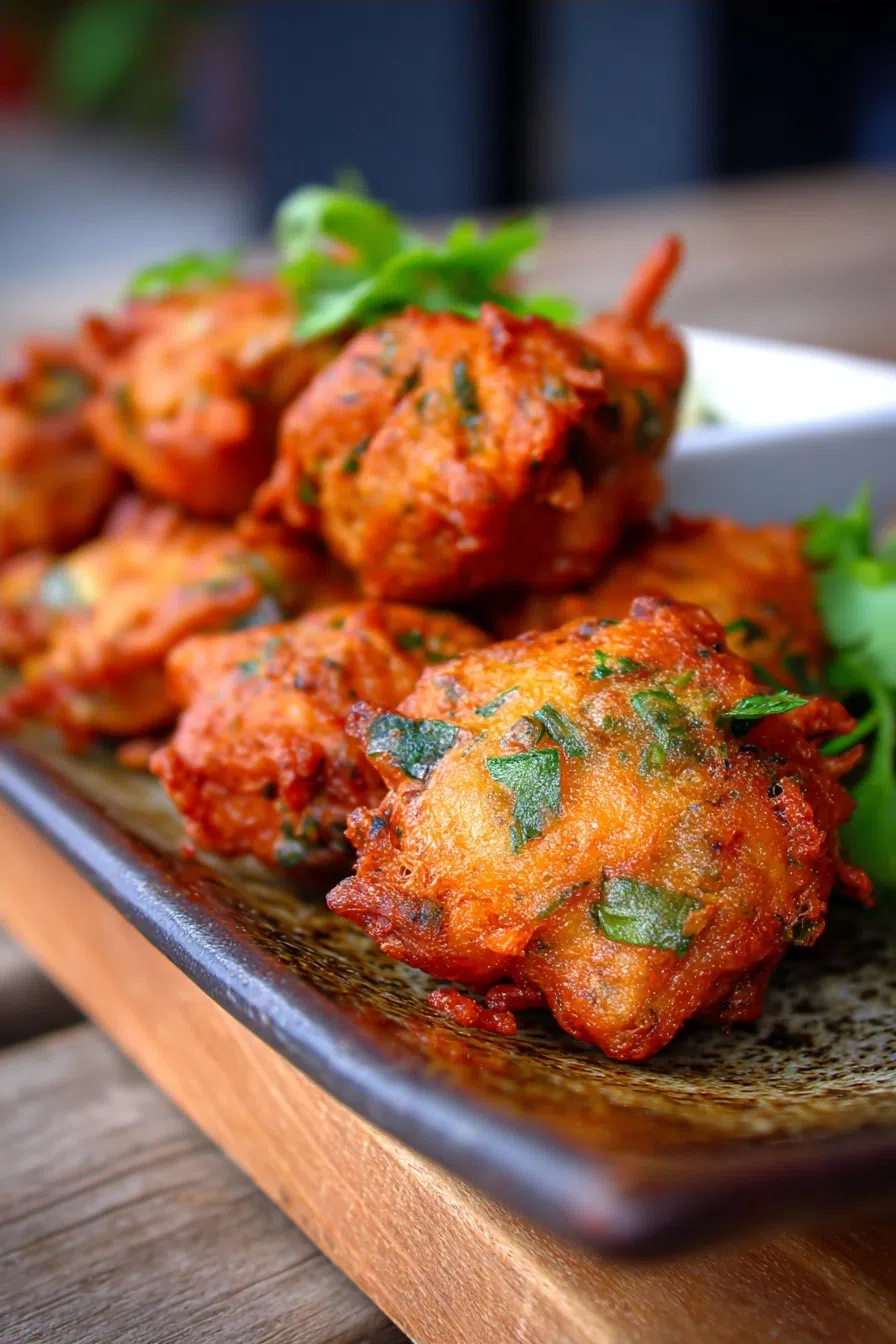
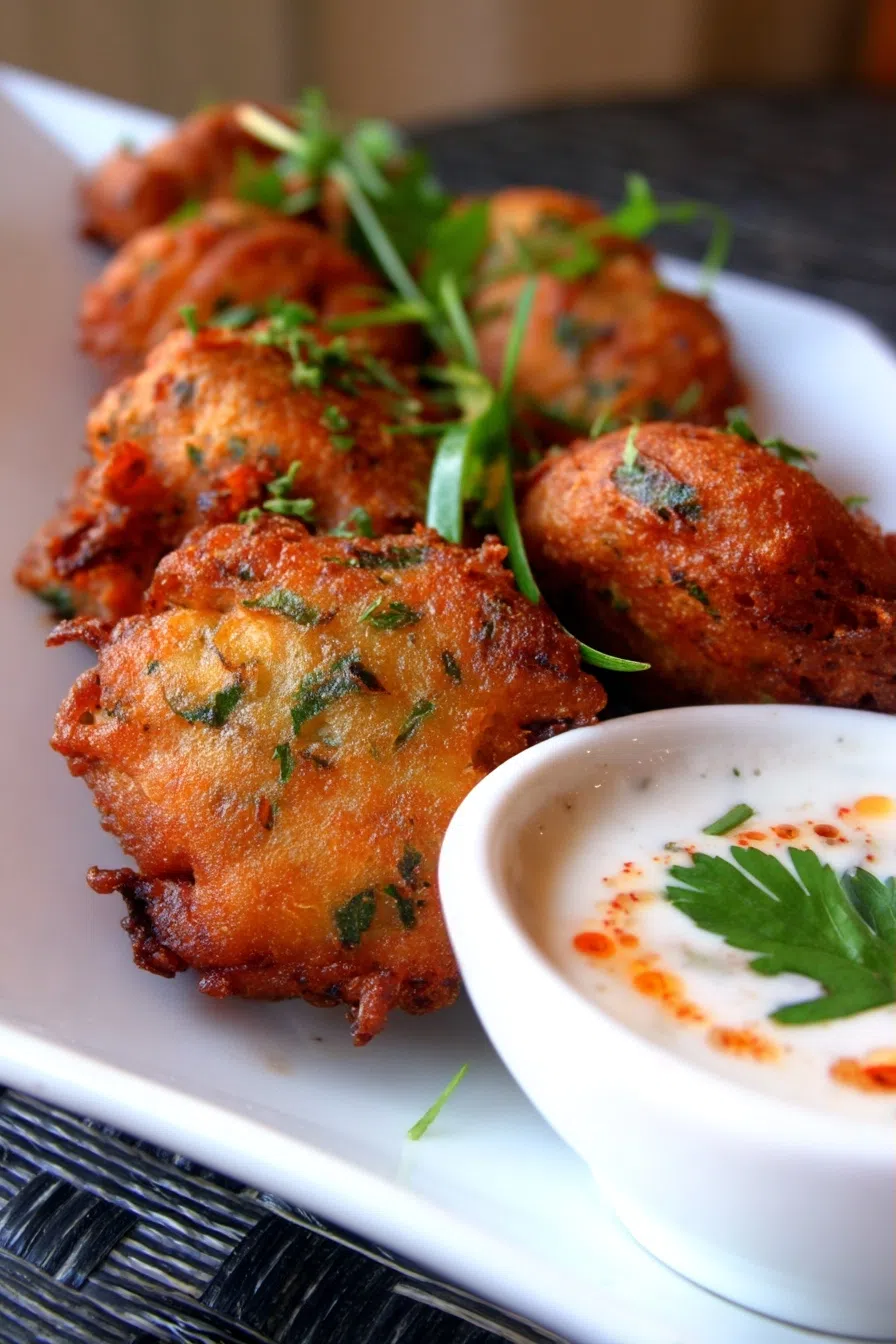
The first time I bit into a crispy, golden Pakora (Indian Vegetable Fritters), I was hooked by the combination of crunchy outside and tender, flavorful inside.
I remember it was a sunny Sunday afternoon in my grandmother’s kitchen, where the aroma of spices and onions filled the air as we prepared these delicious fritters with a variety of colorful vegetables like carrots, cauliflower, and bell peppers.
As I grew older, I realized that the key to making perfect Pakora lies in the balance of spices and the technique of frying, and this realization sparked a passion in me to experiment with different ingredients and cooking methods. This Pakora (Indian Vegetable Fritters) quickly became a cherished family favorite.
Why You’ll Love This Pakora (Indian Vegetable Fritters)
- Crispy exterior giving way to a tender, flavorful interior
- Rich, slightly spicy flavor profile that will leave you wanting more
- Can be ready in under 30 minutes, perfect for a quick snack or meal
- Foolproof recipe that’s easy to follow and requires minimal ingredients
- Perfect for any occasion, whether it’s a family gathering or a quick weeknight dinner
Ingredients You’ll Need
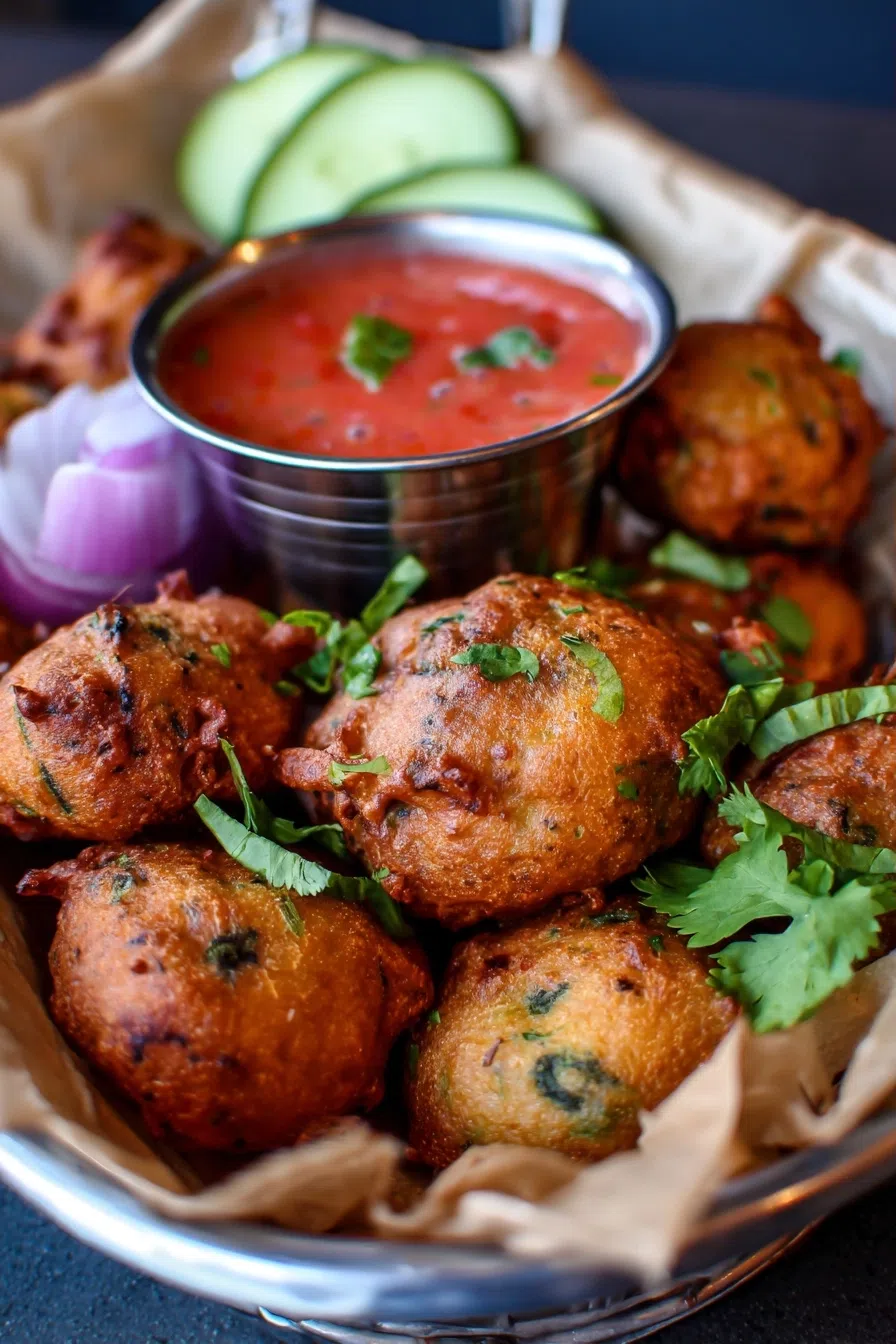
The star ingredients of this recipe are the variety of colorful vegetables like carrots, cauliflower, and bell peppers, which add natural sweetness, texture, and flavor to the Pakora. The combination of chickpea flour, spices, and herbs creates a delicious, aromatic batter that complements the vegetables perfectly.
Expert Tips for the Best Pakora (Indian Vegetable Fritters)
- Using the right amount of water to create a thick, yet flowy batter is critical, as it helps the Pakora cook evenly and prevents them from absorbing too much oil.
- A common mistake is overmixing the batter, which can lead to dense, heavy Pakora – mix the ingredients just until they come together, then stop.
- For a pro upgrade, try adding some grated ginger or garlic to the batter for an extra boost of flavor.
- The Pakora are done when they’re golden brown and crispy, with a tender interior – if you’re unsure, try breaking one open to check.
- To make ahead, prepare the batter and refrigerate it for up to a day, then fry the Pakora when you’re ready.
Variations and Substitutions
To make this recipe gluten-free, simply substitute the chickpea flour with a gluten-free flour blend. For a protein-packed twist, try adding some cooked chicken or paneer to the batter. For a bold flavor twist, add some diced jalapenos or serrano peppers to the batter for an extra kick.
How to Store and Reheat
The Pakora can be stored in an airtight container in the fridge for up to 3 days, and reheated in the oven or microwave when you’re ready to serve. To freeze, place the Pakora on a baking sheet lined with parchment paper and freeze until solid, then transfer to a freezer-safe bag or container for up to 2 months.
Frequently Asked Questions
What is the best oil to use for frying Pakora?
The best oil to use for frying Pakora is a neutral-tasting oil with a high smoke point, such as vegetable or canola oil. Avoid using olive oil, as it can impart a strong flavor to the Pakora.
Can I bake the Pakora instead of frying them?
While it’s possible to bake the Pakora, they won’t have the same crispy exterior and tender interior as fried Pakora. If you do choose to bake, try using a high heat and a short cooking time to get the best results.
How do I serve the Pakora?
The Pakora can be served as a snack or appetizer, garnished with fresh cilantro and served with a side of chutney or raita. They’re also delicious as a side dish or added to a salad or wrap.
I hope you enjoy making and eating these delicious Pakora as much as I do! They’re the perfect treat to share with family and friends, and they’re sure to become a new favorite in your household.
Pakora Recipe
🧂 Ingredients
👩🍳 Instructions
-
1See instructions above