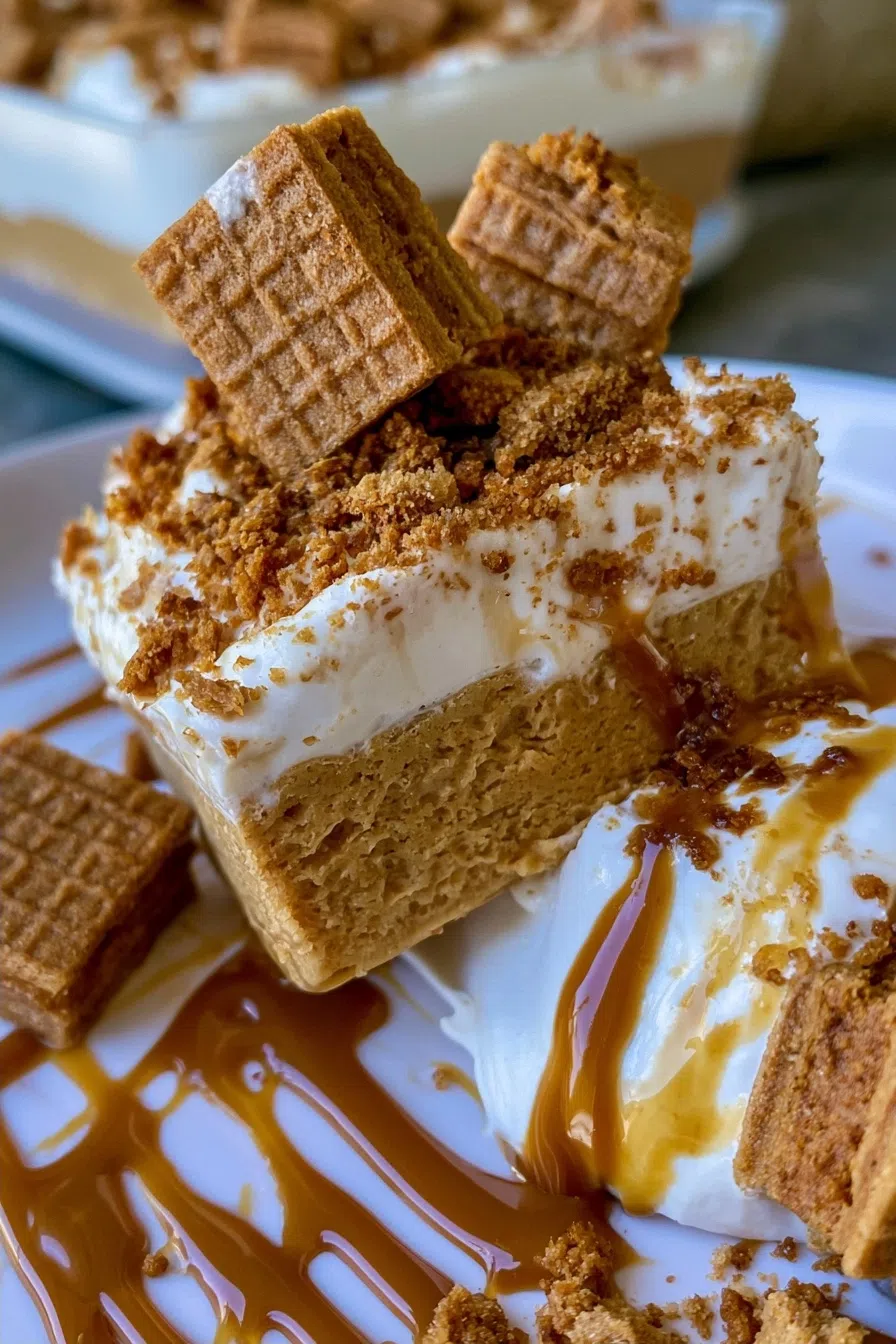
No-Bake Lotus Biscoff Cream Dessert
The first time I tasted No-Bake Lotus Biscoff Cream Dessert, I was hooked by its velvety texture and deep, caramel-like flavor.
I remember making it for the first time on a sunny Saturday morning in my small kitchen, the smell of Lotus Biscoff cookies wafting through the air as I crushed them for the crust.
As I took my first bite, I knew this No-Bake Lotus Biscoff Cream Dessert quickly became a cherished family favorite.
Why You’ll Love This No-Bake Lotus Biscoff Cream Dessert
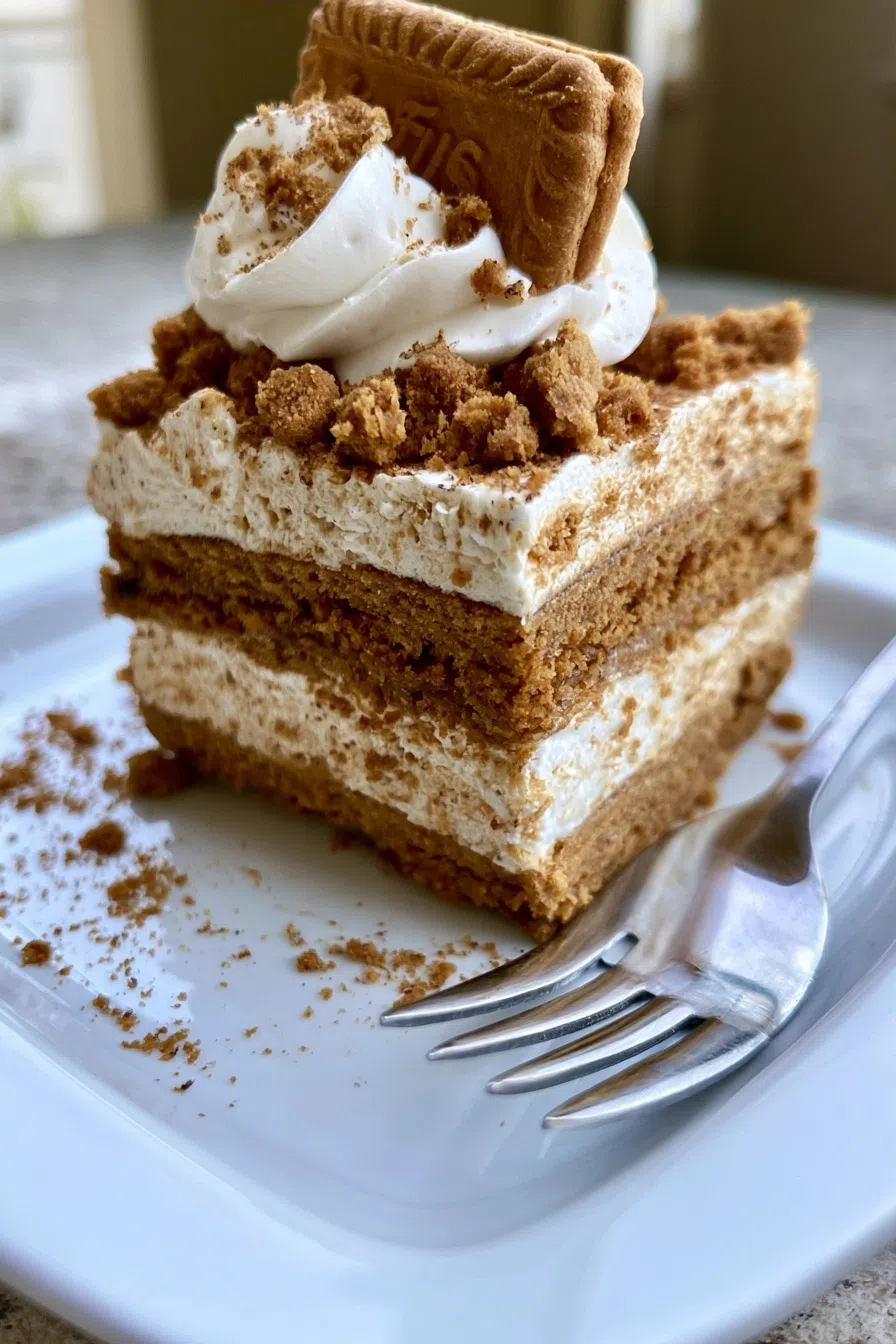
- Its creamy texture and crunchy cookie crust
- The perfect balance of sweet and spice from the Lotus Biscoff
- It’s ready in under 30 minutes
- The simplicity of the recipe makes it foolproof
- It’s perfect for any occasion, from birthdays to holidays
Ingredients You’ll Need
- 250g Lotus Biscoff biscuits
- 200g cream cheese
- 250g whipping cream
- 150g icing sugar
- 2 tsp vanilla extract

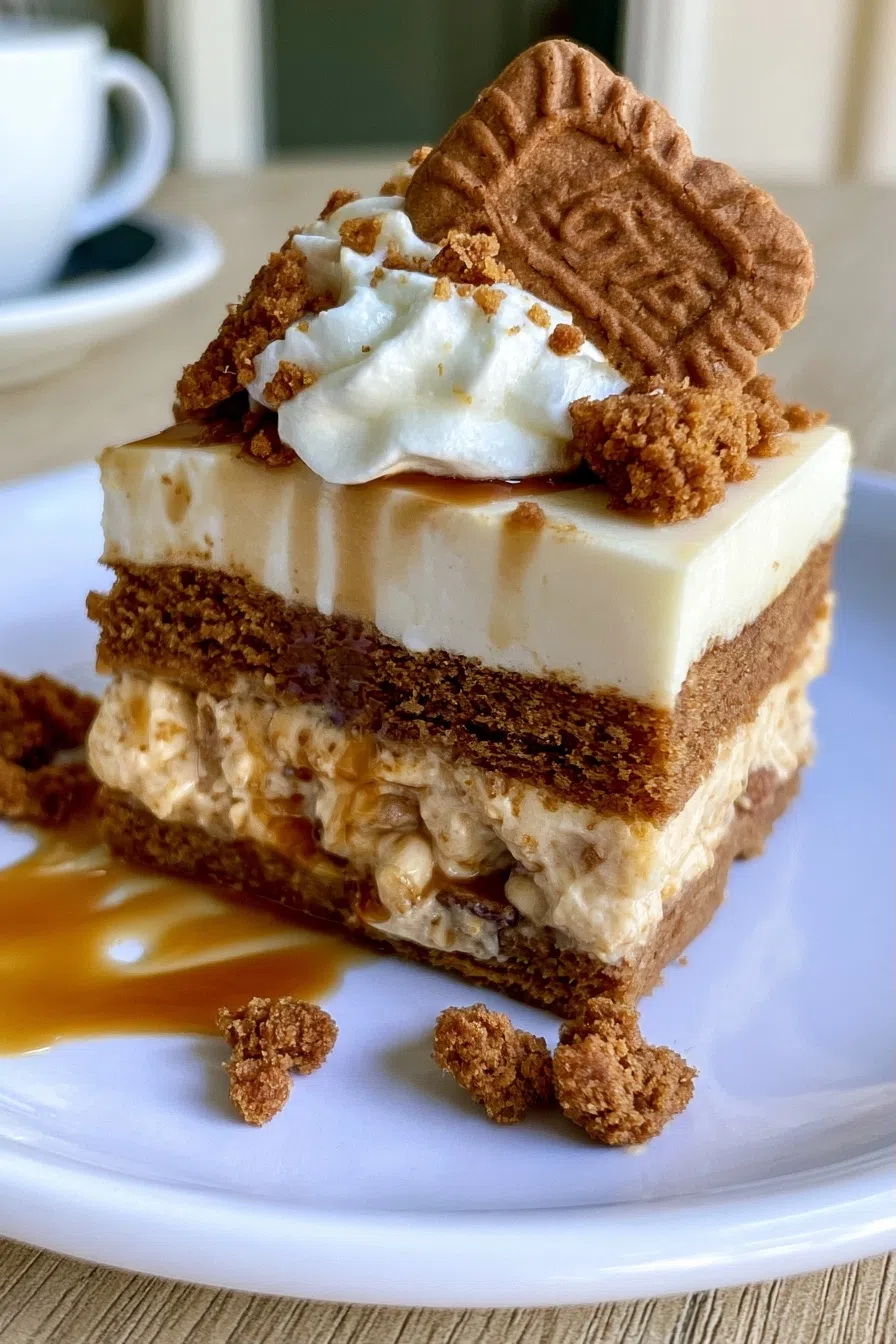
The star of the show is undoubtedly the Lotus Biscoff cookies, with their unique caramel flavor and crunchy texture, paired with the richness of heavy cream and the subtle tang of cream cheese.
The combination of these ingredients creates a truly unforgettable taste experience that will leave you and your loved ones craving more.
Expert Tips for the Best No-Bake Lotus Biscoff Cream Dessert
- Chill your crust before adding the filling to ensure it holds its shape, and make sure to press the crust mixture into the pan firmly for an even base.
- A common mistake is overmixing the cream, which can make it too stiff; mix just until combined for a smooth and creamy texture.
- For a pro upgrade, add a sprinkle of sea salt on top to balance the sweetness and enhance the flavors.
- The dessert is done when the edges are set and the center is just slightly jiggly; this ensures it’s creamy but not too runny.
- You can make the crust ahead of time and store it in the fridge for up to a day before assembling and serving.
Variations and Substitutions
How to Store and Reheat
This dessert can be stored in the fridge for up to 3 days in an airtight container; for reheating, simply let it sit at room temperature for about 30 minutes before serving. If you want to freeze it, place the dessert in a freezer-safe container and thaw overnight in the fridge when you’re ready to serve.
Frequently Asked Questions
Can I make this dessert ahead of time?
Yes, you can make the crust and the filling separately ahead of time and assemble just before serving. This makes it perfect for busy days or special occasions.
How do I prevent the crust from becoming too hard?
To prevent the crust from becoming too hard, make sure not to overbake it if you decide to bake it for a firmer texture, and don’t overchill it in the fridge before serving.
Can I freeze this dessert for later?
Yes, you can freeze this dessert for up to 2 months. When you’re ready to serve, simply thaw it overnight in the fridge and serve chilled.
I hope you enjoy making and devouring this No-Bake Lotus Biscoff Cream Dessert as much as my family and I do; it’s truly a recipe that brings people together with its simplicity and decadent flavor.
So go ahead, give it a try, and let the creamy, dreamy goodness of this dessert become a staple in your household, just like it has in mine.
Lotus Biscoff Cream
🧂 Ingredients
👩🍳 Instructions
-
1Crush the biscuits in a food processor until finely crushed.
-
2Mix the cream cheese and sugar in a large bowl until smooth.
-
3Fold in the whipping cream until stiff peaks form.
-
4Stir in the vanilla extract.
-
5Combine the crushed biscuits and cream mixture in a large serving dish.
-
6Chill in the fridge for at least 4 hours before serving.