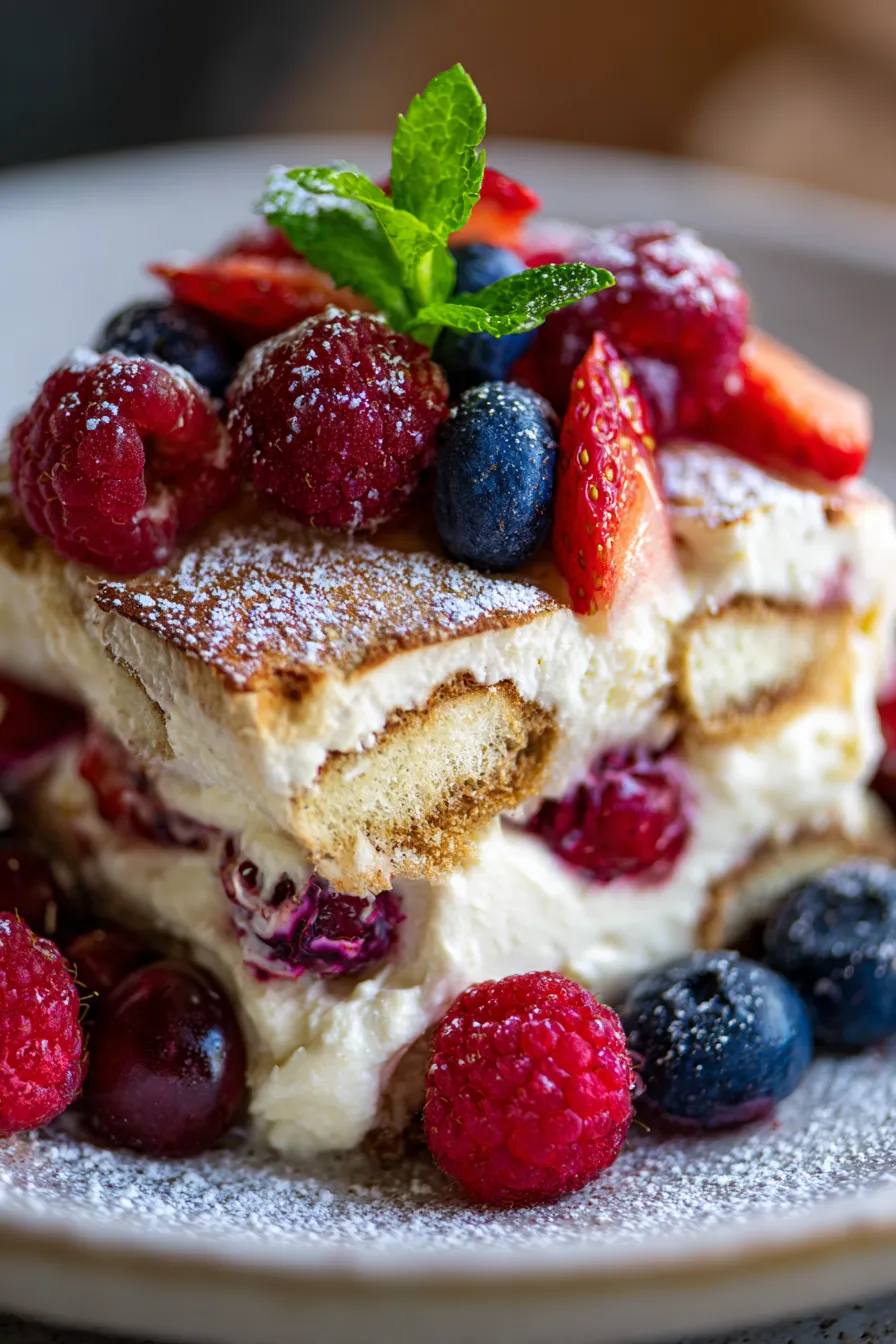
Luscious Mixed Berry Tiramisu: Your New Favorite No-Bake Summer Dessert!
Summer afternoons at my nonna’s house always meant something special. While she was a master of traditional Italian desserts, it was her love for fresh, seasonal fruits that truly inspired me. One sweltering August, she tried a playful twist on her classic tiramisu, swapping the usual espresso for a bright, fruity concoction. The result was a revelation! That first bite of her Mixed Berry Tiramisu was pure bliss—cool, creamy, and bursting with the taste of summer.
Since then, I’ve perfected that recipe, making it my go-to for effortless entertaining and joyful family moments. This isn’t just a dessert; it’s a celebration of simple pleasures and vibrant flavors. It’s an easy dessert that always feels gourmet, a true crowd-pleaser that everyone asks for. It’s the ultimate refreshing no-bake treat.
You’re about to discover how to create this absolutely stunning and wonderfully refreshing no-bake treat right in your own kitchen. It’s a tried-and-tested recipe that brings a touch of Italian charm and a burst of berry goodness to any occasion. Get ready to fall in love with this family-favorite dessert!
Why You’ll Love This Recipe
❤️ This Mixed Berry Tiramisu is more than just a dessert; it’s a delightful experience that captures the essence of summer in every single bite. Here’s why it’s about to become your new favorite:
- No-Bake Perfection: Forget turning on the oven! This recipe is entirely no-bake, making it ideal for scorching summer days or when you simply want a quick, elegant dessert without the fuss. It’s wonderfully stress-free.
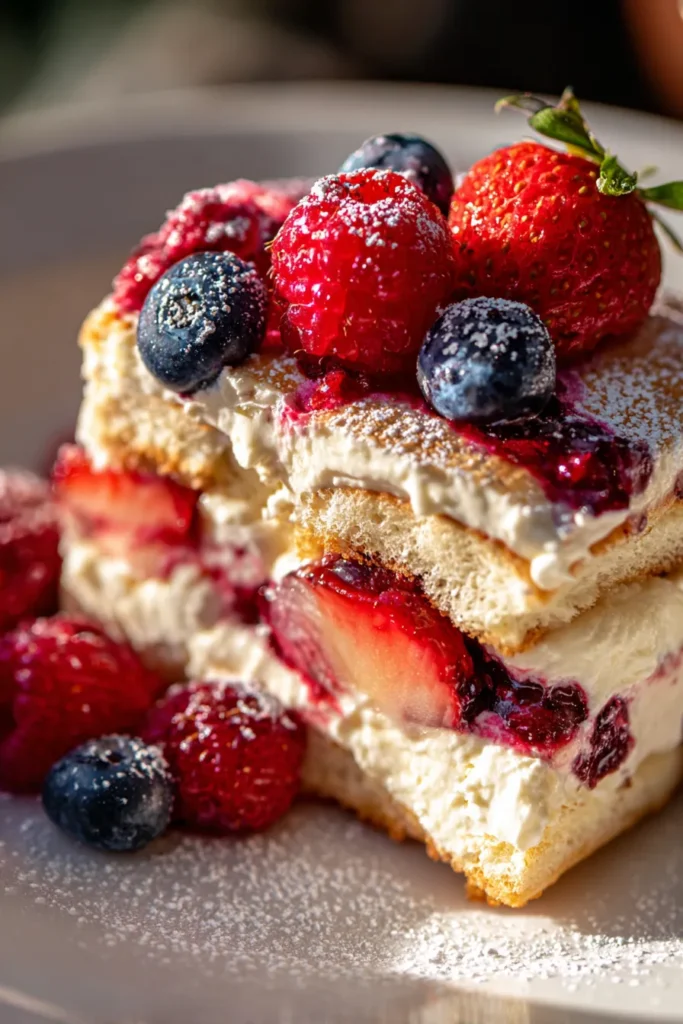
- Bursting with Fresh Flavor: We’re talking about a symphony of sweet and tangy mixed berries — raspberries, blueberries, and sliced strawberries — that elevate the classic tiramisu profile to new heights. Each spoonful is a refreshing explosion of fruit.
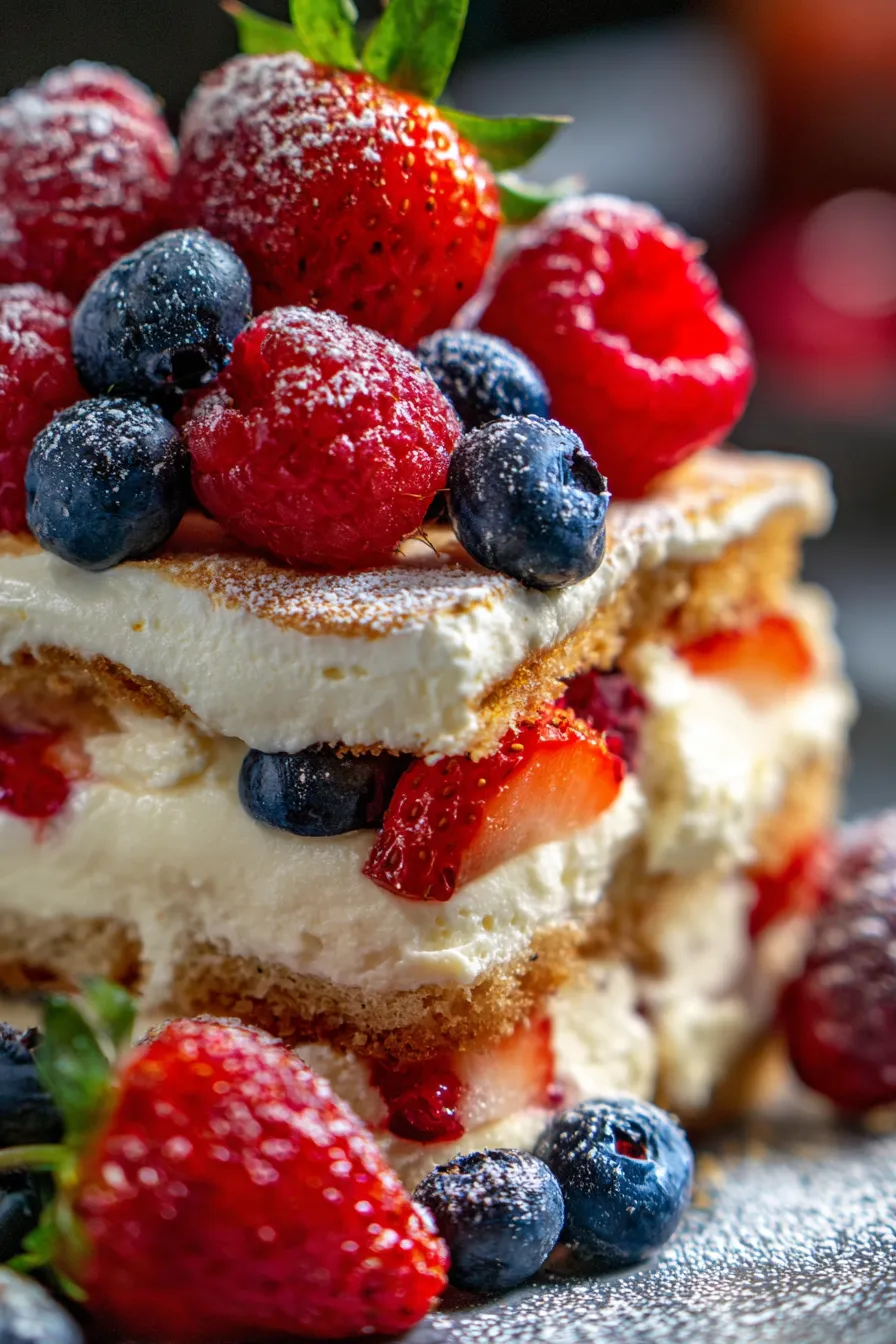
- Effortlessly Elegant: Despite its easy preparation, this berry tiramisu looks incredibly impressive. Its beautiful layers and vibrant colors make it a show-stopping centerpiece for potlucks, brunches, holidays, or any special gathering. Your guests will be wowed!
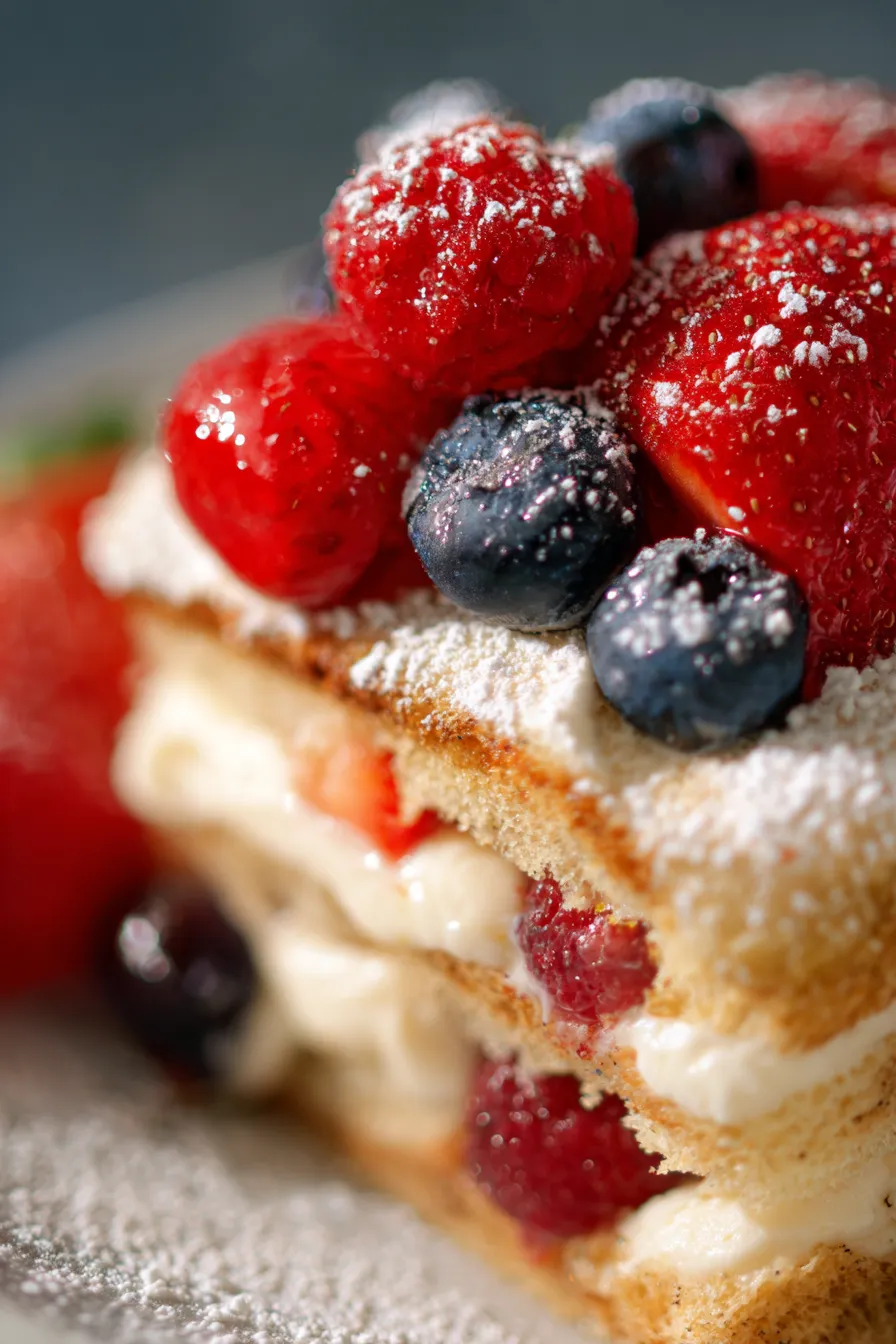
- Creamy, Dreamy Texture: Indulge in the luxurious blend of light-as-air mascarpone cheese whipped with a hint of sweetness. It perfectly complements the delicate, berry-soaked ladyfingers, creating an irresistible melt-in-your-mouth sensation.
- Perfect Make-Ahead Dessert: This recipe actually tastes better after chilling, allowing the flavors to meld beautifully. Prepare it a day in advance, and you’ll have one less thing to worry about on party day. Pure convenience!
- Versatile & Adaptable: Easily customize the berries to your preference or what’s in season. Add a splash of limoncello for an adult twist, or keep it family-friendly with fruit juice. It’s a recipe that invites creativity.
- Family-Friendly Appeal: It’s a rare dessert that pleases both kids and adults alike. The sweet berries and creamy layers are universally loved, making it a guaranteed hit for any age group.
- Light & Refreshing: Unlike heavier traditional desserts, this berry tiramisu feels light and bright on the palate, making it the perfect end to any meal, especially during warmer months.
What You Need
You only need a few simple pantry staples and fresh, ripe berries to bring this incredible dessert to life! Most ingredients are easy to find at your local grocery store. Check the full printable recipe card below for detailed measurements and a complete list of what you’ll need to create this show-stopping Mixed Berry Tiramisu.
Expert Tips
💡 Elevate your Mixed Berry Tiramisu from delicious to absolutely divine with these pro tips and tricks, ensuring perfect results every time:
- Choosing Your Berries: Opt for fresh, ripe berries when possible. A mix of raspberries, blueberries, and sliced strawberries offers the best flavor and visual appeal. If using frozen berries, thaw them completely and gently pat them dry to remove excess moisture before layering. This prevents the dessert from becoming watery.
- The Ladyfinger Dip: This is crucial! Quickly dip each ladyfinger into your berry syrup or juice. Don’t let them soak too long, or they’ll become soggy. A quick dunk (about 1-2 seconds per side) is all you need to soften them just enough to absorb flavor while maintaining their structure.
- Perfecting the Mascarpone Cream: Ensure your heavy cream is very cold before whipping. This helps it achieve stiff peaks quickly and prevents it from curdling. When folding the whipped cream into the mascarpone mixture, do so gently in batches. This maintains the light, airy texture of the cream, which is essential for that luxurious mouthfeel.
- Sweetness Adjustment: Taste your berry syrup and mascarpone mixture before assembling. Adjust the sugar level to your preference and the natural sweetness of your berries. If your berries are very ripe, you might need less added sugar.
- Chill Time is Non-Negotiable: For the best flavor and texture, this Mixed Berry Tiramisu absolutely must chill for at least 4-6 hours, or ideally overnight. This allows the ladyfingers to fully absorb the berry liquid and the flavors to meld beautifully, creating a cohesive and delightful dessert. Don’t rush this step!
- Layering for Success: Create even layers. Start with a solid base of ladyfingers, spread an even layer of mascarpone cream, then generously scatter fresh berries. Repeat this process, ensuring each layer is distinct yet harmonious. This visual appeal is part of the tiramisu’s charm.
- Finishing Touches: Just before serving, a light dusting of powdered sugar or even a few finely chopped fresh mint leaves can add a professional and visually appealing touch. A sprinkle of lemon zest can also brighten the flavors beautifully.
- Equipment Matters: Use a sturdy, flat-bottomed baking dish or trifle bowl for assembly. A glass dish allows you to admire those beautiful layers! A rubber spatula is your best friend for gently folding ingredients and spreading the creamy layers.
- Avoid Overmixing Mascarpone: Mascarpone can split if overmixed. Once combined with sugar and any flavorings, gently fold in the whipped cream until just incorporated. A few streaks are fine; you want to preserve the airy texture.
Variations & Substitutions
This Mixed Berry Tiramisu recipe is wonderfully adaptable, making it easy to cater to different tastes, dietary needs, or what you have on hand. Don’t be afraid to get creative!
- Gluten-Free Option: Simply swap out traditional ladyfingers for gluten-free versions, which are becoming increasingly available in most specialty or health food stores. The rest of the recipe is naturally gluten-friendly.
- Dairy-Free/Vegan: This requires a few more substitutions, but it’s entirely possible! Use a plant-based mascarpone alternative (often cashew-based), a dairy-free whipped topping (like coconut cream, chilled overnight), and vegan ladyfingers. Ensure your berry syrup is also dairy-free.
- Keto-Friendly: Replace sugar with a granulated erythritol or monk fruit sweetener blend. Look for low-carb or almond-flour-based ladyfinger substitutes, or use a thin layer of sugar-free sponge cake. Be mindful of the carb content in berries, favoring raspberries and blackberries.
- Fruit Variations: Feel free to experiment with other fruits! Sliced peaches, nectarines, cherries (pitted), or even mango could offer a delicious twist. A single-berry tiramisu (e.g., Strawberry Tiramisu) is also delightful. Just ensure fruits aren’t overly watery.
- Alcoholic Kick: For an adult-only version, a splash of berry liqueur, limoncello, Chambord, or even a dry white wine can be added to the berry syrup for dipping the ladyfingers. It adds a sophisticated depth of flavor.
- Non-Coffee Version (if not using berry syrup): If you’re adapting to a different tiramisu, use milk, hot chocolate, or a flavored syrup for dipping instead of coffee. For this recipe, the berry syrup is key to the flavor profile, but you could always infuse it with a hint of vanilla or almond extract.
Storage & Freezing
Proper storage is key to enjoying your Mixed Berry Tiramisu at its best! This dessert is a fantastic make-ahead option.
- Refrigeration: Store any leftover Mixed Berry Tiramisu in an airtight container in the refrigerator for up to 3-4 days. It actually tastes even better the day after it’s made, as the flavors have more time to meld and develop.
- Serving Tip: For the best texture and flavor, remove the tiramisu from the refrigerator about 15-20 minutes before serving, especially if it’s been chilled overnight. This allows the creamy layers to soften slightly.
- Freezing: Tiramisu generally doesn’t freeze well due to the delicate texture of the mascarpone cream, which can become grainy upon thawing, and the berries, which can release too much water. While technically possible, it’s not recommended for optimal quality. It’s truly best enjoyed fresh or within a few days of refrigeration.
FAQ
Q: Can I use frozen mixed berries for this recipe?
A: Yes, you can! If using frozen berries, make sure to thaw them completely and drain any excess liquid before incorporating them into the tiramisu. Pat them dry gently with a paper towel to prevent the dessert from becoming watery. Fresh berries are always preferred for texture, but frozen works in a pinch.
Q: How long does Mixed Berry Tiramisu need to chill?
A: This is a crucial step! For the best flavor and stability, your tiramisu needs to chill for at least 4-6 hours. However, for truly spectacular results where the flavors are fully developed and the layers are perfectly set, an overnight chill (8-12 hours) is highly recommended. Patience truly pays off here!
Q: Can I make this tiramisu ahead of time for a party?
A: Absolutely! This Mixed Berry Tiramisu is an ideal make-ahead dessert. Preparing it a day in advance allows the ladyfingers to fully absorb the berry syrup and the creamy mascarpone layers to set perfectly. Just cover it tightly with plastic wrap and keep it in the refrigerator until serving.
Q: What if I don’t want to use any alcohol in the berry syrup?
A: No problem at all! The recipe is written to be family-friendly and delicious without alcohol. The berry syrup provides plenty of flavor for dipping the ladyfingers. You can simply use water or fruit juice (like cranberry or apple juice) mixed with the berry puree if you’re not using a specific berry syrup blend, though a good homemade berry puree is always best.
There you have it – a show-stopping, incredibly delicious Mixed Berry Tiramisu that’s perfect for any occasion, especially when you need a bright and refreshing no-bake treat. I hope this recipe brings as much joy to your table as it does to mine. Don’t forget to Pin this recipe for later so you can easily find it whenever a craving for creamy, fruity goodness strikes!
Luscious Mixed Berry Tiramisu: Easy No-Bake Summer Dessert!
Ingredients
- 2 cups mixed berries (fresh or frozen, thawed)
- 1/2 cup granulated sugar (for berry syrup, adjust to taste)
- 1/4 cup water
- 16 oz (450g) mascarpone cheese, chilled
- 1 cup heavy cream, chilled
- 1/2 cup powdered sugar (for mascarpone cream, adjust to taste)
- 1 tsp vanilla extract
- 24-30 ladyfingers (savoiardi)
- Optional: Fresh mint leaves or extra berries for garnish
Instructions
- Step 1 1. Prepare the Berry Syrup: In a small saucepan, combine mixed berries, granulated sugar, and water. Bring to a simmer over medium heat, stirring occasionally, until berries soften and release their juices (about 5-7 minutes). Mash gently with a fork if desired for a smoother syrup. Remove from heat and let cool completely. Strain if you prefer a seedless syrup, or leave as is. Set aside.
- Step 2 2. Make the Mascarpone Cream: In a large bowl, beat the chilled heavy cream with vanilla extract until stiff peaks form. In a separate bowl, gently whisk the chilled mascarpone cheese until smooth. Gradually add the powdered sugar and mix until just combined. Gently fold the whipped cream into the mascarpone mixture in two additions until no streaks remain. Be careful not to overmix.
- Step 3 3. Assemble the Tiramisu: Lightly grease or line an 8x8 inch (20x20 cm) or similar-sized rectangular dish. Dip each ladyfinger quickly, one by one (about 1-2 seconds per side), into the cooled berry syrup. Arrange a single layer of soaked ladyfingers at the bottom of the dish, breaking them to fit if necessary.
- Step 4 4. Layer: Spread half of the mascarpone cream evenly over the ladyfinger layer. Scatter half of the remaining fresh berries (if using extra for layering) over the cream. Repeat with another layer of dipped ladyfingers, the remaining mascarpone cream, and the rest of the berries.
- Step 5 5. Chill: Cover the dish tightly with plastic wrap and refrigerate for at least 6 hours, or preferably overnight, to allow the flavors to meld and the tiramisu to set.
- Step 6 6. Serve: Before serving, garnish with fresh berries, a dusting of powdered sugar, or fresh mint leaves, if desired. Slice and serve chilled.