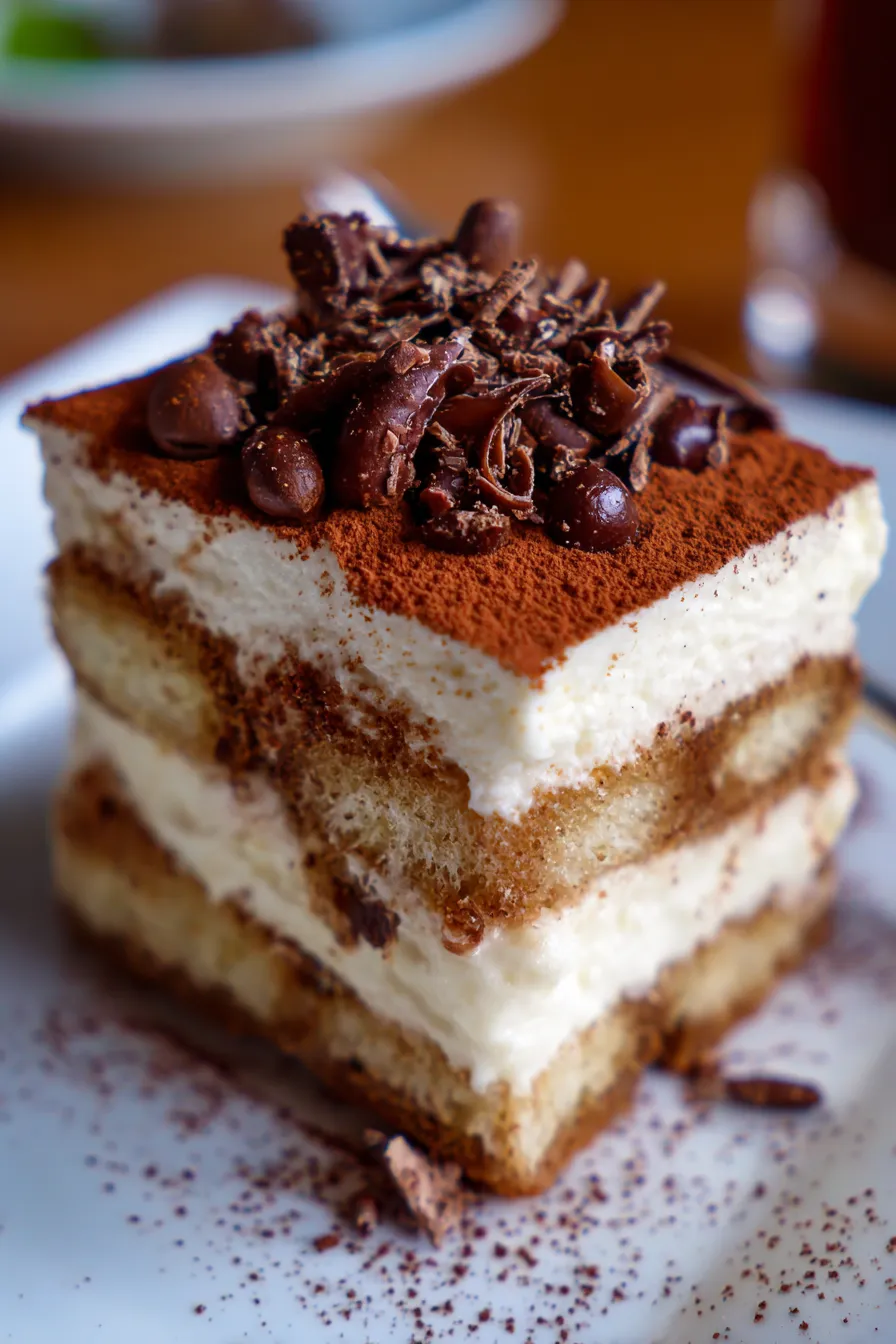
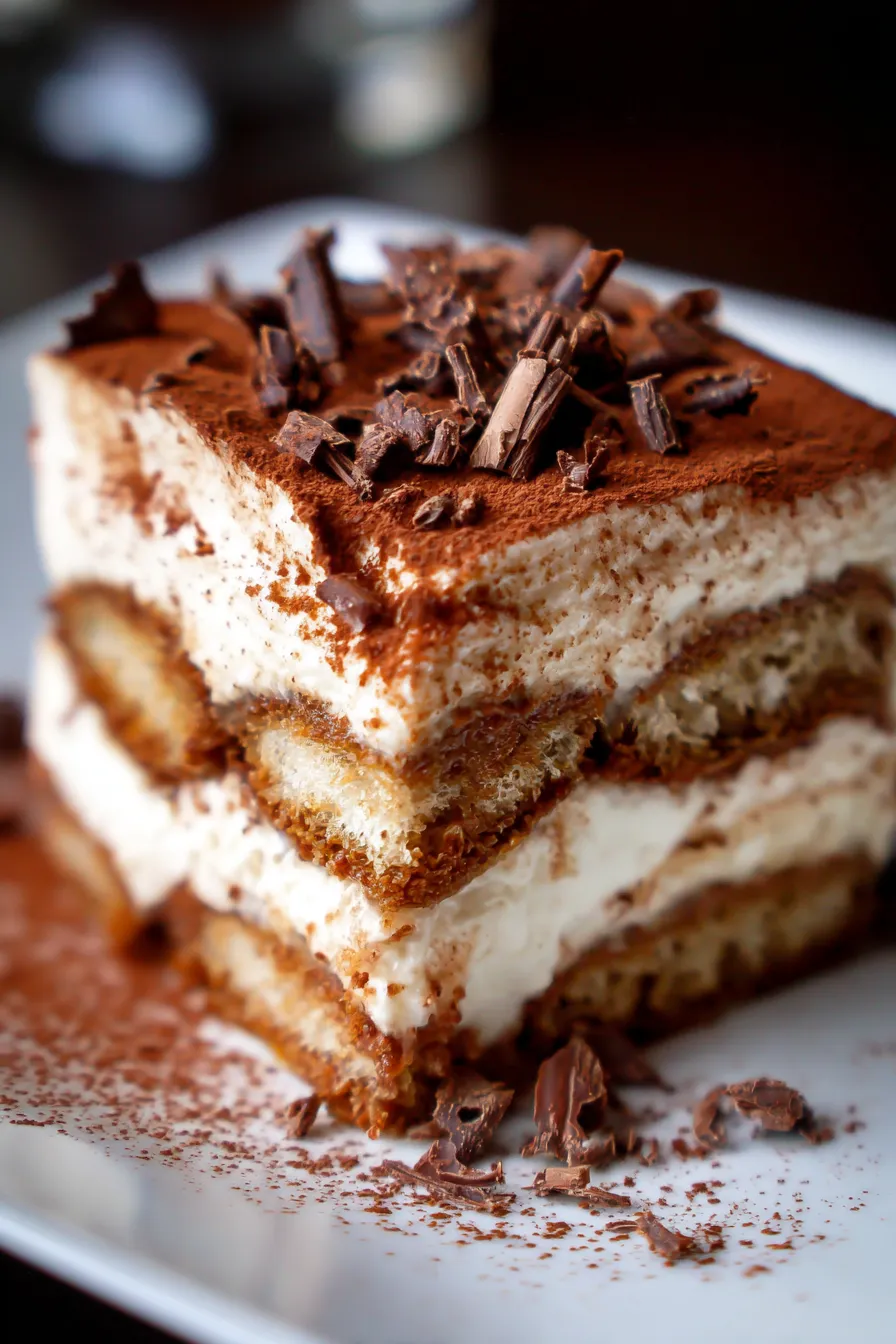
Decadent Mocha Espresso Tiramisu: Your New Favorite No-Bake Dessert
There’s something incredibly comforting about a rainy Sunday afternoon, isn’t there? For me, it often sparks a craving for something truly special, yet utterly simple to create. That’s exactly how this divine Mocha Espresso Tiramisu recipe came to be a cherished family favorite in our home.
I remember one such afternoon, years ago, wanting a show-stopping dessert for an impromptu family dinner, but with minimal fuss. I combined my love for rich coffee and decadent chocolate, creating this layered masterpiece. It was an instant hit, quickly becoming the most requested `no-bake treat` that’s perfect for `easy entertaining` or just a luxurious `comfort food` moment.
This recipe is truly tried-and-tested, guaranteed to deliver a dessert that looks impressive, tastes incredible, and will have everyone asking for seconds. You’ll love how the intense espresso and rich cocoa mingle with the silky mascarpone, creating an experience that’s both sophisticated and incredibly satisfying.
Why You’ll Love This Recipe
❤️ Here are just a few reasons why this Mocha Espresso Tiramisu will become a staple in your dessert repertoire:
- Irresistible Flavor Fusion: Experience the perfect harmony of robust espresso, rich cocoa, and sweet, creamy mascarpone. Each bite is a delicate dance of bitter and sweet, creating a truly unforgettable taste sensation.
- Effortlessly Elegant: Despite its sophisticated appearance, this tiramisu is surprisingly simple to assemble. You’ll impress your guests with minimal effort, making it ideal for dinner parties or special occasions.
- No-Bake Wonder: Say goodbye to hot ovens! This recipe requires absolutely no baking, making it perfect for warmer months or when you just want a quick, easy dessert solution without heating up your kitchen.
- Make-Ahead Magic: Tiramisu actually improves with time. Preparing it a day in advance allows the flavors to fully meld and deepen, resulting in an even more delicious and cohesive dessert. This is a lifesaver for busy hosts!
- Crowd-Pleaser Guaranteed: Who doesn’t love tiramisu? This mocha espresso version takes a classic to the next level, consistently earning rave reviews and requests for the recipe. It’s a guaranteed hit at any gathering.
- Customizable to Your Liking: Easily adapt the recipe to suit different dietary needs or personal taste preferences. Whether you prefer it with or without alcohol, or need a gluten-free option, this tiramisu is versatile.
- Perfectly Balanced Sweetness: Unlike some overly sweet desserts, this tiramisu strikes a beautiful balance. The slight bitterness of the espresso and cocoa perfectly complements the sweetness of the cream, creating a sophisticated dessert experience.
- Portable & Shareable: Easily transportable to potlucks, picnics (chilled, of course!), or family gatherings. It’s designed for sharing and creates beautiful individual portions.
- Texture Heaven: Enjoy the delightful contrast between the tender, coffee-infused ladyfingers and the silky-smooth, cloud-like mascarpone cream. Every spoonful is a textural delight.
What You Need
You only need a few simple pantry staples for this recipe! Most of these ingredients are likely already in your kitchen, or easily found at your local grocery store. Check the full printable recipe card below for detailed measurements and a complete list.

Expert Tips
💡 Achieving the perfect Mocha Espresso Tiramisu is all about the details. Follow these expert tips for a truly divine dessert:
- Use High-Quality, Freshly Brewed Espresso: This is non-negotiable for authentic flavor. A strong, dark roast espresso provides the foundational depth. Avoid instant coffee if possible, but if you must, make it extra strong.
- Don’t Over-Soak Your Ladyfingers: A quick dip, about 1-2 seconds per side, is all you need. Ladyfingers are like sponges; too long, and they’ll turn soggy and mushy. You want them just tender enough to cut through, still holding their shape.
- Ensure Room Temperature Mascarpone: Cold mascarpone can be difficult to whip smoothly and may result in a lumpy cream. Let it sit on the counter for 30 minutes to an hour before you start, so it’s pliable and blends beautifully.
- Whip Heavy Cream to Stiff Peaks: This creates the airy, stable base for your mascarpone mixture. Use a very cold bowl and whisk for the best results. Over-whipping can turn it grainy, so stop as soon as stiff peaks form.
- Gently Fold the Mascarpone Mixture: Once your mascarpone, sugar, and vanilla are combined, gently fold in the whipped cream. This preserves the airiness and lightness, which is crucial for tiramisu’s signature texture. Avoid vigorous mixing.
- Chill Time is Your Best Friend: This tiramisu needs at least 6 hours, but ideally overnight (12-24 hours), in the refrigerator. This allows the ladyfingers to fully soften, the flavors to meld, and the dessert to set properly. Patience truly pays off here.
- Dust with Cocoa Powder Right Before Serving: To keep your tiramisu looking pristine, wait until just before you’re ready to serve to dust with cocoa powder. This prevents the cocoa from absorbing moisture and looking damp or clumpy.
- Grate High-Quality Chocolate for Garnish: A sprinkle of finely grated dark chocolate adds an extra layer of flavor and a beautiful visual appeal. A vegetable peeler or microplane works wonders for creating delicate curls.
- Taste as You Go (Carefully!): Adjust the sweetness of your mascarpone cream to your preference. Remember, the espresso and cocoa will add some bitterness, so balance is key.
Variations & Substitutions
This Mocha Espresso Tiramisu recipe is wonderfully versatile! Feel free to customize it to your taste or dietary needs:
- Gluten-Free Option: Easily swap traditional ladyfingers for gluten-free versions. Many brands now offer excellent alternatives that hold up just as well.
- Dairy-Free/Vegan: You can achieve a fantastic vegan tiramisu by using a plant-based mascarpone alternative, whipping chilled full-fat coconut cream (the solid part) for the dairy cream, and ensuring your ladyfingers are vegan.
- Decaf Delight: If you’re sensitive to caffeine, simply use freshly brewed decaf espresso or strong decaf coffee. The flavor will still be amazing without the jolt!
- Alcohol-Free: Omit the coffee liqueur entirely. You can replace the liquid with a touch more espresso or a splash of vanilla extract for added flavor.
- Liqueur Swaps: Not a fan of coffee liqueur? Try Amaretto for an almond kick, rum for a richer depth, or even a hint of Irish cream for a different twist.
- Extra Chocolatey: For serious chocolate lovers, you can add a thin layer of chocolate ganache or finely chopped dark chocolate between the cream layers.
- Spice It Up: A pinch of cinnamon or cardamom added to the cocoa powder dust can introduce a warm, aromatic note.
Storage & Freezing
- Refrigerator: Mocha Espresso Tiramisu stores beautifully in the refrigerator. Cover it tightly with plastic wrap to prevent it from absorbing other odors and to keep it fresh. It will last for 3-4 days. The flavors actually deepen and improve over time!
- Freezing: While tiramisu can be frozen, the texture of the mascarpone cream may change slightly upon thawing, becoming a bit grainier. If you choose to freeze, wrap the entire dish very tightly in plastic wrap, then aluminum foil. It can be frozen for up to 1 month. Thaw overnight in the refrigerator before serving.
FAQ
Can I make Mocha Espresso Tiramisu ahead of time?
Absolutely! In fact, tiramisu is one of those magical desserts that tastes even better the next day. Preparing it 12-24 hours in advance allows all the flavors to fully meld and the ladyfingers to soften perfectly, resulting in a more cohesive and delicious experience.
What kind of coffee should I use for tiramisu?
For the best flavor, use freshly brewed, strong espresso. If you don’t have an espresso machine, a very strong brew from a Moka pot, French press, or even a dark roast coffee machine can work. Just make sure it’s robust enough to stand up to the other flavors.
Can I make Mocha Espresso Tiramisu without alcohol?
Yes, absolutely! The coffee liqueur is optional. You can simply omit it entirely. If you want to replace the liquid, you can add a touch more espresso or a dash of vanilla extract to the espresso dip for added flavor without the alcohol.
How long does Mocha Espresso Tiramisu last in the fridge?
When covered tightly with plastic wrap, your Mocha Espresso Tiramisu will stay fresh and delicious in the refrigerator for up to 3-4 days. It’s best enjoyed within this timeframe for optimal texture and flavor.
There you have it – your new go-to recipe for an unforgettable dessert experience. This Mocha Espresso Tiramisu is more than just a recipe; it’s an invitation to create joy, share delicious moments, and indulge in a little bit of magic. I can’t wait for you to try it and make it your own.
Don’t forget to pin this recipe for later and share your creations with me on social media!
Decadent Mocha Espresso Tiramisu: Easy No-Bake Recipe
Ingredients
- 6 large egg yolks
- ¾ cup granulated sugar
- 16 oz mascarpone cheese, at room temperature
- 1 ¾ cups heavy cream, very cold
- 1 teaspoon vanilla extract
- 2 cups freshly brewed strong espresso, cooled
- ¼ cup coffee liqueur (such as Kahlu00faa), optional
- 2 (7 oz) packages ladyfingers (savoiardi)
- ¼ cup unsweetened cocoa powder, for dusting
- Dark chocolate shavings, for garnish
Instructions
- Step 1 Prepare the Mascarpone Cream Base: In a heatproof bowl, whisk egg yolks and sugar until light and creamy. Place the bowl over a saucepan of simmering water (bain-marie), ensuring the bottom of the bowl doesn't touch the water. Whisk continuously for 8-10 minutes until the mixture is thick, pale, and reaches 160°F (71°C). Remove from heat and let it cool completely, whisking occasionally.
- Step 2 In a separate large bowl, using an electric mixer, whip the cold heavy cream and vanilla extract until stiff peaks form. Be careful not to over-whip.
- Step 3 Once the egg yolk mixture is cool, gently fold in the room temperature mascarpone cheese until just combined and smooth. Then, gently fold in the whipped cream in two additions until no streaks remain, being careful not to deflate the mixture.
- Step 4 Prepare the Espresso Dip: In a shallow bowl, combine the cooled espresso and coffee liqueur (if using).
- Step 5 Assemble the Tiramisu: Quickly dip each ladyfinger into the espresso mixture, turning once, just for 1-2 seconds per side. Do not over-soak, or they will become mushy.
- Step 6 Arrange a single layer of soaked ladyfingers in the bottom of a 9x13 inch (23x33 cm) dish, breaking them as needed to fit snugly.
- Step 7 Spread half of the mascarpone cream mixture evenly over the ladyfingers.
- Step 8 Repeat with another layer of dipped ladyfingers and the remaining mascarpone cream. Smooth the top with a spatula.
- Step 9 Chill: Cover the dish tightly with plastic wrap and refrigerate for at least 6 hours, or ideally overnight (12-24 hours), to allow the tiramisu to set and flavors to meld.
- Step 10 Serve: Just before serving, dust generously with unsweetened cocoa powder using a fine-mesh sieve. Garnish with dark chocolate shavings, if desired. Slice and enjoy!