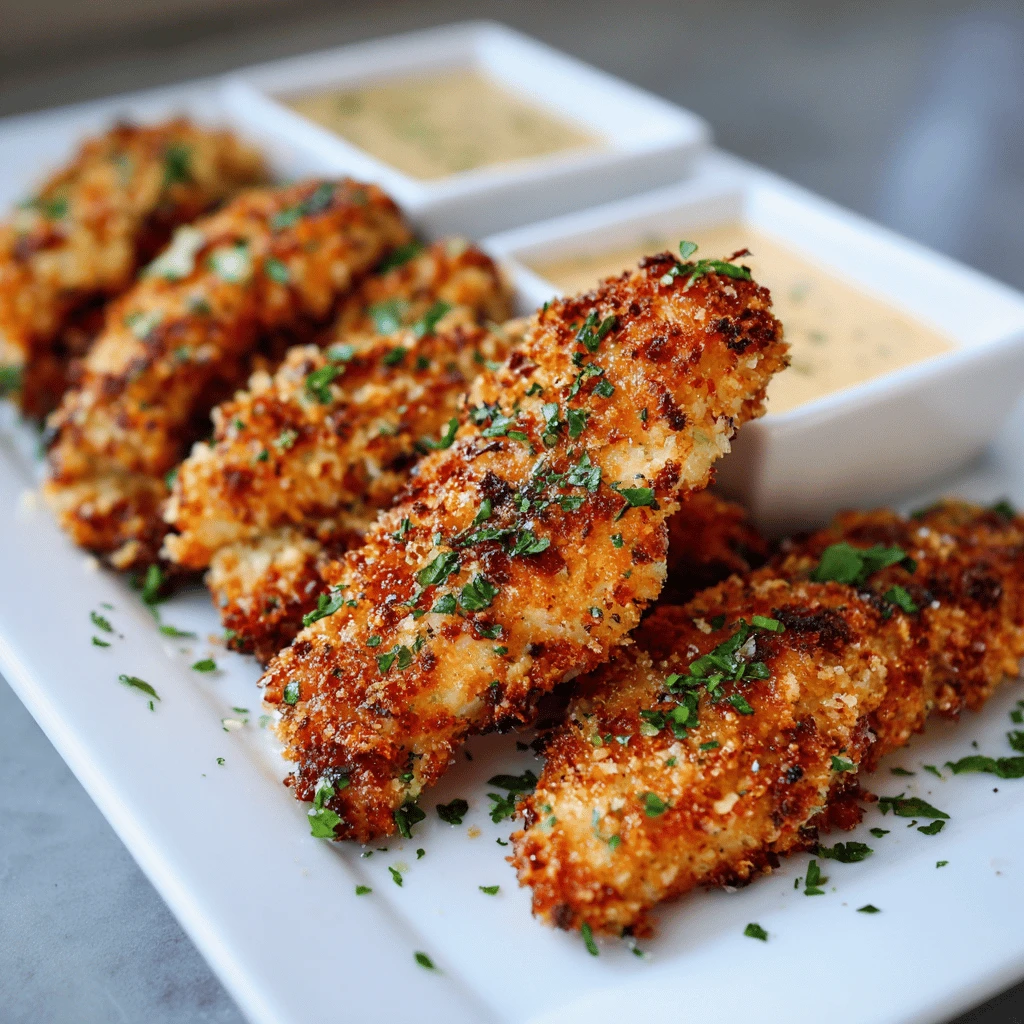
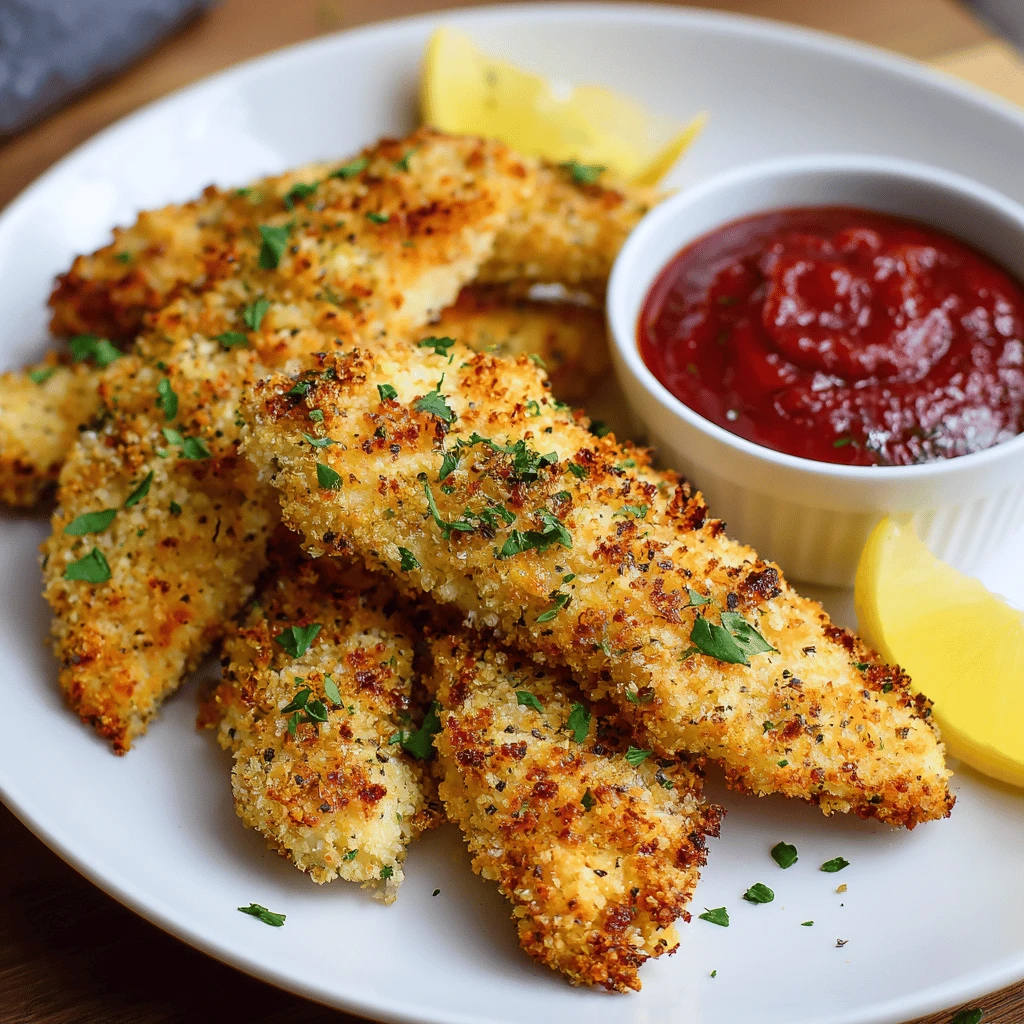
Crispy Baked Panko Chicken Tenders
Ingredients
- 1.5 lbs boneless, skinless chicken breasts, cut into strips
- 1 cup all-purpose flour
- 2 large eggs, beaten
- 2 cups panko breadcrumbs
- 1/2 cup grated Parmesan cheese
- 1 teaspoon garlic powder
- 1 teaspoon onion powder
- 1 teaspoon dried Italian herbs
- 1/2 teaspoon paprika
- 1/4 teaspoon salt
- 1/4 teaspoon black pepper
- Olive oil spray
Step-by-Step
1. Preheat oven to 400°F (200°C). Prepare a baking sheet by lining it with parchment paper.
2. In a shallow dish, place the flour.
3. In a second shallow dish, place the beaten eggs.
4. In a third shallow dish, combine panko breadcrumbs, Parmesan cheese, garlic powder, onion powder, Italian herbs, paprika, salt, and pepper. Mix well.
5. Take a chicken strip and dredge it in the flour, making sure it’s fully coated. Shake off any excess flour.
6. Dip the floured chicken strip into the beaten eggs, ensuring it’s completely coated.
7. Dredge the egg-coated chicken strip in the panko breadcrumb mixture, pressing firmly to adhere the crumbs.
8. Place the breaded chicken tender onto the prepared baking sheet.
9. Repeat steps 5-8 with the remaining chicken strips.
10. Spray the chicken tenders lightly with olive oil spray.
11. Bake for 15-20 minutes, or until the chicken is cooked through and the breading is golden brown and crispy. Check the internal temperature to ensure it reaches 165°F (74°C).
12. Let the chicken tenders rest for a few minutes before serving. Enjoy!
Achieving Ultimate Crispiness
Getting that perfect crunch is key to satisfying chicken tenders. Baking offers a healthier alternative to frying, but achieving similar crispiness requires a few crucial techniques.
Optimizing Oven Temperature
The correct oven temperature plays a vital role.
Baking at 400°F (200°C) allows the chicken to cook thoroughly while the panko breadcrumbs turn golden brown and crispy. A lower temperature may result in soggy tenders, while a higher temperature could burn the outside before the chicken is cooked through.
The Magic of Panko Breadcrumbs
Panko breadcrumbs are the secret weapon.
Unlike regular breadcrumbs, panko is made from crustless bread that is processed into large, airy flakes. This texture allows them to crisp up beautifully in the oven, providing a satisfying crunch. Using regular breadcrumbs will likely result in a softer, less crispy coating.
Pre-Baking Prep for Crispiness
Proper preparation is essential.
Ensure the chicken is thoroughly dried with paper towels before breading. Excess moisture prevents the breading from adhering properly and contributes to a soggy result. Lightly spraying the breaded tenders with olive oil spray helps to encourage browning and crispiness. Don’t skip this step!
Flavor Variations and Additions
The basic recipe is a blank canvas for culinary creativity. Experiment with different flavor combinations to personalize your baked panko chicken tenders.
Spice It Up
Add a pinch of spice for an extra kick.
A dash of cayenne pepper or a pinch of chili powder to the panko breadcrumb mixture adds a pleasant warmth. Smoked paprika provides a smoky flavor profile, while a sprinkle of red pepper flakes delivers a noticeable heat. Adjust the amount of spice to your liking.
Cheese Please!
Enhance the cheesy goodness.
Experiment with different types of cheese in the panko mixture. A combination of Parmesan and Romano cheese adds a savory depth. For a sharper flavor, consider adding a small amount of finely grated Pecorino Romano.
Herbaceous Delights
Infuse the breading with fresh or dried herbs.
Fresh herbs like parsley, thyme, or rosemary, finely chopped and added to the panko mixture, provide a burst of flavor and freshness. Dried herbs like oregano, basil, or marjoram also work well. Consider using a combination of herbs for a more complex flavor profile.
Serving Suggestions and Pairing
Crispy baked panko chicken tenders are versatile. They can be served as a main course, appetizer, or snack.
Dipping Sauces
The right dipping sauce complements the flavors of the tenders.
Classic options include honey mustard, barbecue sauce, ranch dressing, and ketchup. For a tangy twist, try a lemon-garlic aioli or a sweet chili sauce. Consider a homemade dipping sauce for a truly personalized experience.
Side Dish Sensations
Pair the tenders with complementary side dishes.
Roasted vegetables like broccoli, asparagus, or carrots are healthy and delicious choices. A simple salad provides a refreshing contrast to the richness of the tenders. French fries, sweet potato fries, or mashed potatoes are classic comfort food pairings.
Creative Presentations
Think beyond the plate.
Serve the tenders in lettuce wraps with your favorite toppings for a light and refreshing meal. Use them as a topping for salads or grain bowls. Cut them into bite-sized pieces and serve them as appetizers with a variety of dipping sauces.
Tips for Storage and Reheating
Proper storage and reheating are crucial.
This ensures that the chicken tenders retain their flavor and texture. Learn the best practices for keeping your leftovers delicious.
Storing Leftovers
Store cooked chicken tenders properly.
Allow the chicken tenders to cool completely before storing them in an airtight container in the refrigerator. They will keep for 3-4 days. Proper cooling prevents condensation from forming, which can make the tenders soggy.
Reheating Methods
Reheat for optimal results.
The best way to reheat baked panko chicken tenders is in the oven. Preheat the oven to 350°F (175°C) and bake the tenders for 10-15 minutes, or until heated through. This method helps to restore some of the crispness. You can also use an air fryer for an even crispier result.
Freezing for Future Enjoyment
Freeze for longer storage.
Allow the cooked chicken tenders to cool completely. Arrange them in a single layer on a baking sheet and freeze for about 2 hours, or until solid. This prevents them from sticking together. Transfer the frozen tenders to a freezer-safe bag or container. They can be stored in the freezer for up to 2-3 months.
Health Benefits and Nutritional Information
Baking the tenders is a healthier option than frying.
This reduces the fat content while still providing a delicious and satisfying meal. Understand the nutritional value of this recipe.
Lower Fat Content
Baking significantly reduces the fat content compared to frying.
This makes it a healthier choice for those watching their calorie intake or trying to reduce their fat consumption. The olive oil spray provides a light coating of healthy fats without adding excessive calories.
Protein Powerhouse
Chicken is an excellent source of lean protein.
Protein is essential for building and repairing tissues, supporting immune function, and promoting satiety. This recipe provides a substantial amount of protein per serving, making it a satisfying and nutritious meal.
Customizable Nutrition
Adjust the ingredients to suit your dietary needs.
Use gluten-free breadcrumbs for a gluten-free option. Reduce the amount of Parmesan cheese or use a low-fat version to lower the fat content. Add vegetables to the recipe for added vitamins and minerals.
FAQ
How do I keep my baked chicken tenders crispy?
Use panko breadcrumbs, ensure the chicken is dry before breading, lightly spray with olive oil, and bake at 400°F (200°C).
Can I use regular breadcrumbs instead of panko?
Panko breadcrumbs are recommended for optimal crispiness. Regular breadcrumbs can be used, but the results may not be as crispy.
How long do I bake chicken tenders at 400?
Bake for 15-20 minutes, or until the chicken is cooked through and the breading is golden brown.
What temperature should chicken tenders be cooked to?
Chicken tenders should be cooked to an internal temperature of 165°F (74°C).
Can I air fry these chicken tenders?
Yes, air frying is a great option for extra crispiness. Cook at 375°F (190°C) for 10-12 minutes, flipping halfway through.