Cherry Ice Cream | Homemade Dessert
As I took my first bite of this creamy Cherry Ice Cream | Homemade Dessert, I was instantly transported to a warm summer evening spent with loved ones.
I vividly remember a sunny afternoon in July when my family and I visited a local cherry farm, where we hand-picked fresh cherries that would later become the star ingredient in this beloved dessert.
It was during that trip that I discovered the magic of combining fresh cherries with creamy ice cream, and this Cherry Ice Cream | Homemade Dessert quickly became a cherished family favorite.
Why You’ll Love This Cherry Ice Cream | Homemade Dessert
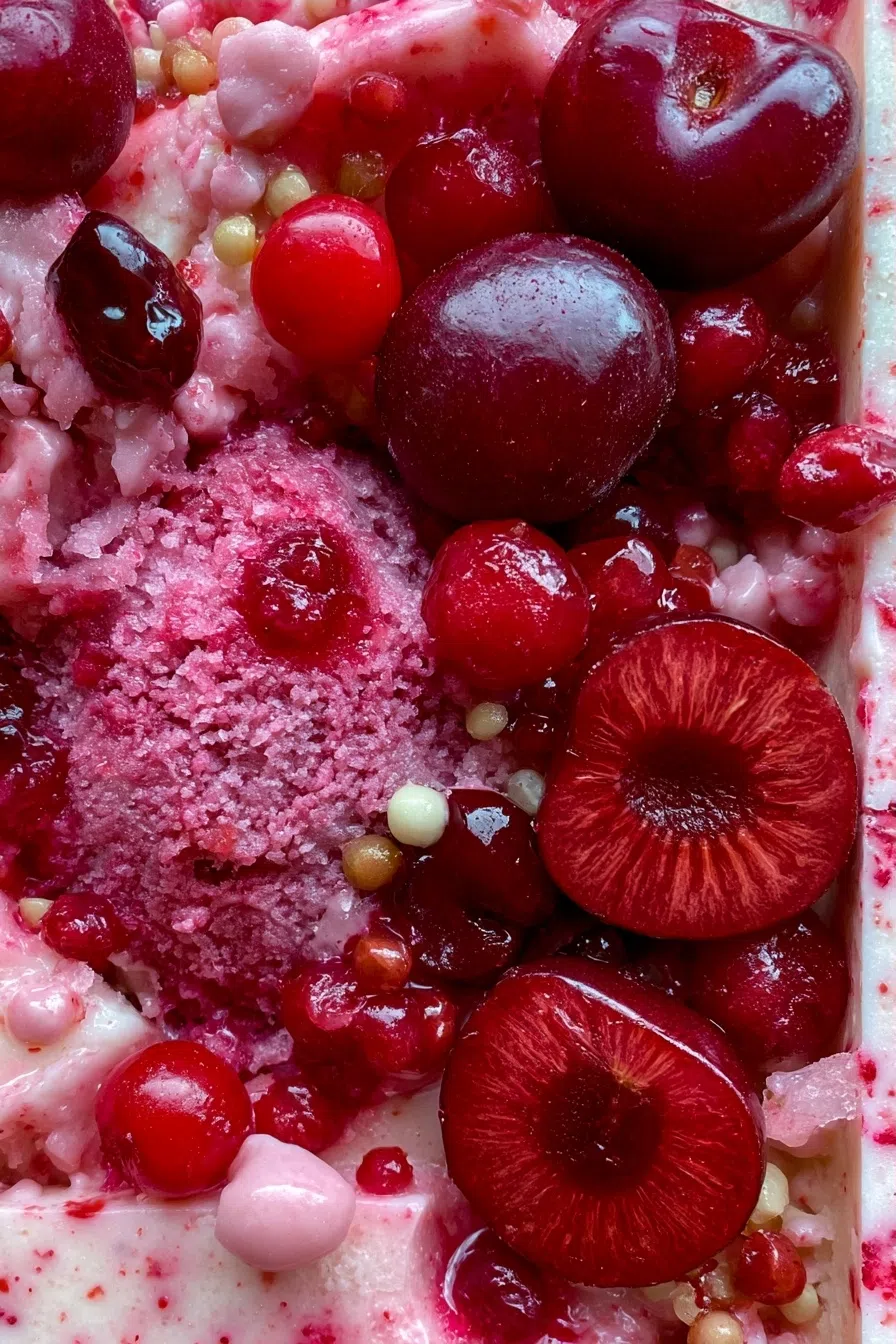
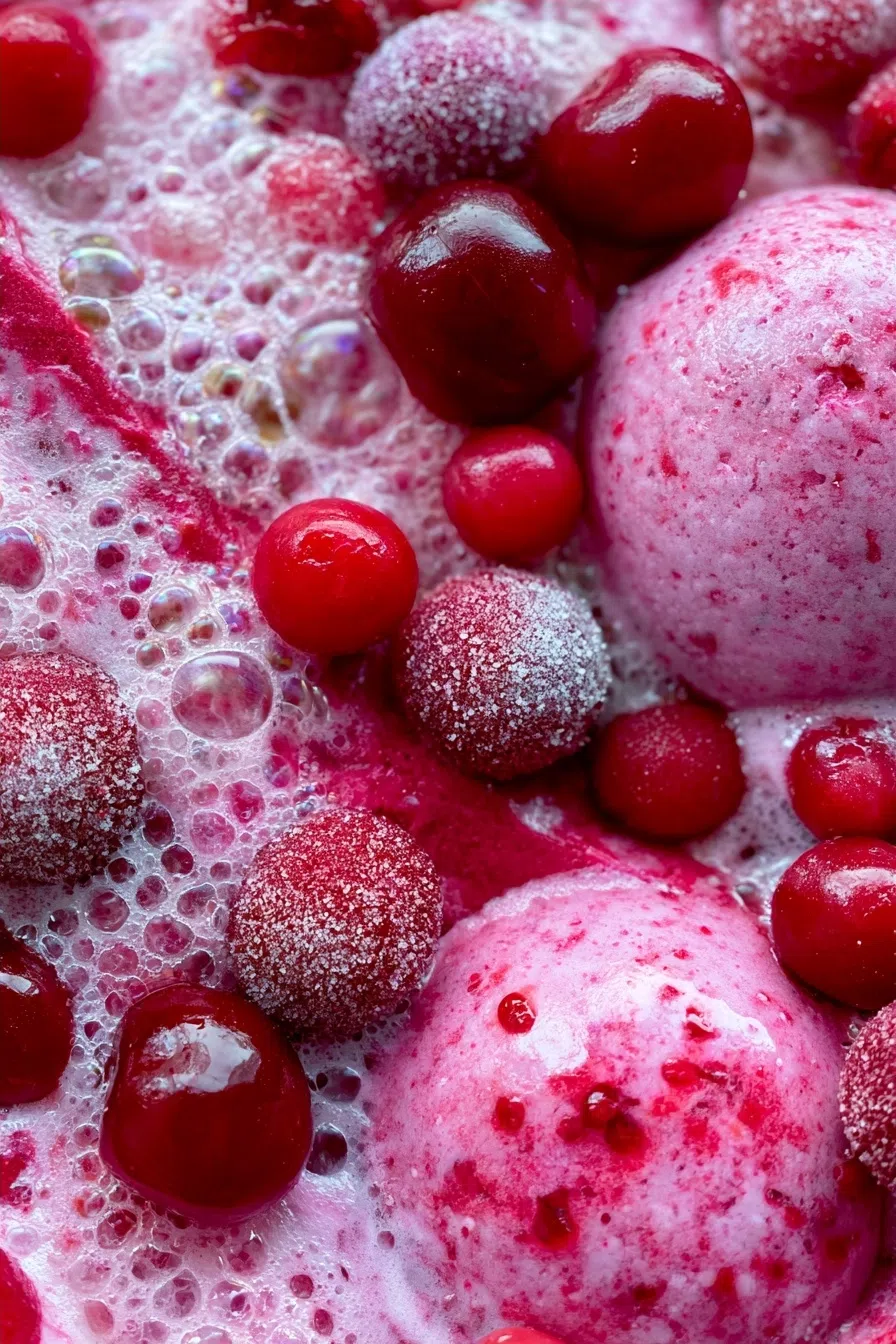
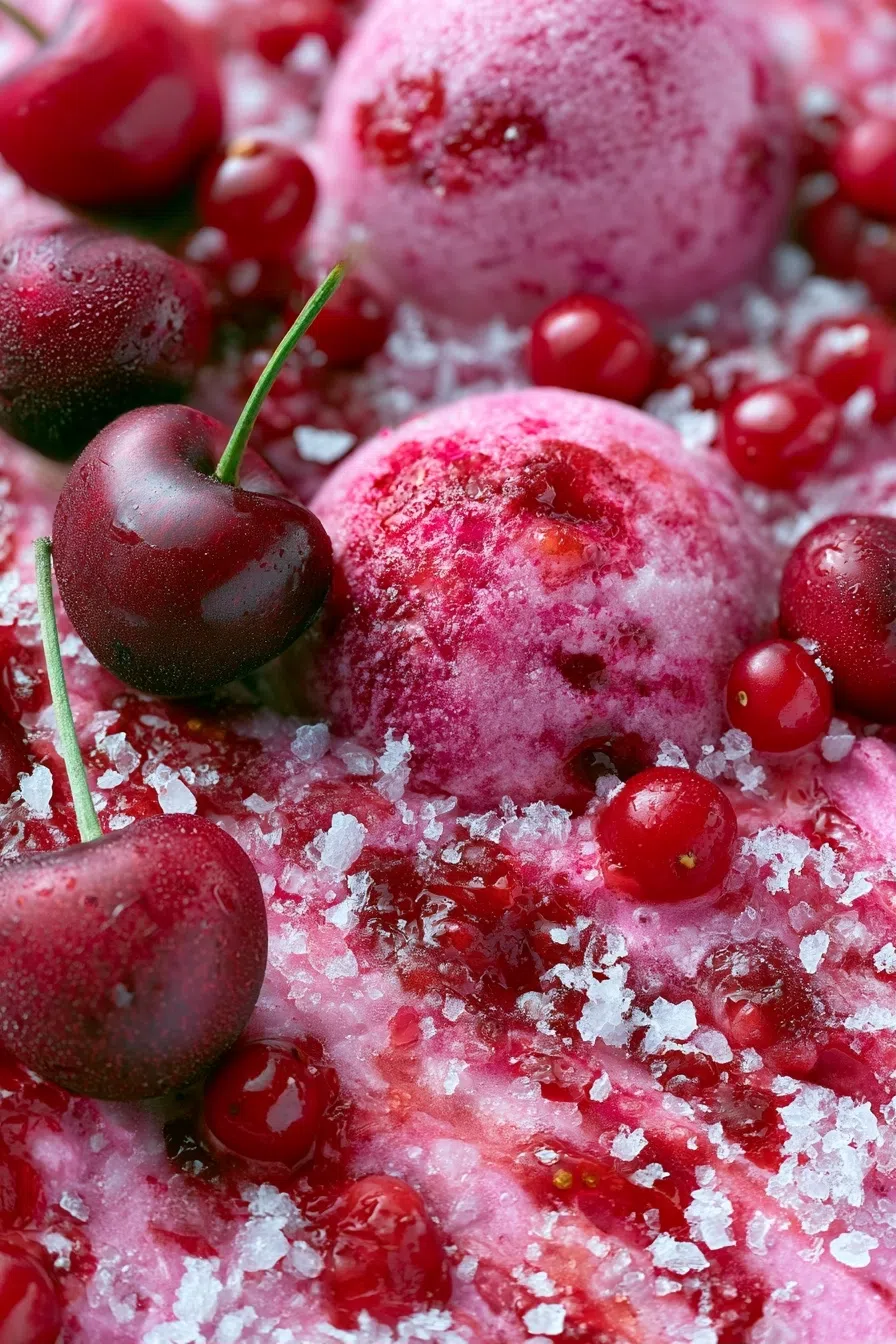
- The velvety texture and deep pink color of this ice cream are a feast for the senses.
- The combination of sweet and tart flavors from the cherries creates a truly unique taste experience.
- In just 20 minutes, you can have a batch of this delicious ice cream chilling in the freezer.
- This foolproof recipe is perfect for anyone looking to create a memorable dessert without the hassle.
- Whether it’s a summer BBQ or a family gathering, this Cherry Ice Cream | Homemade Dessert is sure to be a hit.
Ingredients You’ll Need
- 2 cups heavy cream
- 1 cup granulated sugar
- 1/2 cup whole milk
- 1 tsp vanilla extract
- 1 cup pitted cherries
The star ingredients in this recipe are undoubtedly the fresh cherries and heavy cream, which provide the foundation for the ice cream’s rich flavor and texture. As you mix and churn the ingredients together, the aroma of sweet cherries and creamy vanilla will fill your kitchen and leave you eager to take a bite.
Expert Tips for the Best Cherry Ice Cream | Homemade Dessert
- To ensure the best flavor, it’s crucial to use high-quality ingredients and to not over-churn the ice cream, as this can lead to an icy texture.
- A common mistake when making ice cream is adding too much sugar, which can throw off the balance of flavors – be sure to taste and adjust as you go.
- For a pro upgrade, try adding a hint of almond extract or a pinch of sea salt to enhance the flavor profile.
- When the ice cream has finished churning, it should be creamy and smooth – if it’s still too soft, simply return it to the freezer for a few more minutes.
- To make ahead, prepare the ice cream base up to a day in advance and store it in the fridge until you’re ready to churn.
Variations and Substitutions
To make this recipe gluten-free, simply swap out the traditional ice cream cones for gluten-free alternatives. For a protein-packed twist, try adding a scoop of your favorite protein powder to the mix. And for a bold flavor twist, experiment with different types of cherries, such as tart cherries or sweet cherries, to create a unique taste experience.
How to Store and Reheat
This Cherry Ice Cream | Homemade Dessert will keep in the fridge for up to 3 days when stored in an airtight container. For the best results, reheat the ice cream in the microwave in 10-second increments, stirring between each interval, until it reaches your desired consistency. And if you want to freeze it for later, simply transfer the ice cream to a freezer-safe container and store it for up to 2 months – just be sure to label it with the date and contents.
Frequently Asked Questions
What type of cherries should I use for this recipe?
You can use either sweet or tart cherries for this recipe, depending on your personal preference. Sweet cherries will provide a more traditional ice cream flavor, while tart cherries will give it a slightly more sour taste.
Can I make this recipe without an ice cream maker?
While an ice cream maker will provide the best results, you can also make this recipe without one. Simply pour the ice cream base into a 9×13 inch baking dish and freeze for about 2 hours, stirring every 30 minutes until the desired consistency is reached.
How do I store and serve this Cherry Ice Cream | Homemade Dessert?
To store, simply transfer the ice cream to an airtight container and keep it in the fridge for up to 3 days. For serving, scoop the ice cream into cones or bowls and top with your favorite toppings, such as whipped cream, sprinkles, or chopped nuts.
I hope you enjoy making and devouring this Cherry Ice Cream | Homemade Dessert as much as my family and I do. With its rich flavor and creamy texture, it’s the perfect treat to share with loved ones on a warm summer evening. So go ahead, give it a try, and let the sweet taste of homemade cherry ice cream become a cherished family favorite in your household too.
Cherry Ice Cream
🧂 Ingredients
👩🍳 Instructions
-
1In a blender or food processor, combine heavy cream, sugar, milk, and vanilla extract.
-
2Blend the mixture until smooth.
-
3Stir in the pitted cherries.
-
4Chill the mixture in the refrigerator for at least 2 hours.
-
5Churn the mixture in an ice cream maker according to the manufacturer’s instructions.
-
6Transfer the churned ice cream to an airtight container and freeze for at least 2 hours.