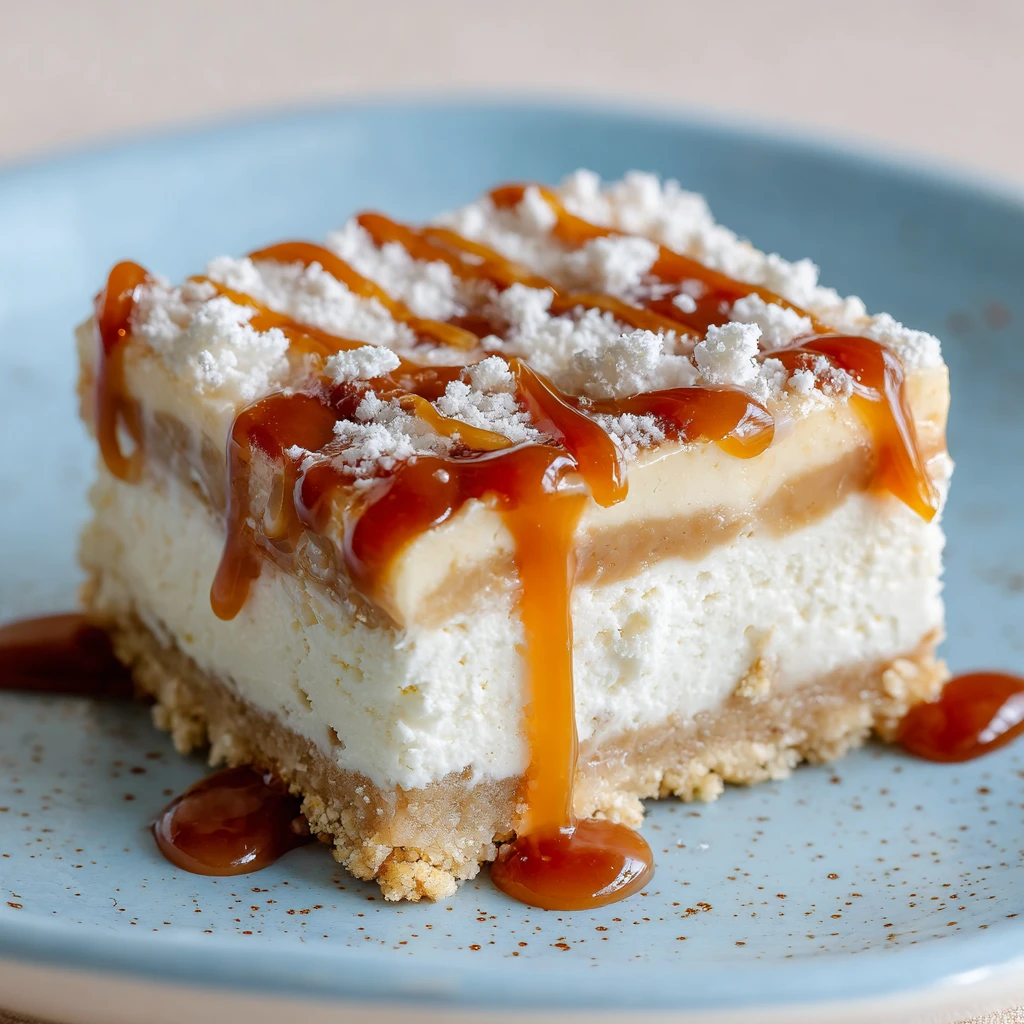
Caramel Cream Pie Bars
Ingredients
For the Crust:
- 1 ½ cups all-purpose flour
- ½ cup (1 stick) cold unsalted butter, cubed
- ¼ cup powdered sugar
- ¼ teaspoon salt
- 3-5 tablespoons ice water
For the Caramel Layer:
- 1 cup granulated sugar
- 6 tablespoons (¾ stick) unsalted butter, cut into pieces
- ½ cup heavy cream
- ¼ teaspoon salt
For the Cream Filling:
- 1 ½ cups heavy cream
- ¼ cup powdered sugar
- 1 teaspoon vanilla extract
Step-by-Step
1. Prepare the Crust: In a large bowl, whisk together the flour, powdered sugar, and salt.
2. Cut in the cold butter using a pastry blender or your fingers until the mixture resembles coarse crumbs.
3. Gradually add the ice water, one tablespoon at a time, until the dough just comes together.
4. Form the dough into a disc, wrap it in plastic wrap, and chill for at least 30 minutes.
5. Preheat oven to 350°F (175°C).
6. Roll out the dough on a lightly floured surface to fit a 9×13 inch baking pan.
7. Press the dough into the pan and prick the bottom with a fork.
8. Bake for 20-25 minutes, or until golden brown. Let cool completely.
9. Make the Caramel Layer: In a medium saucepan, melt the granulated sugar over medium heat, stirring constantly until it turns into a golden amber color.
10. Remove from heat and immediately stir in the butter until melted and smooth.
11. Slowly pour in the heavy cream and stir until well combined. The mixture will bubble up, so be careful.
12. Stir in the salt.
13. Pour the caramel over the cooled crust and spread evenly.
14. Refrigerate for at least 1 hour to allow the caramel to set.
15. Prepare the Cream Filling: In a large bowl, beat the heavy cream and powdered sugar with an electric mixer until stiff peaks form.
16. Stir in the vanilla extract.
17. Spread the whipped cream evenly over the caramel layer.
18. Refrigerate for at least 2 hours before serving.
19. Cut into bars and enjoy!
The Allure of Caramel Cream Pie Bars
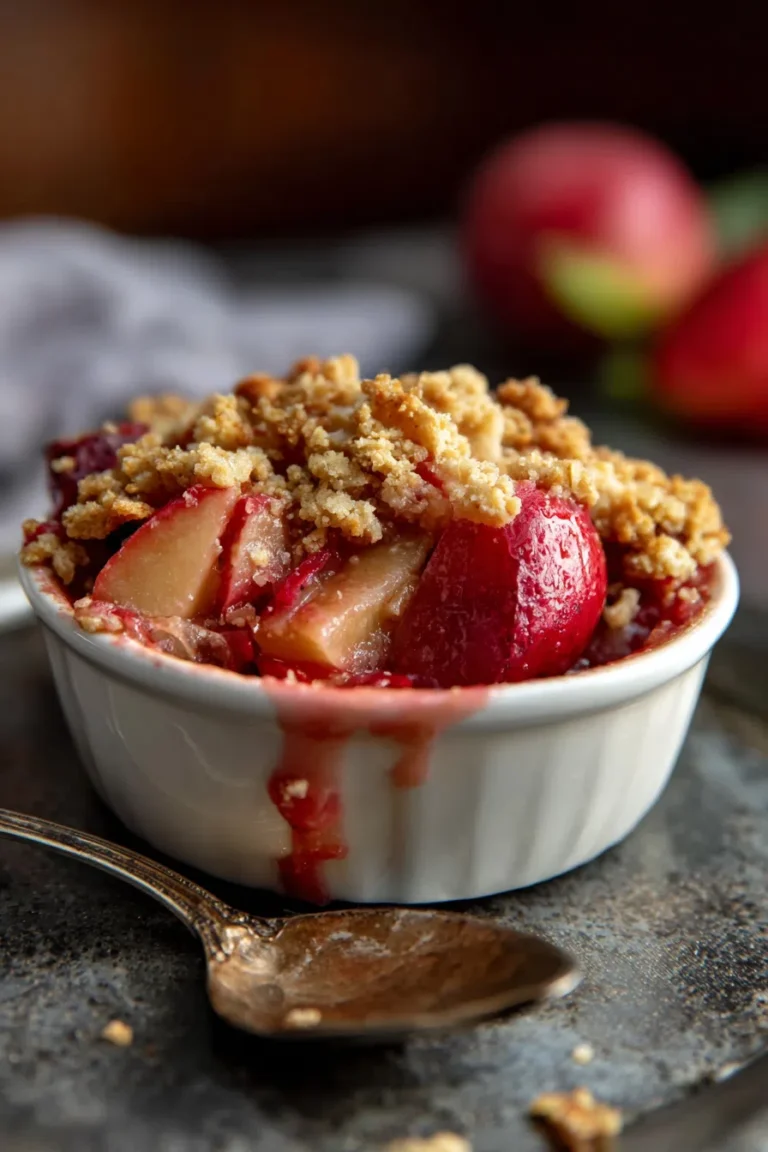
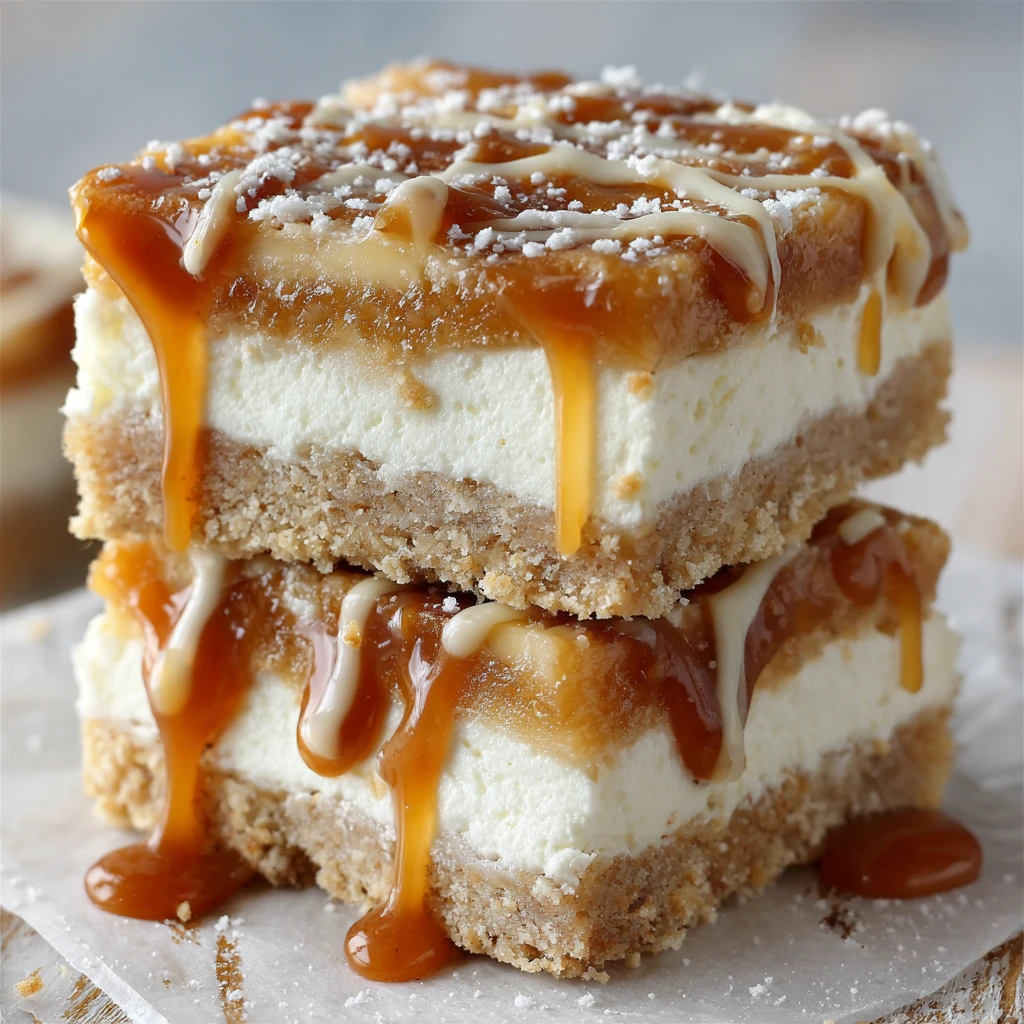
These caramel cream pie bars are a delightful treat that combines the buttery goodness of a shortbread crust, the rich indulgence of homemade caramel, and the light, airy sweetness of whipped cream.
They’re a perfect dessert for any occasion, from casual gatherings to special celebrations.
These bars offer a symphony of flavors and textures that are sure to please everyone.
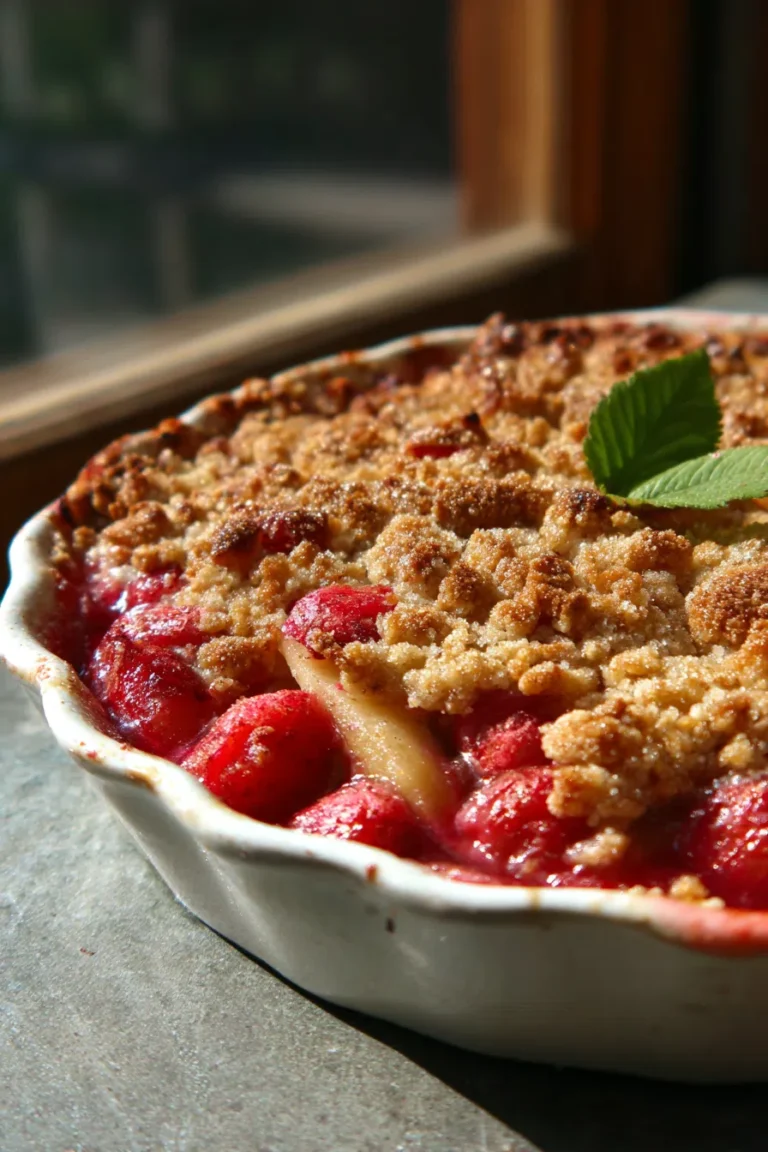
Why Caramel Cream Pie Bars Are a Crowd-Pleaser
These bars strike a balance between comforting familiarity and elegant indulgence. The shortbread crust provides a stable and slightly crumbly base.
The homemade caramel layer adds a chewy, sweet, and slightly salty element.
Finally, the whipped cream topping offers a light and refreshing contrast.
Their relatively simple preparation compared to a full pie makes them an attractive option for home bakers. Plus, they can be made ahead of time, making them ideal for entertaining.
Variations and Adaptations
While the classic recipe is fantastic, there are many ways to customize these bars. Consider adding chopped pecans or walnuts to the caramel layer for extra crunch and flavor.
A sprinkle of sea salt on top of the caramel can enhance its sweetness.
Experiment with different extracts in the whipped cream, such as almond or maple, for a unique twist.
For a chocolate version, drizzle melted chocolate over the whipped cream or add cocoa powder to the crust.
Mastering the Crust
The crust is the foundation of these bars, and a well-made crust is crucial for success.
Achieving the Perfect Shortbread Texture
The key to a tender shortbread crust is using cold butter and minimal mixing.
Overmixing develops the gluten in the flour, resulting in a tough crust.
Cut the butter into small cubes and use a pastry blender or your fingertips to incorporate it into the flour mixture until it resembles coarse crumbs.
Avoid adding too much water; the dough should just come together. Chilling the dough before rolling it out helps prevent it from shrinking during baking.
Blind Baking vs. Baking with Filling
In this recipe, the crust is blind-baked, meaning it’s baked before the filling is added. This ensures that the crust is fully cooked and doesn’t become soggy from the caramel.
Prick the bottom of the crust with a fork before baking to prevent it from puffing up.
You can also use pie weights or dried beans to weigh down the crust during baking.
If you prefer, you can bake the crust with the caramel filling directly on top, but be sure to adjust the baking time accordingly.
Crafting the Perfect Caramel
The caramel layer is what truly elevates these bars. Homemade caramel is surprisingly easy to make, and the flavor is far superior to store-bought caramel.
The Secrets to Smooth, Golden Caramel
Patience is key when making caramel. It’s important to melt the sugar slowly over medium heat, stirring constantly to prevent burning.
Once the sugar is melted, it will start to turn golden brown. Watch it carefully, as it can burn quickly.
Remove the saucepan from the heat before adding the butter and cream, as this will help prevent the mixture from splattering.
Stir constantly until the butter is melted and the cream is incorporated. The mixture will bubble up, so be careful.
If the caramel seizes or becomes grainy, don’t panic. Simply add a tablespoon or two of water and continue stirring until it smooths out.
Avoiding Common Caramel-Making Mistakes
One of the most common mistakes when making caramel is burning the sugar. This can happen if the heat is too high or if the sugar is not stirred constantly.
Another common mistake is adding cold butter or cream to the hot sugar, which can cause the caramel to seize up. Make sure the butter and cream are at room temperature.
Finally, avoid overcooking the caramel, as this can make it too hard. The caramel should be thick and pourable.
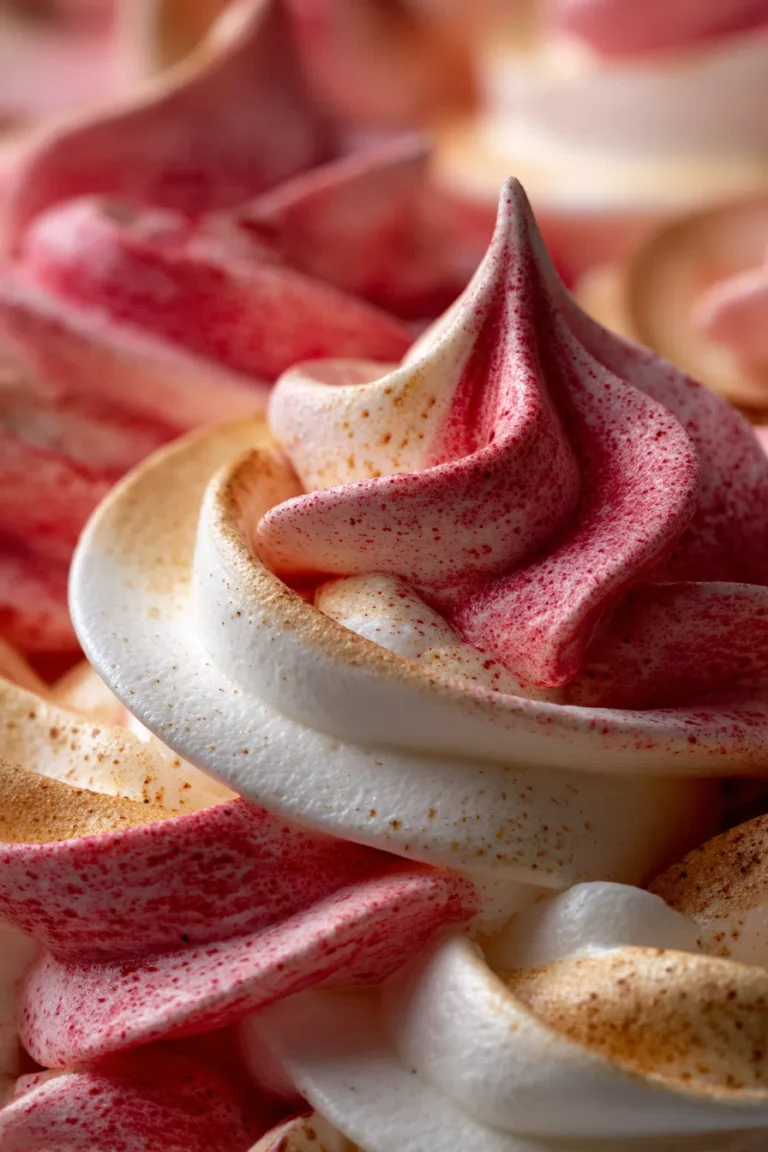
Whipped Cream Perfection
The whipped cream topping adds a light and airy contrast to the rich caramel and buttery crust.
Achieving Stiff Peaks Every Time
To achieve stiff peaks, start with cold heavy cream and a cold bowl.
Chill the bowl and beaters in the freezer for about 15 minutes before whipping the cream.
Beat the cream with an electric mixer until soft peaks form, then gradually add the powdered sugar and vanilla extract.
Continue beating until stiff peaks form. Be careful not to overbeat the cream, as this can cause it to curdle.
Flavor Variations and Enhancements
While vanilla extract is the classic choice, there are many ways to flavor whipped cream.
Try adding a teaspoon of almond extract, maple extract, or even a tablespoon of coffee liqueur.
You can also add a pinch of cinnamon or nutmeg for a warm and cozy flavor.
For a chocolate whipped cream, add a tablespoon or two of cocoa powder to the cream before whipping.
Serving and Storage Tips
These caramel cream pie bars are best served cold.
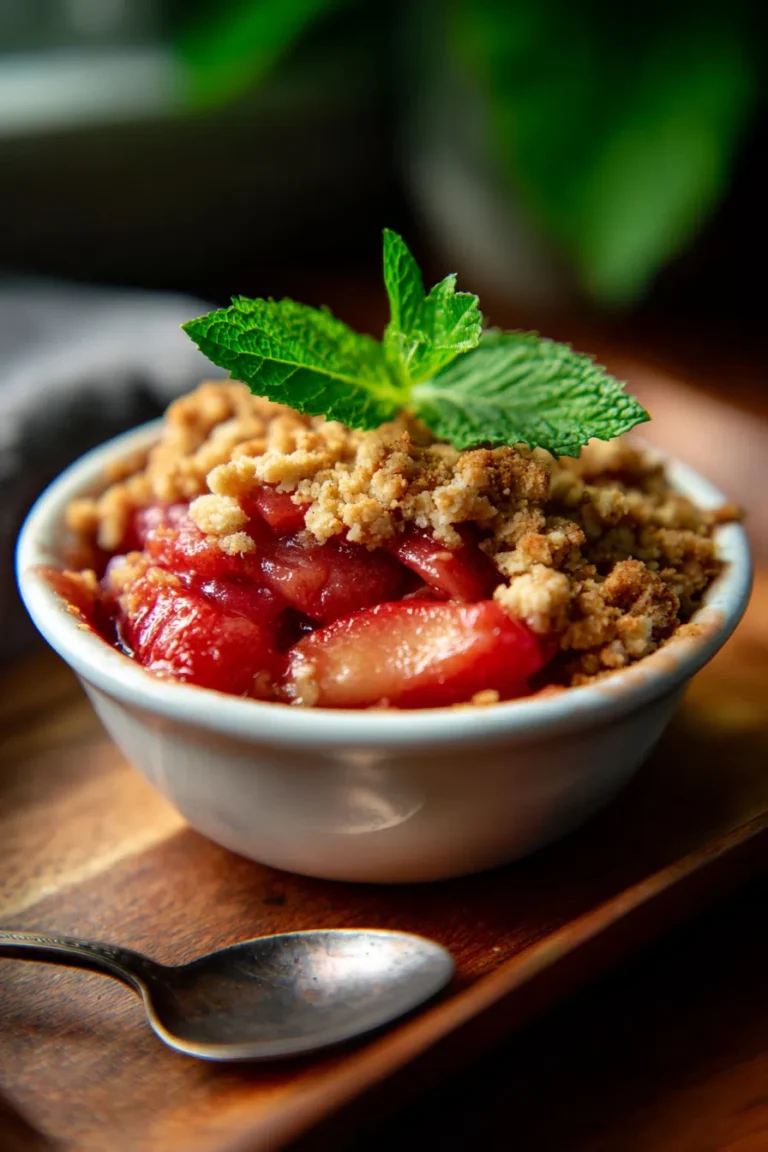
Presentation and Garnish Ideas
Before serving, cut the bars into squares or rectangles.
You can garnish them with a sprinkle of sea salt, chopped nuts, or a drizzle of melted chocolate.
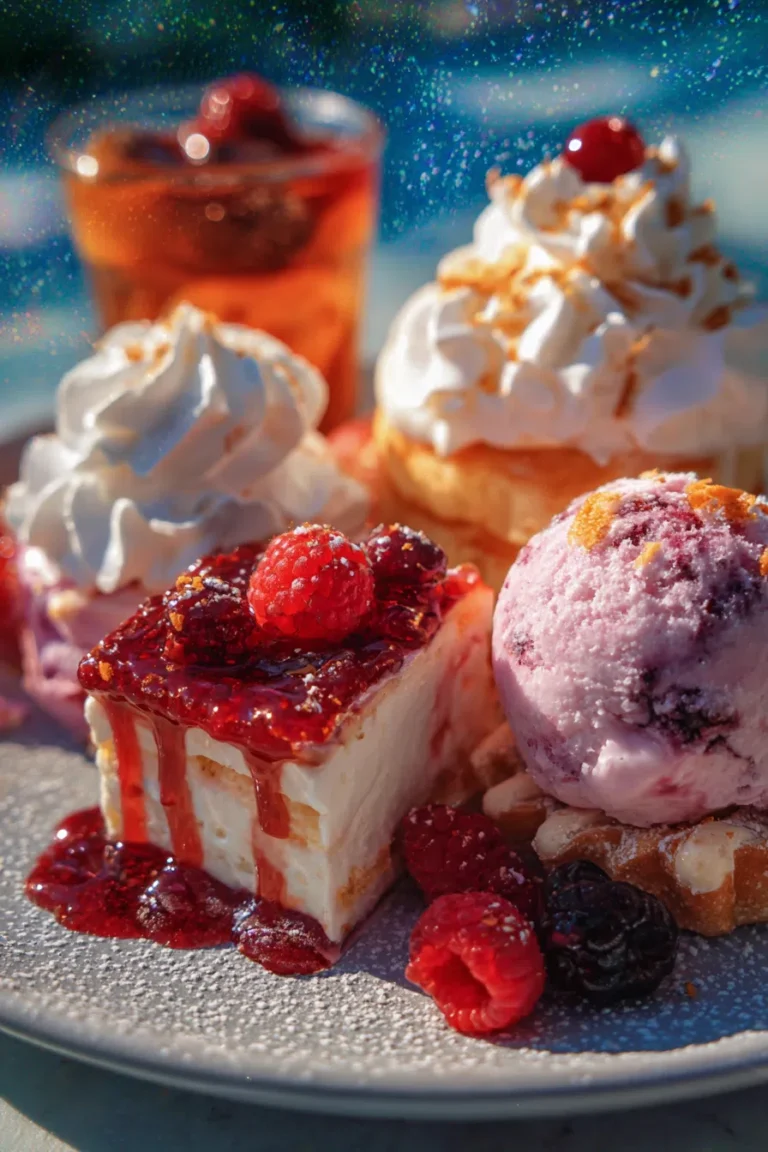
A few fresh berries, such as raspberries or strawberries, can also add a pop of color and flavor.
Proper Storage for Optimal Freshness
Store leftover bars in an airtight container in the refrigerator for up to 3 days.
The crust may soften slightly over time, but the bars will still be delicious.
You can also freeze the bars for longer storage. Wrap them individually in plastic wrap and then place them in a freezer bag.
They can be frozen for up to 2 months. Thaw them in the refrigerator before serving.
FAQ
Why is my caramel grainy?
Grainy caramel is often caused by sugar crystals forming. This can happen if the sugar is not fully dissolved or if the mixture is not stirred constantly. Adding a tablespoon or two of water can help to dissolve the crystals.
Can I use store-bought caramel?
Yes, you can use store-bought caramel, but homemade caramel will have a richer, more complex flavor. If using store-bought, choose a high-quality caramel sauce.
Why is my crust soggy?
A soggy crust is usually caused by the filling being too wet or by not blind-baking the crust properly. Be sure to prick the bottom of the crust with a fork before baking.
Can I make these bars ahead of time?
Yes, these bars can be made ahead of time. In fact, they taste even better after they’ve had a chance to chill in the refrigerator for a few hours.
Can I freeze these bars?
Yes, these bars can be frozen for up to 2 months. Wrap them individually in plastic wrap and then place them in a freezer bag. Thaw them in the refrigerator before serving.