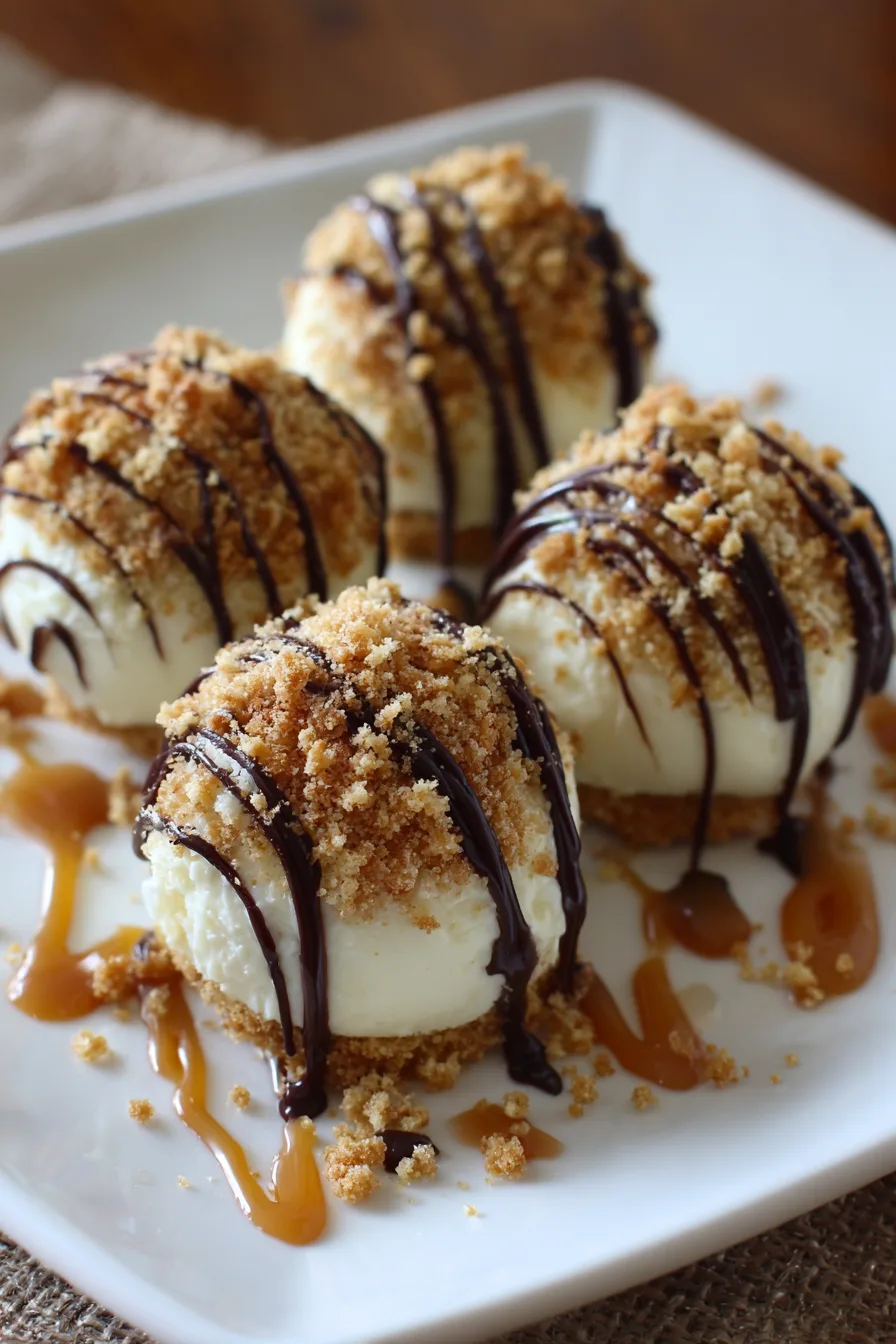
The Ultimate Caramel Cheesecake Truffles: A Decadent No-Bake Treat
Caramel cheesecake truffles represent the pinnacle of effortless indulgence, combining the tangy richness of a classic New York-style cheesecake with the buttery sweetness of slow-cooked caramel. These bite-sized confections have become a viral sensation for good reason: they require no oven time, utilize a handful of accessible ingredients, and deliver a sophisticated flavor profile that rivals high-end chocolatiers. Whether you are looking for a show-stopping addition to a holiday dessert platter or a simple weekend project to satisfy a sweet tooth, these truffles offer a velvety texture and a perfect balance of salt and sugar that makes them impossible to resist.
Ingredients
-
Cream Cheese: 8 ounces (one block) of full-fat cream cheese, softened to room temperature.
-
Caramel Sauce: 1/2 cup of thick salted caramel sauce or Dulce de Leche (store-bought or homemade).
-
Graham Cracker Crumbs: 2 cups of finely crushed graham crackers (approximately 12–14 full sheets).
-
Sea Salt: 1/4 teaspoon of fine sea salt (plus extra flaky salt for garnish).
-
Chocolate Coating: 12 ounces of high-quality dark, milk, or white chocolate melting wafers or chopped baking chocolate.
-
Vanilla Extract: 1 teaspoon of pure vanilla extract for added depth.
-
Optional Toppings: Toasted pecans, extra caramel drizzle, or crushed toffee bits.
Step-by-Step Instructions
-
Prepare the Base: In a large mixing bowl, beat the softened cream cheese until smooth and creamy. Add the caramel sauce, vanilla extract, and fine sea salt, mixing until fully incorporated.
-
Incorporate the Crumbs: Gradually fold in the graham cracker crumbs. Stir until a thick, dough-like consistency forms. If the mixture feels too soft to roll, cover and refrigerate for 30 minutes.
-
Shape the Truffles: Line a baking sheet with parchment paper. Using a small cookie scoop or a tablespoon, portion out the mixture and roll it between your palms to create 1-inch balls. Place them on the prepared sheet.
-
The Initial Chill: Place the tray of truffle balls in the freezer for at least 30 to 60 minutes. This step is crucial; if the truffles are too soft, they will fall apart or melt when dipped in the warm chocolate.
-
Melt the Chocolate: Using a microwave-safe bowl, melt the chocolate wafers in 30-second intervals, stirring in between, until completely smooth.
-
Coat the Truffles: Using a fork or a specialized dipping tool, submerge each chilled truffle into the melted chocolate. Lift it out, tap off the excess chocolate against the side of the bowl, and return it to the parchment paper.
-
Garnish and Set: While the chocolate is still wet, sprinkle a pinch of flaky sea salt or a few toffee bits on top. Once all truffles are coated, let them sit at room temperature or in the fridge until the shells are firm.
-
Final Drizzle: For a professional finish, warm a tablespoon of caramel and drizzle it lightly over the hardened chocolate shells before serving.
Selecting Premium Ingredients for Maximum Flavor
The secret to a world-class caramel cheesecake truffle lies in the quality of the components. Because this is a no-bake recipe, the flavors of each ingredient are prominent and do not mellow out through cooking. When selecting your cream cheese, always opt for the brick variety rather than the whipped or tub versions. The bricks have a lower moisture content, which ensures the truffles remain stable at room temperature and provide that signature dense, cheesecake-like mouthfeel.
For the caramel element, the thickness of the sauce is paramount. A thin, runny syrup intended for ice cream topping will result in a “soupy” truffle base that is difficult to handle. Instead, look for a thick salted caramel or a jar of Dulce de Leche. These thicker options provide a concentrated burnt-sugar flavor that cuts through the tanginess of the cream cheese. Furthermore, don’t underestimate the power of the graham cracker. Using honey-flavored crackers adds a subtle floral note, while cinnamon-flavored crackers can provide a warm, autumnal spice profile that pairs beautifully with the caramel.
Mastery of the Chocolate Dipping Technique
The most intimidating part of making truffles is achieving a smooth, professional-looking chocolate coating. The “bloom” or streaking often seen on homemade chocolates is usually the result of temperature shock. To prevent this, ensure your chocolate is melted gently. If you aren’t using melting wafers (which are formulated with extra fats for easy dipping), adding a teaspoon of coconut oil or vegetable shortening to your chopped chocolate can help thin it out, making it easier to achieve a thin, crisp shell rather than a thick, clunky one.
When dipping, work in small batches. Keep half of your truffle balls in the freezer while you work with the first half. If the truffles begin to warm up, they will leave “crumbs” in your melted chocolate, ruining the smooth finish for subsequent pieces. If you notice a “foot” of excess chocolate forming at the base of your truffle on the parchment paper, try “walking” the truffle. This involves placing the dipped truffle on the paper, then immediately sliding it an inch to the side to leave the excess pool of chocolate behind.
Creative Variations and Flavor Profiles
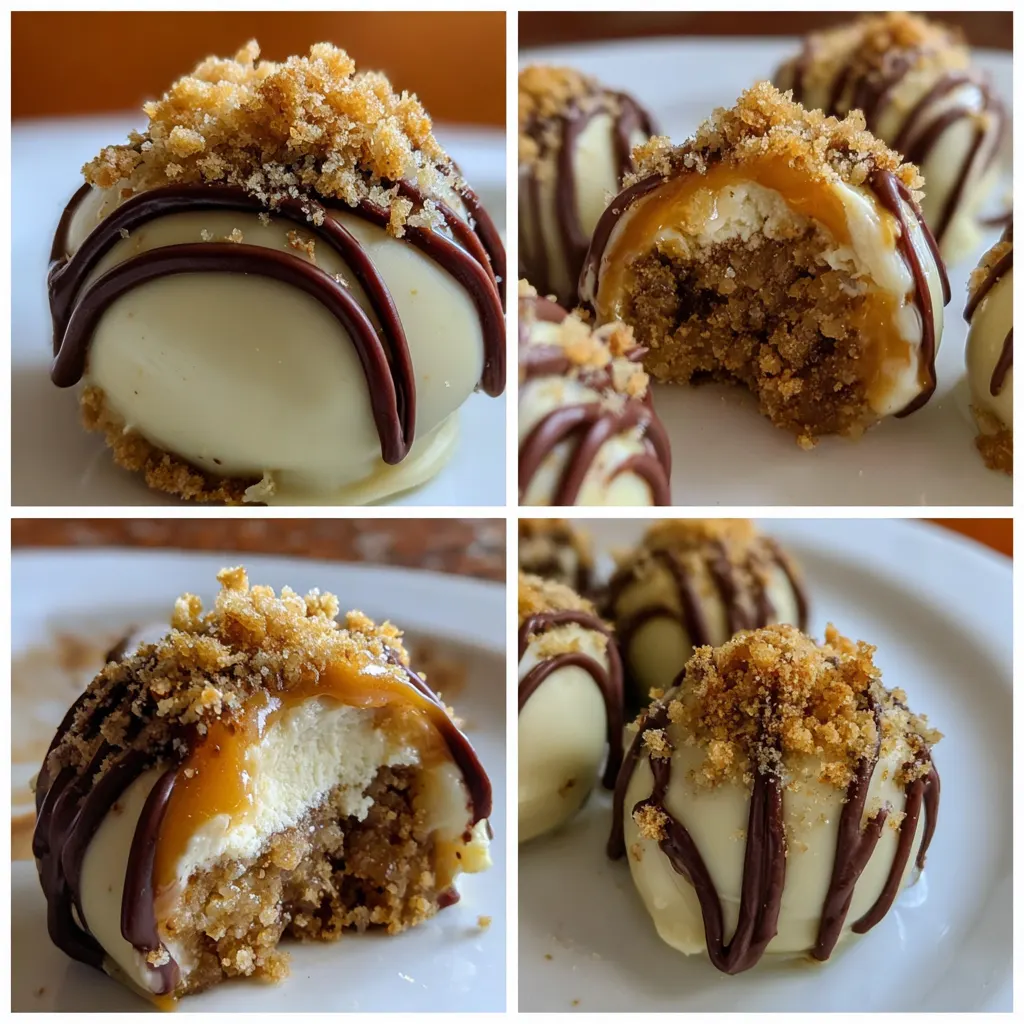
While the classic caramel and graham cracker combination is a crowd-pleaser, this recipe serves as a versatile canvas for various flavor profiles. For a “Turtle” inspired truffle, replace half of the graham cracker crumbs with finely ground toasted pecans and dip the final product in dark chocolate. If you prefer a more intense caramel experience, you can even “stuff” the center of each truffle. To do this, flatten a small amount of the cheesecake dough, place a tiny piece of a soft caramel square in the center, and roll the dough around it.
For those who enjoy a contrast in textures, consider changing the outer shell. White chocolate provides a sweet, creamy exterior that highlights the saltiness of the caramel, while a bitter 70% dark chocolate creates a sophisticated, less-sweet treat. You can also experiment with the “crunch” factor by rolling the wet chocolate-coated truffles in crushed pretzels, toasted coconut, or even cocoa nibs. These additions not only add flavor but also provide a visual appeal that makes the truffles look like they came from a professional bakery.
Optimal Storage and Presentation Strategies
Because these truffles contain dairy, they must be stored with care to maintain their freshness and safety. They are best kept in an airtight container in the refrigerator, where they will stay fresh for up to two weeks. For the best tasting experience, remove them from the fridge about 10 to 15 minutes before serving. This allows the inner cheesecake filling to soften slightly, reaching a perfect “melt-in-your-mouth” consistency while the chocolate shell remains crisp.
If you are planning to give these as gifts, they are remarkably durable. Once the chocolate is fully set, they can be placed in mini cupcake liners and arranged in decorative tins or boxes. They also freeze exceptionally well; you can store them in a freezer-safe bag for up to three months. This makes them an ideal “make-ahead” dessert for large events. Simply thaw them in the refrigerator overnight before your event. By paying attention to these small details in preparation and storage, you ensure that every bite of your caramel cheesecake truffles is a perfect blend of texture and luxury.