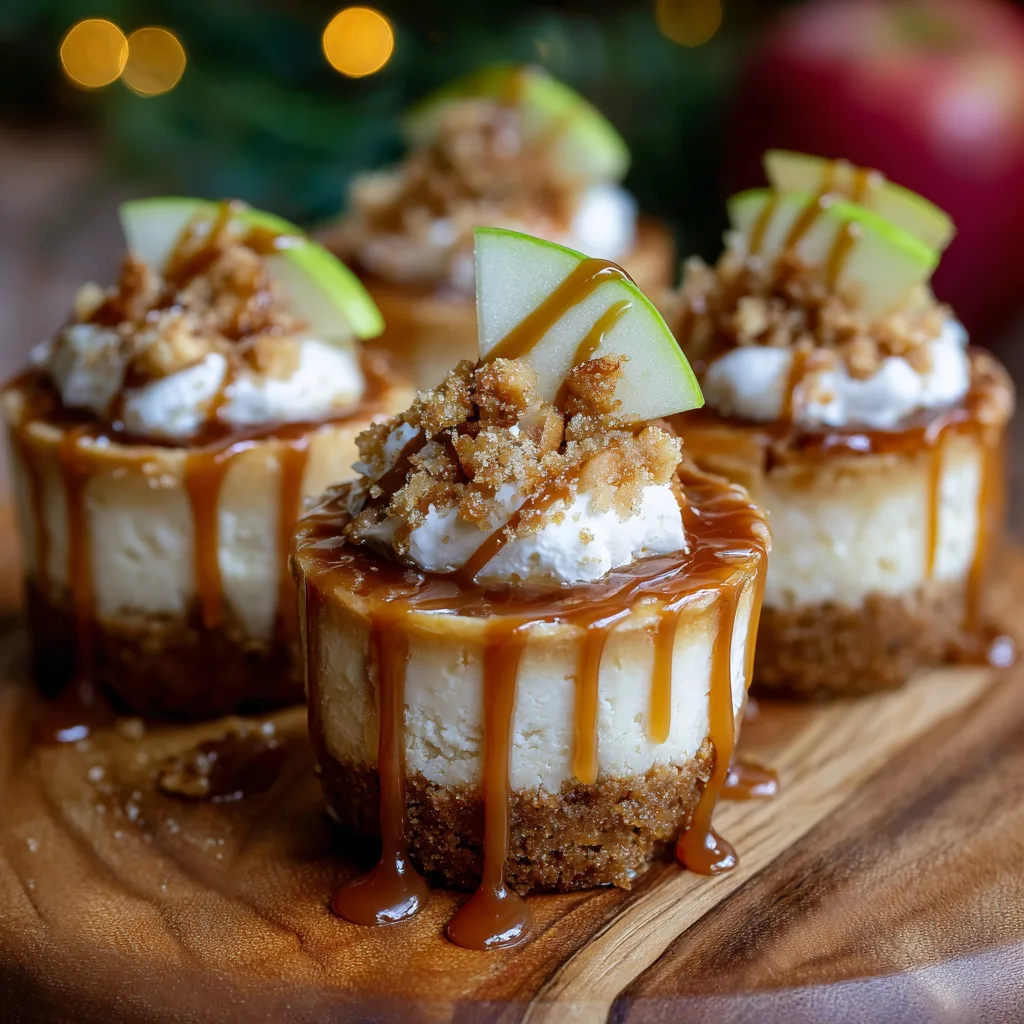
The Ultimate Caramel Apple Cheesecake Cupcakes: A Decadent Fall Fusion
As the temperatures drop and the aroma of cinnamon and spices fills the air, few desserts capture the essence of autumn quite like the marriage of caramel apples and classic cheesecake. Caramel Apple Cheesecake Cupcakes deliver everything beloved about this seasonal fusion in a perfectly portioned, hand-held dessert. Featuring a buttery graham cracker crust, a rich, creamy cheesecake layer, and a luscious spiced apple topping drizzled with homemade caramel, these mini treats are guaranteed to be the star of any fall gathering, combining comforting texture with complex seasonal flavor.
Ingredients
For the Graham Cracker Crust
-
1 ½ cups graham cracker crumbs
-
¼ cup granulated sugar or brown sugar
-
½ teaspoon ground cinnamon (optional, for enhanced flavor)
-
6 tablespoons unsalted butter, melted
For the Apple Topping
-
2 large Granny Smith or Fuji apples, peeled, cored, and finely diced
-
2 tablespoons unsalted butter
-
¼ cup light brown sugar
-
1 teaspoon ground cinnamon
-
¼ teaspoon ground nutmeg or cloves (optional)
-
1 teaspoon fresh lemon juice
-
1 tablespoon all-purpose flour or cornstarch (optional, for thickening)
For the Cheesecake Filling
-
24 ounces (three 8-ounce packages) full-fat cream cheese, softened to room temperature
-
¾ cup granulated sugar
-
2 large eggs, room temperature
-
2 teaspoons pure vanilla extract
-
¼ cup sour cream or plain Greek yogurt, room temperature (optional, for texture)
-
1 tablespoon all-purpose flour or cornstarch (optional, for structure)
For the Caramel Sauce
-
Homemade or high-quality store-bought caramel sauce, warmed for drizzling
Instructions
Part 1: Preparing the Crust and Apple Topping
-
Preheat the Oven: Preheat your oven to 325°F (160°C). Line a standard 12-cup muffin tin with paper liners.
-
Make the Crust: In a medium bowl, combine the graham cracker crumbs, sugar, and cinnamon (if using). Pour in the melted butter and stir until the mixture resembles wet sand.
-
Bake the Crust: Spoon a generous tablespoon (about 2 tablespoons) of the crumb mixture into the bottom of each lined muffin cup. Press the mixture firmly into an even layer using the back of a small spoon or the bottom of a measuring cup. Bake for 5 minutes, then remove from the oven and set aside.
-
Prepare the Apple Topping: In a medium saucepan, melt 2 tablespoons of butter over medium heat. Add the diced apples and lemon juice. Cook for 5–7 minutes, stirring occasionally, until the apples begin to soften. Stir in the brown sugar, cinnamon, nutmeg/cloves (if using), and cornstarch/flour (if using). Continue to cook for 1–2 minutes until the sauce is slightly thickened and glossy. Remove from heat and allow to cool completely.
Part 2: Making the Filling and Baking the Cheesecakes 5. Mix the Cream Cheese: In the bowl of a stand mixer fitted with a paddle attachment, or using a hand mixer, beat the softened cream cheese on low speed until perfectly smooth and lump-free (about 2 minutes). Scrape down the sides of the bowl frequently. 6. Add Sweeteners and Structure: Gradually add the granulated sugar, beating until just incorporated. Mix in the vanilla extract, sour cream/yogurt, and flour/cornstarch (if using). Mix only until blended. 7. Incorporate Eggs: Add the eggs one at a time, mixing on the absolute lowest speed possible. Stop mixing immediately once the egg yolk disappears into the batter. Overmixing the eggs incorporates too much air, which leads to sinking and cracking. 8. Assemble and Bake: Scoop the cheesecake batter over the pre-baked crusts, filling each cup about three-quarters full. Gently top the batter with a spoonful of the cooled spiced apple mixture, pressing down very lightly. 9. Bake Gradually: Bake the mini cheesecakes for 20–25 minutes. The edges should appear set, but the center should still have a slight “jiggle.” 10. Cool Gradually: Turn the oven off and prop the door open slightly with a wooden spoon. Allow the cheesecakes to cool inside the oven for 30 minutes. This gradual temperature reduction prevents cracking. 11. Chill: Remove the cheesecakes from the oven and let them cool completely to room temperature on a wire rack. Once cool, cover the muffin pan with plastic wrap and transfer to the refrigerator to chill for at least 4 hours, or preferably overnight, until firm.
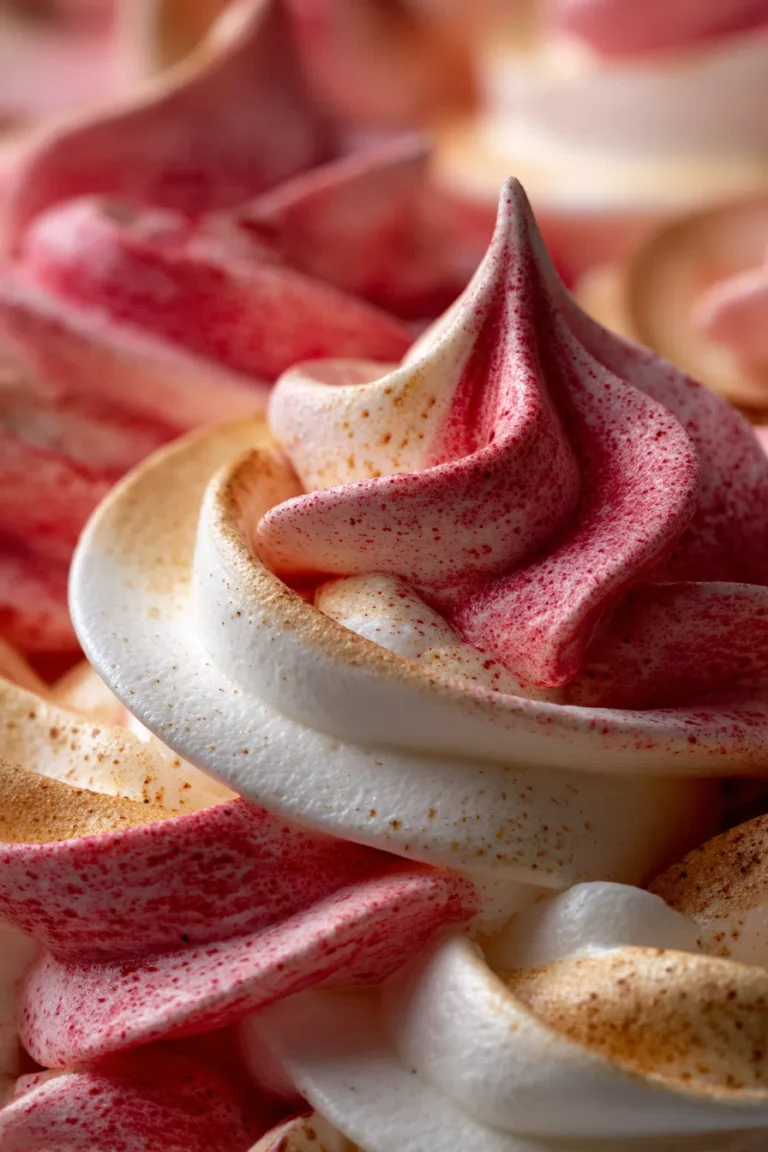
Part 3: Finishing and Serving 12. Garnish: Once chilled, remove the paper liners and arrange the cheesecakes on a serving platter. 13. Drizzle: Warm the caramel sauce slightly until it is pourable but not runny. Drizzle generously over each cheesecake just before serving. 14. Optional Topping: For an extra flourish, pipe a dollop of fresh whipped cream or cream cheese frosting on top of the caramel drizzle.
The Anatomy of Perfection: Mastering the Three Essential Layers
Creating an outstanding Caramel Apple Cheesecake Cupcake is an exercise in balancing texture and flavor across its foundational layers. Each component—the crust, the filling, and the topping—plays a critical role in achieving the ultimate bite.
The Foundation: A Buttery, Spiced Crust While a basic graham cracker crust is standard, incorporating cinnamon adds a layer of warmth that complements the fall spices in the topping. The key technique here is the pre-bake. A quick 5-minute bake sets the crust firmly, preventing it from becoming soggy when the wet cheesecake filling is added. For those seeking variations, substituting graham crackers with Nilla Wafers or Gingersnap Cookies offers unique flavor profiles. Nilla Wafers provide a delicate vanilla base, while Gingersnaps introduce a bolder, spicier contrast that stands up well to the rich caramel.
The Core: Creamy, Crack-Free Cheesecake Filling The perfect cheesecake filling is dense, creamy, and free of lumps. This is achieved by adhering to one golden rule: room temperature ingredients. Cream cheese, eggs, and any dairy additions (like sour cream or yogurt) must be softened before mixing. This ensures they blend seamlessly, preventing small pockets of unmixed fat that result in a grainy texture. Furthermore, adding a small amount of flour or cornstarch (the “secret weapon” for many bakers) is crucial. These starches act as stabilizers, binding the proteins in the cream cheese and eggs to provide structure, making the final cake less likely to crack or sink during cooling.
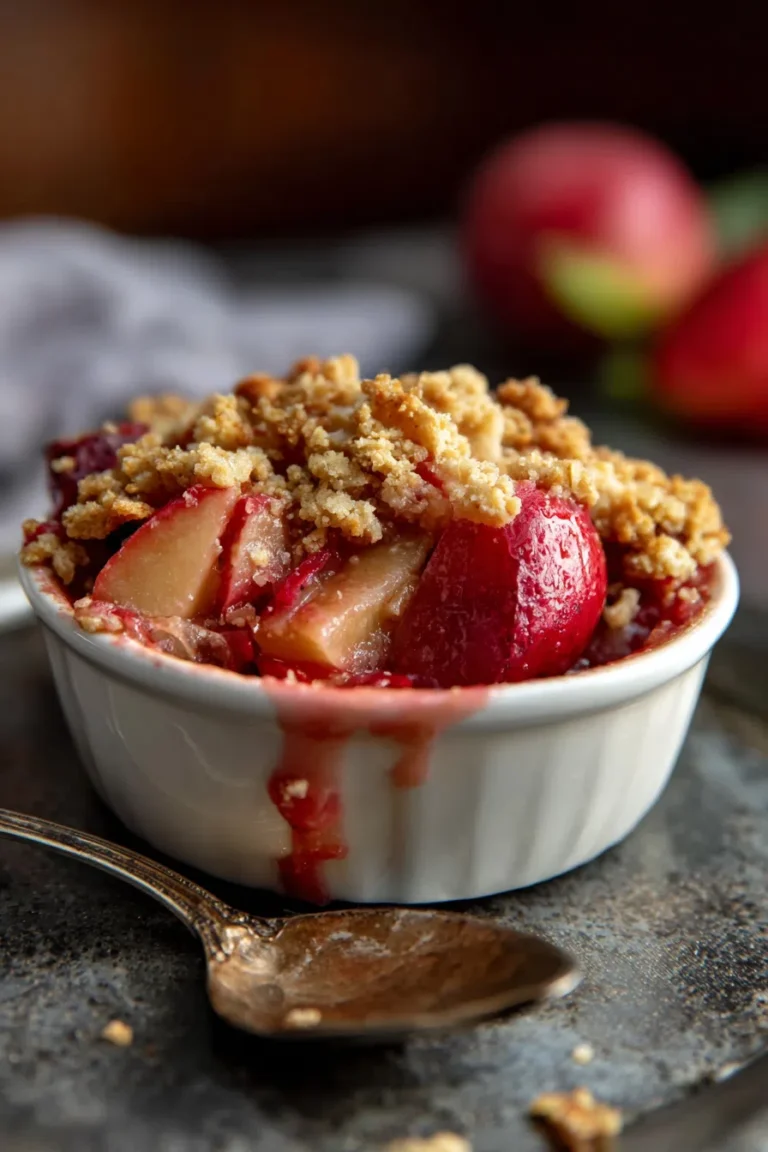
The Crown: Spiced Apple and Caramel Harmony The topping is where the “caramel apple” flavor truly shines. For the best result, use a tart apple variety like Granny Smith to cut through the richness of the cheesecake. Alternatively, Fuji or Honeycrisp offer a sweeter, firmer texture. The apples should be gently sautéed in butter and brown sugar until just tender, not mushy. For optimal flavor and presentation, the apple topping must be fully cooled before being placed on the cheesecake batter; hot topping can disrupt the baking process. If using a pre-made canned apple pie filling, finely chopping the apples and mixing them with caramel sauce and cinnamon is a quick shortcut that still delivers excellent results.
Essential Techniques for Cheesecake Success
Achieving that signature smooth, unblemished cheesecake dome requires attention to detail during preparation and baking. While mini cheesecakes are far less prone to cracking than full-sized versions, employing professional techniques ensures perfect results every time.
Controlling Aeration: The Slow Mix Method The leading cause of cracks and fissures in cheesecake is overmixing, particularly once the eggs are introduced. Excessive beating incorporates too much air, which expands rapidly in the oven. When the oven is turned off, this air rapidly deflates, causing the center to sink and crack. To prevent this, always mix the cream cheese and sugar on a medium-low speed, and switch to the lowest speed when adding the eggs, mixing them in one at a time until just combined. A quick tap of the filled muffin pan on the counter before baking can also help release large air bubbles trapped in the batter.
The Gentle Descent: The Gradual Cooling Process A cheesecake’s enemy is a sudden temperature change. A rapid shift from a hot oven to a cool kitchen causes the structure to contract too quickly, leading to cracks. The best practice is the “oven-door-crack” method outlined in the instructions. By turning the oven off and allowing the cheesecakes to rest inside for 30 minutes with the door ajar, the internal temperature decreases slowly and evenly. This gradual descent locks in the creamy texture and prevents the surface tension from breaking.
Chilling for Structure and Flavor Chilling is not merely a suggestion—it is a mandatory final step. Cheesecake continues to set and firm up significantly as it chills. A minimum of four hours, but ideally overnight, is required. The cold temperature stabilizes the fats and proteins, resulting in the desired dense, silky texture. Furthermore, the chilling process allows the flavors of the spice, apple, and cream cheese to deepen and marry. Never attempt to remove or top the mini cheesecakes before they are thoroughly chilled.
Customizing Your Creation: Advanced Flavor Pairings and Variations
The Caramel Apple Cheesecake Cupcake is a highly versatile dessert that can be easily adapted to personal taste and dietary needs. Strategic substitutions and additions can elevate the recipe from excellent to truly signature.
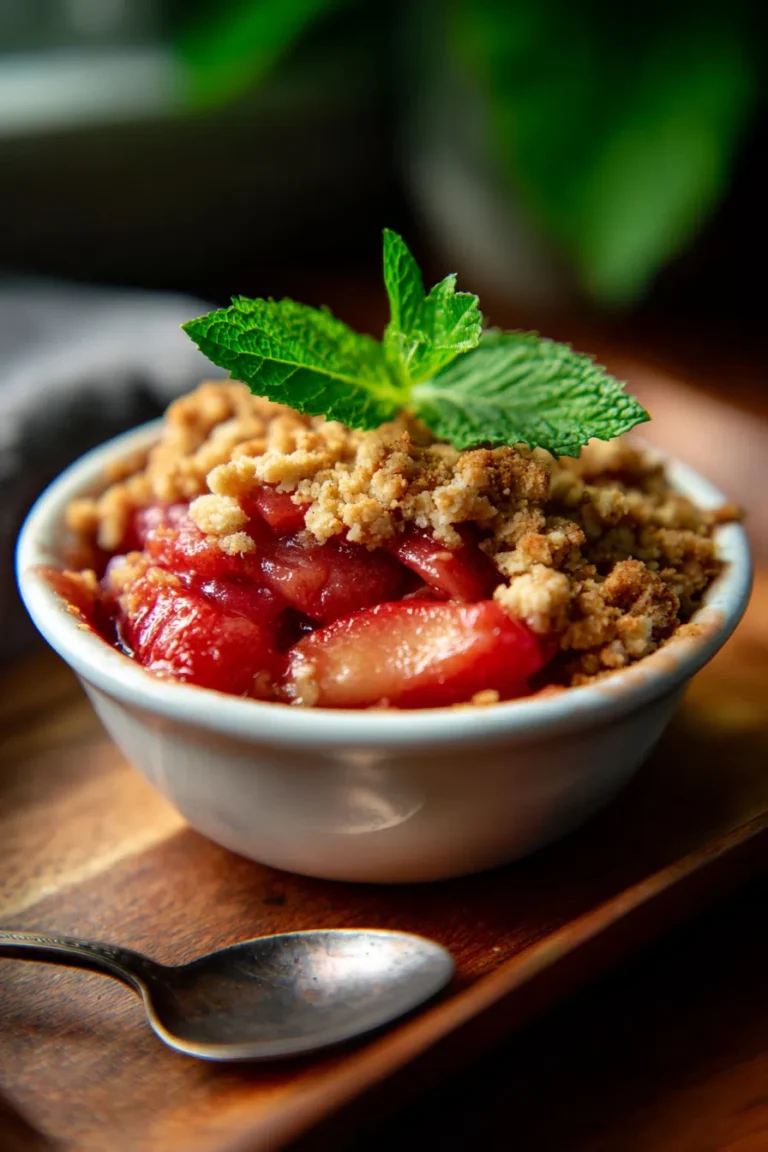
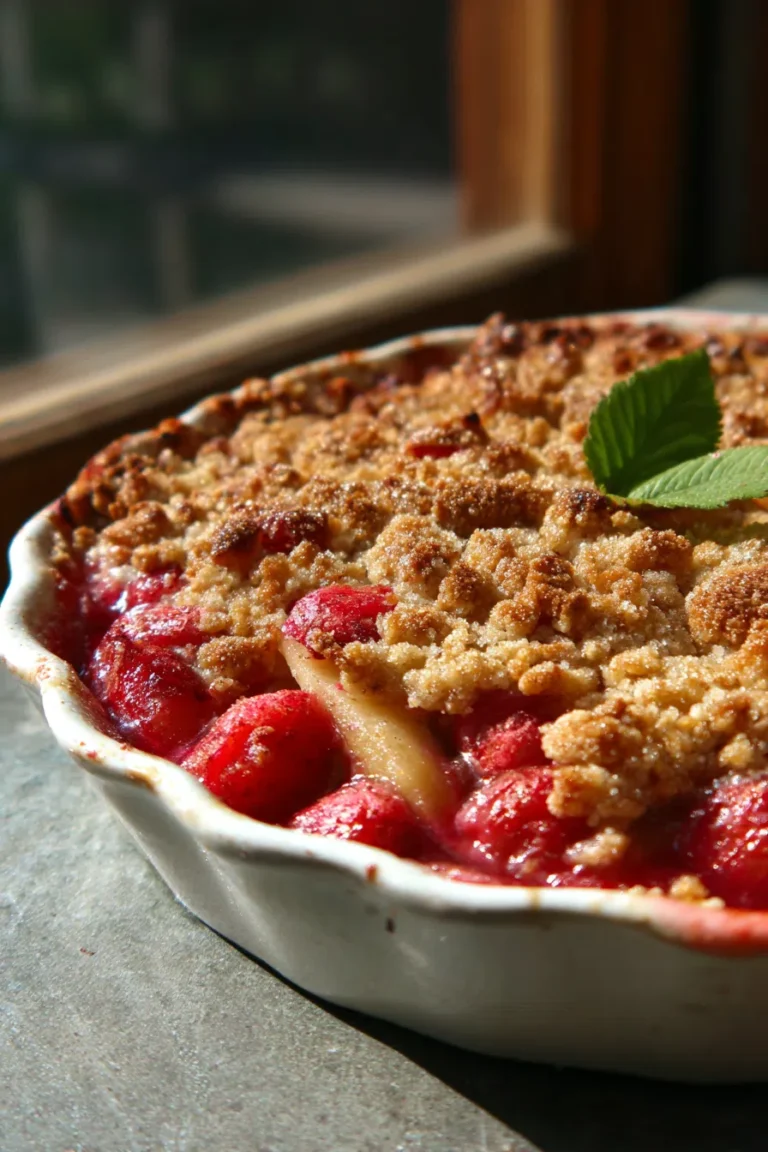
Introducing the Crumb Topping For those who prefer a dessert with a textural crunch, incorporating a classic streusel or crumb topping is a simple yet impactful variation. A basic crumb topping typically consists of all-purpose flour, quick oats, brown sugar, cinnamon, and cold diced butter, which is cut together until crumbly. The topping is sprinkled over the cheesecake batter and apples before baking. This addition gives the dessert an “apple crumble” dimension, enhancing the rustic fall appeal and providing a pleasing contrast to the smooth filling.
Spicing It Up While cinnamon is non-negotiable, deepening the spice profile can be done by introducing a hint of ground nutmeg and a small dash of ground cloves. Nutmeg provides a sweet, nutty background, while cloves add a warm, intense spice note. Alternatively, replacing the individual spices with a pre-blended Apple Pie Spice mixture simplifies the process while maintaining flavor complexity.
The True Cupcake vs. Cheesecake Distinction The term “Caramel Apple Cheesecake Cupcakes” is often used interchangeably with “Mini Caramel Apple Cheesecakes” (as seen in most search results). However, a few recipes feature a true “cupcake” structure: a vanilla cake base is baked with the graham cracker crust, then cored and filled with the cheesecake/apple mixture, and finally topped with cream cheese frosting. This variation offers a lighter, cake-forward dessert. For bakers wanting this specific hybrid, simply use a boxed or scratch vanilla cupcake batter, pouring it over the baked crust, and follow the baking time recommended for standard cupcakes. The cheesecake filling can then be used as an insert or a topping.

The Ultimate Finish: Caramel, Frosting, and Presentation
The final steps—the caramel drizzle and decorative garnish—are what transform a baked dessert into a visually stunning, irresistible treat.
The Art of Homemade Caramel Sauce While quality store-bought caramel is convenient, making a homemade caramel sauce yields a deeper, more nuanced flavor. There are two primary methods: the “wet” method (sugar and water) or the “dry” method (just sugar). For beginners, the wet method is more forgiving, as the water ensures the sugar dissolves evenly, reducing the risk of crystallization. The goal is to cook the sugar syrup until it reaches a deep, amber color—the darker the color (without burning), the richer the flavor. Crucially, the sauce must be allowed to cool and thicken before drizzling. If the caramel is too hot or thin, it will run off the sides. A perfectly cooled caramel sauce clings beautifully, creating that iconic cascading drape. For an extra layer of flavor, consider making a salted caramel sauce by adding a pinch of sea salt at the end.
Presentation and Storage These mini desserts are perfectly sized for easy serving. For a professional presentation, the chilled cheesecakes can be placed directly into decorative paper cupcake liners, or removed from the liners entirely and placed on a serving platter. Beyond caramel, common garnishes include a dollop of freshly whipped cream, a light cream cheese frosting, or a sprinkle of toasted pecans or walnuts. If serving on a buffet, keep the cheesecakes chilled until the last moment, as their creamy texture benefits from cold temperatures. For long-term storage, mini cheesecakes (without the caramel or whipped cream topping) freeze exceptionally well. Freeze them in a single layer until firm, then transfer to an airtight container for up to two months, thawing overnight in the refrigerator before decorating and serving.