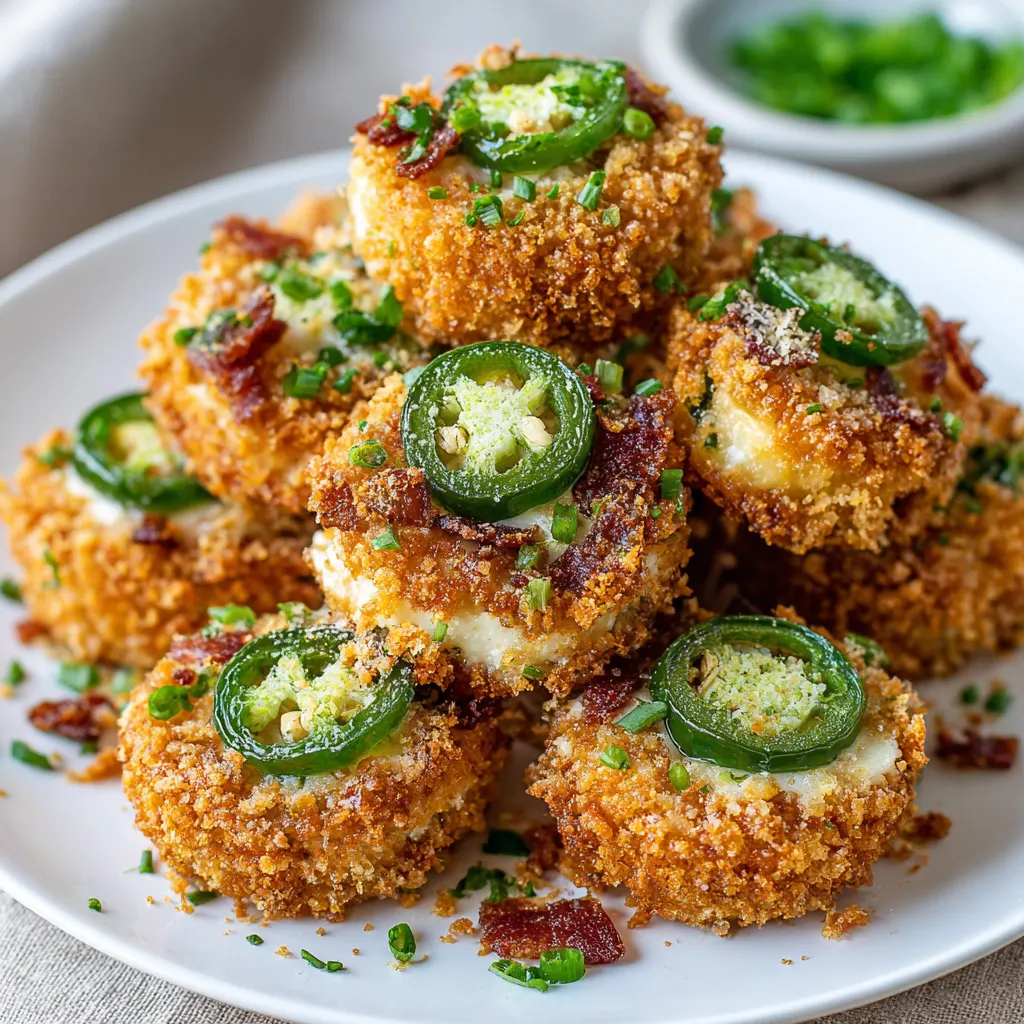
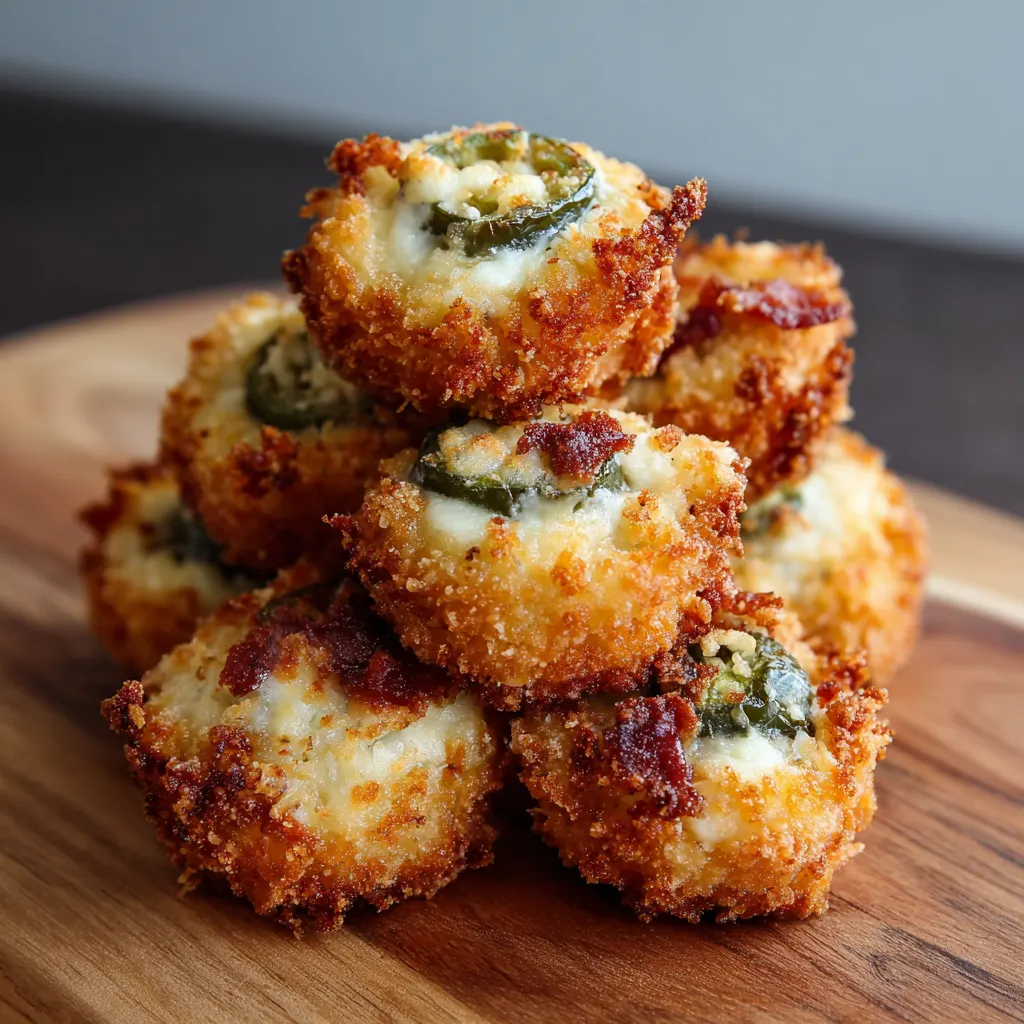
Cheesy Jalapeño Popper Bites represent the pinnacle of party appetizers: a perfect marriage of creamy, savory richness and a manageable, exciting kick of heat, all wrapped in a crispy, golden shell. These irresistible, bite-sized delights encapsulate the classic flavor of the traditional jalapeño popper but deliver it in a more convenient, pop-able spherical form, making them an instant crowd-pleaser for game days, holidays, or casual gatherings. Their widespread popularity stems from a simple formula—softened cream cheese, sharp cheddar, savory bacon, and finely diced jalapeños—all breaded and cooked to textural perfection.
Classic Cheesy Jalapeño Popper Bites: The Master Recipe
This recipe yields approximately 24-30 appetizer bites and provides dual instructions for achieving maximum crispness through either frying or air frying.
Ingredients
For the Filling:
-
8 oz (225g) cream cheese, fully softened to room temperature
-
1 cup (4 oz / 115g) shredded sharp cheddar cheese
-
½ cup (2 oz / 55g) shredded Pepper Jack cheese (or additional cheddar)
-
6 slices of bacon, cooked until crispy and finely crumbled
-
3 medium fresh jalapeños, seeded and finely diced (see Note on Heat)
-
1 tsp garlic powder
-
½ tsp onion powder
-
¼ tsp salt
-
⅛ tsp cayenne pepper (optional, for extra heat)
For the Breading:
-
1 cup all-purpose flour
-
2 large eggs, lightly beaten with 1 Tbsp water (or 1 cup buttermilk for extra adhesion)
-
1 ½ cups Panko breadcrumbs (Panko provides superior crunch)
-
1 tsp paprika (mixed into breadcrumbs)
-
½ tsp black pepper (mixed into breadcrumbs)
For Cooking:
-
2-3 cups vegetable or canola oil (for frying) OR cooking spray (for air frying/baking)
Step-by-Step Instructions
1. Prepare the Filling: In a large mixing bowl, combine the softened cream cheese, shredded cheddar, Pepper Jack cheese, crumbled bacon, diced jalapeños, garlic powder, onion powder, salt, and cayenne pepper (if using). Mix thoroughly until all ingredients are evenly incorporated and the mixture is uniform.
2. Roll and Chill the Bites: Using a small cookie scoop or spoon, portion the mixture into 1-inch (2.5 cm) balls. Roll them lightly between your palms to smooth the surface. Place the balls onto a parchment-lined baking sheet. Transfer the sheet to the freezer and chill for a minimum of 30 minutes. This step is crucial for maintaining their shape during the breading and cooking process.
3. Set up the Dredging Station: Prepare three shallow dishes. Place the flour in the first dish. Place the whisked eggs (or buttermilk) in the second dish. In the third dish, combine the Panko breadcrumbs, paprika, and black pepper.
4. Double-Dredge for Crispness: Remove the chilled balls from the freezer. Working in batches, coat each ball in the following sequence, ensuring full coverage at each stage: a. Flour: Roll in the flour, shaking off any excess. b. Egg Wash: Dip in the egg mixture. c. Breadcrumbs (First Coat): Roll in the seasoned Panko. d. Egg Wash (Second Dip): Dip back into the egg mixture. e. Breadcrumbs (Final Coat): Roll thoroughly in the Panko for a final, thick, and crispy layer. Place the double-coated balls back on the baking sheet. For best results, return the breaded balls to the freezer for an additional 10 minutes to set the coating.
5. Cook (Choose Method):
-
For Deep-Frying: Heat the oil in a medium, heavy-bottomed pot or deep skillet to 350°F (175°C). Fry the bites in small batches for 2 to 3 minutes, turning occasionally, until they are golden brown and crispy. Remove with a slotted spoon and drain immediately on a paper towel-lined plate.
-
For Air-Frying: Preheat the air fryer to 375°F (190°C). Lightly spray the breaded bites with cooking oil spray. Arrange them in the air fryer basket in a single layer, ensuring they do not touch. Air fry for 8 to 10 minutes, flipping halfway through, until golden brown and the filling is gooey.
-
For Baking: Preheat oven to 400°F (200°C). Lightly spray the breaded bites with cooking oil spray. Bake for 12 to 15 minutes, flipping halfway through, until crispy and golden.
6. Serve: Serve immediately while hot, ideally with a complementary dipping sauce.
The Anatomy of a Perfect Bite: Sourcing and Prepping Core Ingredients
Achieving the perfect Cheesy Jalapeño Popper Bite relies on thoughtful ingredient selection and meticulous preparation, particularly concerning the texture and heat profile.
Mastering the Creamy Base
The choice of cheese dictates the filling’s texture. Always start with cream cheese that is fully softened; this ensures a smooth, lump-free mixture that is easy to roll. The inclusion of two hard cheeses, typically Sharp Cheddar and Pepper Jack, offers both rich, tangy flavor and excellent melt characteristics. Shredding your own cheese is highly recommended, as pre-shredded varieties often contain starches that inhibit optimal melting, resulting in a less gooey center. For a slight textural variation, some recipes recommend adding a tablespoon of sour cream or mayonnaise to enhance the creaminess and bind the filling, especially if the mixture seems too dry.
Calibrating the Heat: Handling Jalapeños
The primary source of heat, the jalapeño, must be prepared carefully. The vast majority of capsaicin (the compound responsible for the heat) resides not in the seeds, but in the white membranes and ribs inside the pepper. To achieve a milder bite suitable for all guests, it is essential to fully remove all seeds and white pith.
Expert Tip: Always wear food-grade gloves when handling jalapeños to prevent capsaicin oil from irritating your skin or eyes. For those seeking more flavor without scorching heat, using a combination of fresh diced jalapeño (seeded) and a tablespoon or two of drained, diced pickled jalapeños can introduce a desirable tanginess.
The Science of the Double-Dredge
The exceptional crispness of these bites comes from the “double-dredge” technique, a hallmark of superior breading. The process of coating the chilled ball first in flour creates a dry surface that allows the egg wash to adhere thoroughly. The second pass through the egg wash and breadcrumbs creates a thick, robust coating that locks the creamy filling inside. For the best exterior crunch, Panko breadcrumbs are non-negotiable, offering a lighter, flakier texture compared to standard breadcrumbs. Many optimized recipes suggest lightly crushing Panko further with a rolling pin to help it stick better to the small, spherical filling.
Cooking Methods: From Deep-Fried Crisp to Air-Fryer Ease
The cooking technique chosen heavily influences the final texture and nutritional profile of the popper bite. While deep-frying provides the classic, irresistible crispness, modern methods like air frying and baking offer excellent alternatives with less oil.
Deep Frying: The Gold Standard
Deep frying is the traditional method for a reason: it delivers a fast cook and a uniformly golden, extra-crispy exterior. Crucially, the oil must be maintained at a steady temperature of 350°F (175°C). If the oil is too cool, the bites will absorb too much grease and become soggy; if too hot, the breading will burn before the filling is fully melted and gooey. Frying in small batches is essential to prevent the oil temperature from dropping drastically, ensuring consistent results.
Air Frying: The Healthier Compromise
The air fryer is a game-changer for this recipe, offering nearly the same crisp exterior as frying with dramatically less oil. The key to air frying success is a generous spray of cooking oil (or brushing with melted butter) onto the coated bites before cooking. This fat layer is necessary to achieve the desired golden-brown color and texture. Air frying at 375°F (190°C) for approximately 8–10 minutes yields a beautifully crispy result without the mess of deep-frying.
Baking: The Easiest Approach
Baking provides the simplest clean-up but may yield a slightly softer, less uniform crispness compared to the other two methods. To maximize the crunch in the oven, bake the bites on a wire rack placed over a baking sheet. This setup allows heat to circulate evenly around the entire sphere, preventing the bottom from becoming flat or soggy. Baking requires slightly lower temperatures and longer times—around 400°F (200°C) for 12–15 minutes—than frying, and still benefits greatly from a light coating of cooking spray before entering the oven.
Creative Twists and Flavor Variations
The standard jalapeño popper mixture is a perfect canvas for culinary experimentation. Optimizing the recipe for specific events or dietary needs can be achieved through simple substitutions and additions.
Base Ingredient Substitutions
-
Alternative Cheeses: Swap the cheddar/Pepper Jack mix for smoked Gouda, Monterey Jack, Gruyère, or even a strong Parmesan/Romano blend for a more complex profile.
-
Protein Alternatives: Replace bacon with crumbled browned hot Italian sausage, shredded smoked chicken, or chopped prosciutto. For a vegetarian option, swap bacon for chopped caramelized onions or sun-dried tomatoes, often paired with a smoked cheese for depth.
-
Breadings: While Panko is king for the rolled bite, traditional popper flavors can be applied to different casings. Consider using mini frozen phyllo shells (Result 1.6) or even stuffing the mixture into scoop-style tortilla chips (Result 1.5) and baking them for a quick, unique twist. A popular variation incorporates the filling mixture baked onto Cheez-It crackers (Result 1.2, 1.9), creating a deconstructed, low-effort appetizer.
Spice and Herb Enhancements
Beyond the standard garlic and onion powder, incorporating other spices can significantly elevate the flavor:
-
Smoky Heat: Add smoked paprika or ancho chili powder to the filling mixture.
-
Italian Flare: Mix in a pinch of dried Italian herbs or basil, especially if pairing with sausage.
-
Freshness: Finely minced chives or green onion tops can be folded into the cream cheese mixture for a bright contrast to the richness.
Expert Tips for Freezer Prep and Party Planning
One of the biggest advantages of Cheesy Jalapeño Popper Bites is their suitability for make-ahead preparation, which is crucial for efficient party planning.
The Importance of Freezing and Chilling
The successful structure of these bites hinges on temperature. The initial 30-minute freeze ensures the filling is firm enough to roll into perfect balls and withstand the coating process without deforming. The post-breading chill (or another quick 10-minute freeze) is equally vital, helping the flour and egg wash fully set the breading layer, preventing it from falling off during cooking.
Make-Ahead and Freezer Storage
Popper bites are ideal for freezing. The best time to freeze them is after the double-dredge but before cooking.
-
Place the breaded, uncooked balls on a baking sheet, ensuring they do not touch.
-
Freeze solid (about 2–3 hours).
-
Once solid, transfer the bites to a freezer-safe zip-top bag or airtight container. They can be stored for up to 2-3 months. When ready to serve, do not thaw. Cook them directly from frozen, adding approximately 3-5 minutes to the stated cooking time, or until the exterior is golden and the filling is fully melted.
Troubleshooting Common Issues
-
Filling is too soft: This means the cream cheese was too warm or you need to add more shredded cheese for stability. Refrigerate the mixture for 15-20 minutes before rolling.
-
Breading falling off: This is often caused by not chilling the balls long enough or rushing the dredging steps. Ensure the balls are cold, the excess flour is shaken off, and the double-dredge is performed meticulously.
-
Exploding bites: Overcooking, or failing to freeze the bites before frying, can cause the cheese filling to expand and burst the breading open. Ensure oil temperature is correct and do not over-crowd the cooking vessel.
Dipping Sauces and Serving Suggestions
The intense, savory flavor of the popper bite pairs well with sauces that offer cooling contrast, sweet complexity, or a tangy kick.
The Best Dipping Pairings
-
Cooling and Tangy: Classic Ranch dressing or a homemade dill and chive sour cream dip cuts through the richness of the cheese. A mixture of aioli and Greek yogurt also provides a lighter, tangy alternative.
-
Sweet and Spicy: A simple sweet chili sauce or a pepper jelly glaze offers a delightful sweet counterpoint to the jalapeño heat.
-
Smoky and Robust: Barbecue sauce, particularly a tangy, vinegar-based variety, complements the bacon and smoky cheese notes.
Presentation and Plating
For an attractive presentation, arrange the hot popper bites on a platter, dusting them lightly with fresh, chopped green onions or a sprinkle of paprika for color. Serve the dipping sauces in small ramekins placed strategically on the platter. The bites are best served immediately, as their signature crunch begins to soften once they cool. For extended serving periods, keep them warm on a parchment-lined sheet pan in a low oven (around 200°F / 95°C) or a chafing dish for up to an hour.