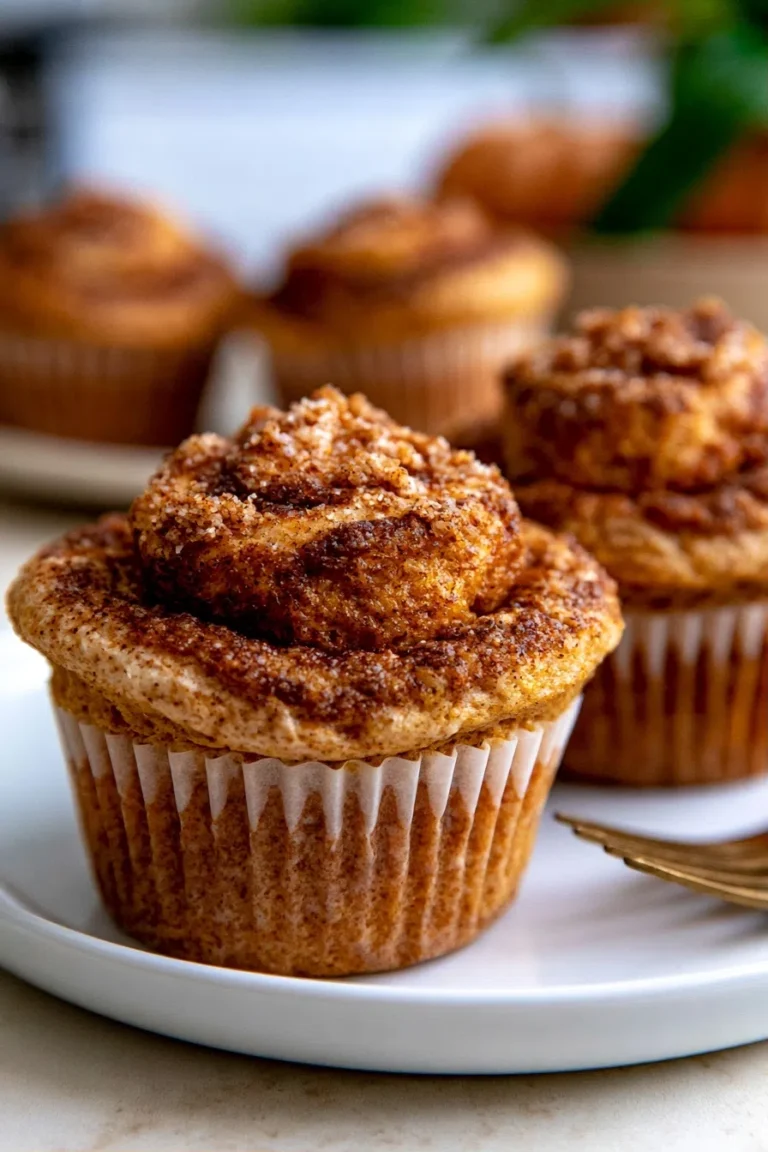
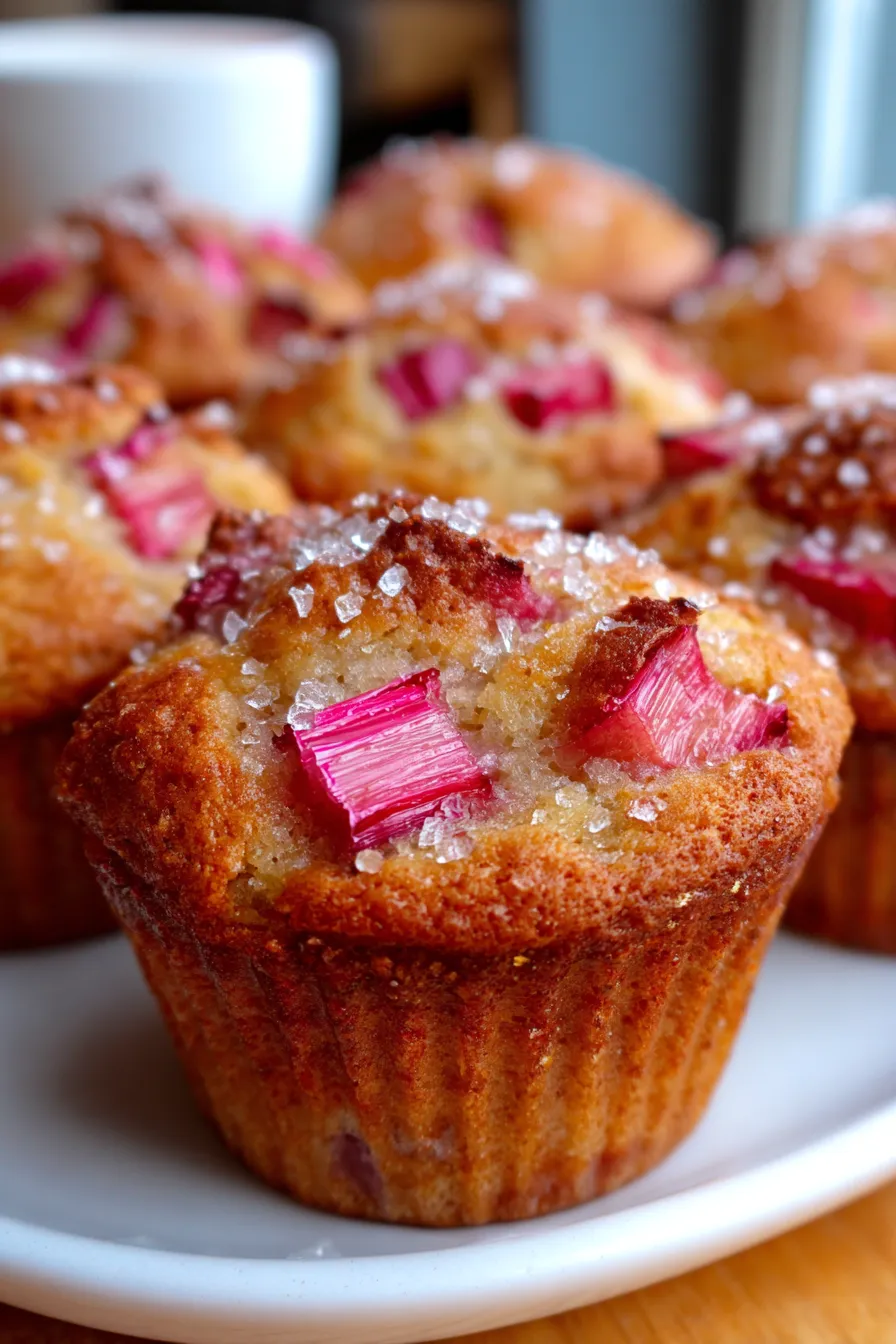
The Ultimate Tangy-Sweet Rhubarb Muffins: A Springtime Essential!
There’s just something magical about those first whispers of spring, isn’t there? For me, it’s not just the blossoming flowers or the longer days, but the arrival of vibrant, crimson rhubarb in the garden. I still remember my grandmother, with her hands dusted in flour, pulling out a huge bowl of freshly chopped rhubarb from her abundant backyard patch. She’d always say, “Spring isn’t truly here until we’ve had our first batch of Rhubarb Muffins!” Her kitchen would fill with the most comforting, sweet-tart aroma, and those warm, tender muffins became an instant family favorite – a true symbol of new beginnings and simple joys.
This particular recipe for Rhubarb Muffins is a variation of her classic, perfected over countless spring baking sessions. It’s been tested and loved by friends and family for years, striking that perfect balance between the rhubarb’s signature tang and a delicate sweetness, all wrapped up in a wonderfully moist crumb. It’s truly an easy baking project that delivers incredible results every single time, making it an essential spring treat for any home baker.
Imagine waking up to the smell of these baking, or serving them warm with your morning coffee. They’re not just a delicious breakfast item; they’re a little bite of springtime happiness, perfect for a cozy weekend brunch or an afternoon pick-me-up. Get ready to fall in love with the ultimate celebration of spring’s bounty!
Why You’ll Love This Recipe
❤️ The Perfect Tangy-Sweet Balance: Rhubarb has that uniquely tart flavor, and this recipe perfectly complements it with just the right amount of sweetness. It’s a delightful dance on your taste buds, preventing the muffins from being either too sour or overly sweet. Every bite offers a refreshing burst of flavor that truly embodies the essence of spring.
❤️ Incredibly Moist & Tender Crumb: No dry muffins here! Thanks to a careful balance of wet and dry ingredients, these Rhubarb Muffins boast an unbelievably tender and moist texture. They practically melt in your mouth, making them utterly irresistible, whether fresh from the oven or enjoyed hours later.
❤️ Seasonal Star Power: When rhubarb is in season, it’s a crime not to use it! This recipe allows that beautiful, vibrant fruit to shine. Using fresh, seasonal ingredients always elevates a dish, and these muffins are a testament to how simple, fresh flavors can create something truly spectacular.
❤️ Simple & Straightforward Baking: You don’t need to be a seasoned baker to master these muffins. The instructions are clear, the process is quick, and the ingredients are common pantry staples. It’s the ideal recipe for beginners and busy home cooks looking for a rewarding baking project without the fuss.
❤️ Versatile for Any Occasion: Whether it’s a quick grab-and-go breakfast on a busy weekday morning, a lovely addition to your weekend brunch spread, or a comforting afternoon snack with tea, these muffins fit seamlessly into any part of your day. They even make a wonderful homemade gift for neighbors or friends!
❤️ Freezer-Friendly Convenience: Batch baking just got easier! These muffins freeze beautifully, meaning you can whip up a large batch and store them for future enjoyment. Just thaw and warm them up whenever a craving strikes for that delightful taste of spring.
What You Need
You only need a few simple pantry staples for this recipe! Check the full printable recipe card below for detailed measurements.
Expert Tips
💡 Choosing the Best Rhubarb: Look for firm, crisp stalks that are vibrant red or reddish-green. Avoid any stalks that are limp, bruised, or have split ends. Fresher rhubarb means better flavor and texture in your muffins. While the redder stalks are often sweeter, any color will work beautifully.
💡 Proper Rhubarb Preparation: Wash your rhubarb stalks thoroughly and trim off the leafy ends (rhubarb leaves are toxic!). Chop the stalks into small, uniform pieces, about 1/2-inch to 3/4-inch. Smaller pieces ensure the rhubarb disperses evenly throughout the batter and cooks down nicely without creating large, soggy pockets.
💡 Don’t Overmix the Batter: This is perhaps the most crucial muffin-making rule! Mix the wet and dry ingredients just until combined. A few lumps are perfectly fine and even desired. Overmixing develops the gluten in the flour, leading to tough, dry muffins. Stir gently, just enough to incorporate everything.
💡 Fill Muffin Liners Evenly: For consistent baking and perfectly sized muffins, use an ice cream scoop or two spoons to fill each muffin liner about two-thirds full. This ensures that all your muffins rise and bake similarly, giving you a uniform batch.
💡 Achieving Perfect Muffin Tops: For those coveted, domed muffin tops, try this trick: bake the muffins at a slightly higher temperature (e.g., 425°F or 220°C) for the first 5 minutes, then reduce the temperature to the recipe’s specified temperature (e.g., 375°F or 190°C) for the remaining baking time. The initial blast of heat helps the muffins rise quickly before the crust sets.
💡 Consider a Streusel Topping: Want to elevate your Rhubarb Muffins even further? A simple streusel topping adds a delightful crunch and extra sweetness. Just combine a little flour, sugar, cold butter, and a pinch of cinnamon, then sprinkle it over the muffin batter before baking. It creates a beautiful golden crust.
💡 Testing for Doneness: Muffins are typically done when they are golden brown, and a wooden skewer or toothpick inserted into the center comes out clean or with a few moist crumbs attached. Avoid overbaking, as this can dry them out quickly.
💡 Cooling is Key: Allow the muffins to cool in the muffin tin for 5-10 minutes before transferring them to a wire rack to cool completely. This prevents them from becoming soggy on the bottom and allows them to firm up properly, ensuring an ideal texture.
💡 Using Frozen Rhubarb: If fresh rhubarb isn’t available, frozen rhubarb works well! There’s no need to thaw it beforehand. Just toss the frozen rhubarb pieces directly into the flour mixture before adding the wet ingredients. This helps prevent them from sinking to the bottom of the muffins and reduces excess moisture.
Variations & Substitutions
Feeling adventurous? These Rhubarb Muffins are wonderfully adaptable! For a gluten-free version, simply swap out the all-purpose flour for your favorite 1:1 gluten-free baking blend. For a touch of spice, add 1/2 teaspoon of ground cinnamon or ginger to the dry ingredients. You can also mix in other fruits like diced strawberries, raspberries, or blueberries for a delightful fruit medley. For a richer flavor, a teaspoon of lemon zest can really brighten the rhubarb. If you’re looking to reduce sugar, you can experiment with natural sweeteners, though the tartness of the rhubarb will be more pronounced.
Storage & Freezing
Once completely cooled, store your Rhubarb Muffins in an airtight container at room temperature for up to 2-3 days. For longer storage, pop them in the refrigerator for up to a week. These muffins also freeze beautifully! Place cooled muffins in a single layer on a baking sheet to flash freeze for about an hour, then transfer them to a freezer-safe bag or container. They’ll keep for up to 3 months. Thaw at room temperature or gently warm them in the microwave for a few seconds when you’re ready to enjoy.
FAQ
Q: Can I use frozen rhubarb instead of fresh?
A: Absolutely! There’s no need to thaw frozen rhubarb before adding it to the batter. Just toss the frozen pieces with a tablespoon or two of the dry flour mixture before folding them in. This helps prevent them from clumping together and sinking to the bottom of your muffins.
Q: How do I prevent my rhubarb muffins from being soggy?
A: The key is to ensure your rhubarb is properly drained if it’s very juicy (though usually not necessary for muffins) and to avoid overmixing the batter. Also, make sure to cool the muffins on a wire rack promptly after removing them from the pan to allow steam to escape, preventing a soggy bottom.
Q: What’s the best way to chop rhubarb for muffins?
A: Aim for small, uniform pieces, about 1/2 to 3/4 inch in size. This ensures the rhubarb cooks evenly and is well distributed throughout each muffin, giving you a pleasant burst of flavor in every bite without overly large, chewy chunks.
Q: Can I add a different kind of fruit to these muffins?
A: Yes, these muffins are very versatile! Strawberries are a classic pairing with rhubarb, but blueberries or raspberries would also be delicious. Just make sure your total fruit amount remains similar to the recipe’s rhubarb quantity to maintain the right batter consistency.
Q: How long do Rhubarb Muffins stay fresh?
A: When stored in an airtight container at room temperature, they are best enjoyed within 2-3 days. If refrigerated, they can last up to a week. For longer enjoyment, freezing is an excellent option!
Conclusion
There you have it – a recipe that brings the bright, fresh flavors of spring right into your kitchen. These Rhubarb Muffins are more than just a baked good; they’re a warm hug, a sweet reminder of simpler times, and a delicious way to celebrate the season. So go ahead, tie on your apron, gather that beautiful rhubarb, and get baking! You’re going to absolutely adore them. Don’t forget to Pin this recipe for later so you can revisit this springtime delight again and again!

Best Rhubarb Muffins Recipe | Tangy-Sweet Spring Treat
Ingredients
- 2 cups all-purpose flour
- 1 cup granulated sugar
- 2 tsp baking powder
- 1/2 tsp baking soda
- 1/4 tsp salt
- 1 1/2 cups chopped fresh rhubarb (1/2 to 3/4 inch pieces)
- 1/2 cup unsalted butter, melted and cooled
- 1 large egg
- 1 cup buttermilk (or milk + 1 tbsp lemon juice)
- 1 tsp vanilla extract
Instructions
- Step 1 Preheat oven to 375°F (190°C). Line a 12-cup muffin tin with paper liners.
- Step 2 In a large bowl, whisk together flour, sugar, baking powder, baking soda, and salt. Gently stir in the chopped rhubarb.
- Step 3 In a separate medium bowl, whisk together melted butter, egg, buttermilk, and vanilla extract.
- Step 4 Pour the wet ingredients into the dry ingredients. Stir gently with a spoon or spatula until just combined. Do not overmix; a few lumps are okay.
- Step 5 Divide the batter evenly among the 12 muffin cups, filling each about two-thirds full.
- Step 6 Bake for 20-25 minutes, or until golden brown and a toothpick inserted into the center comes out clean.
- Step 7 Let muffins cool in the tin for 5 minutes before transferring them to a wire rack to cool completely.