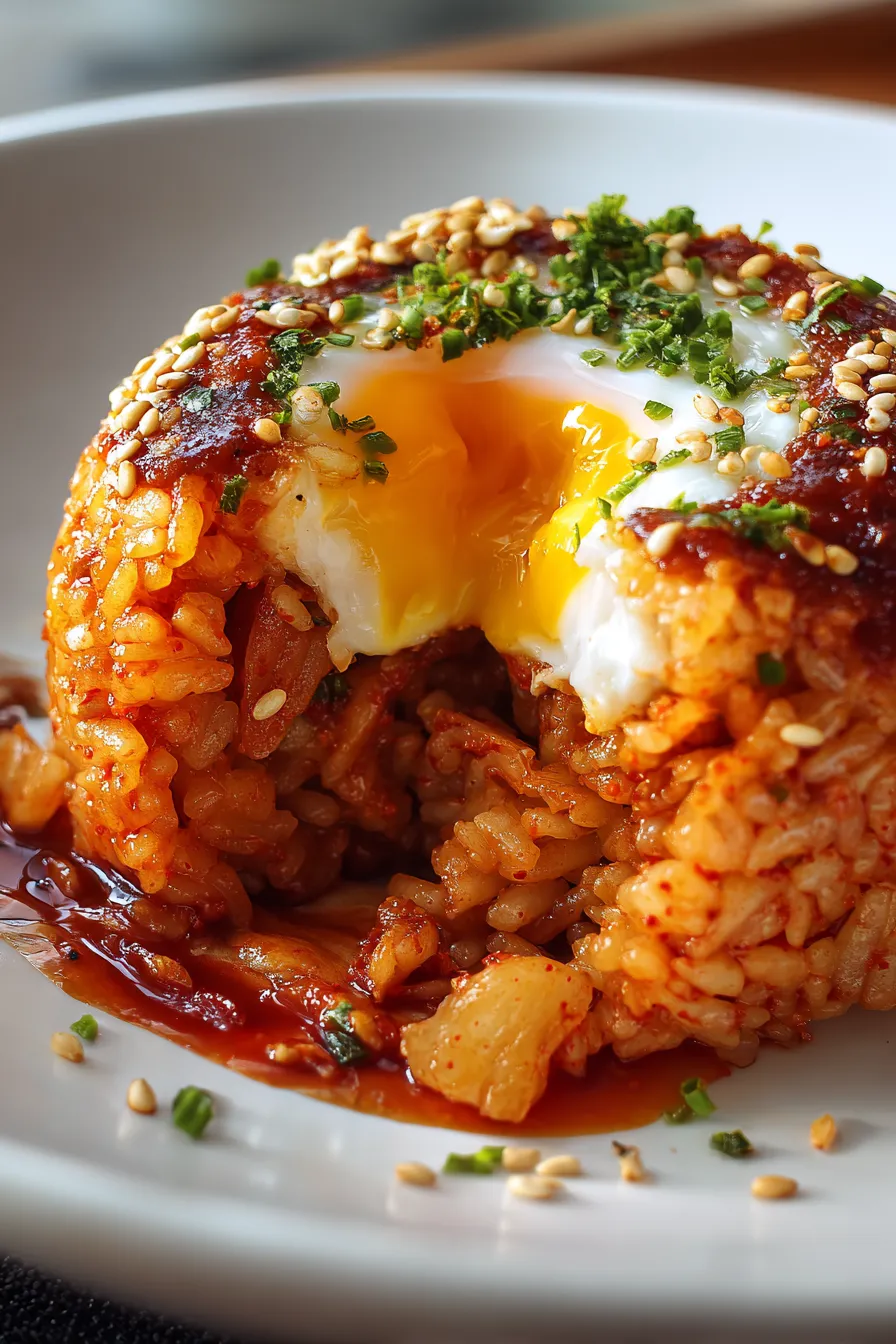
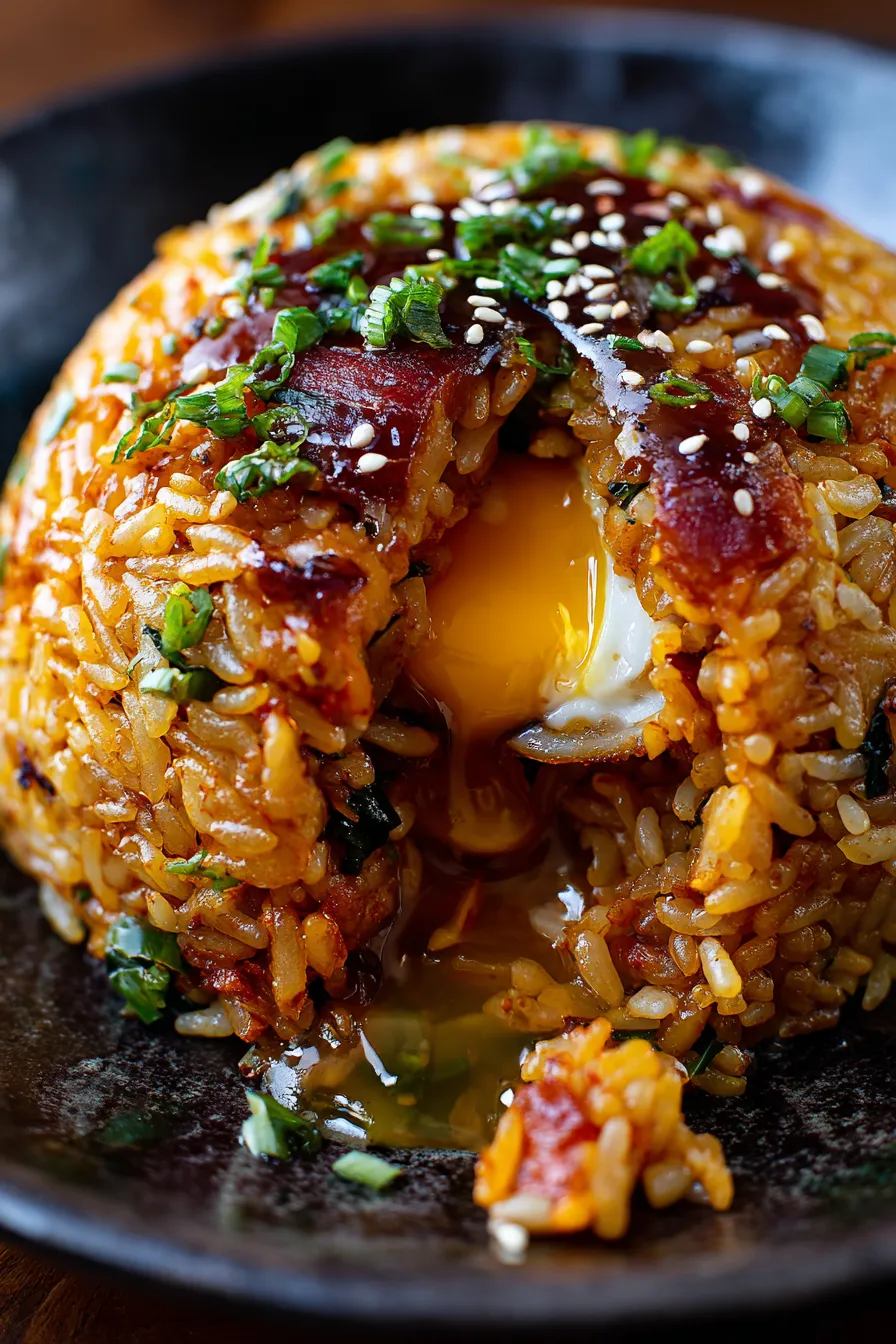
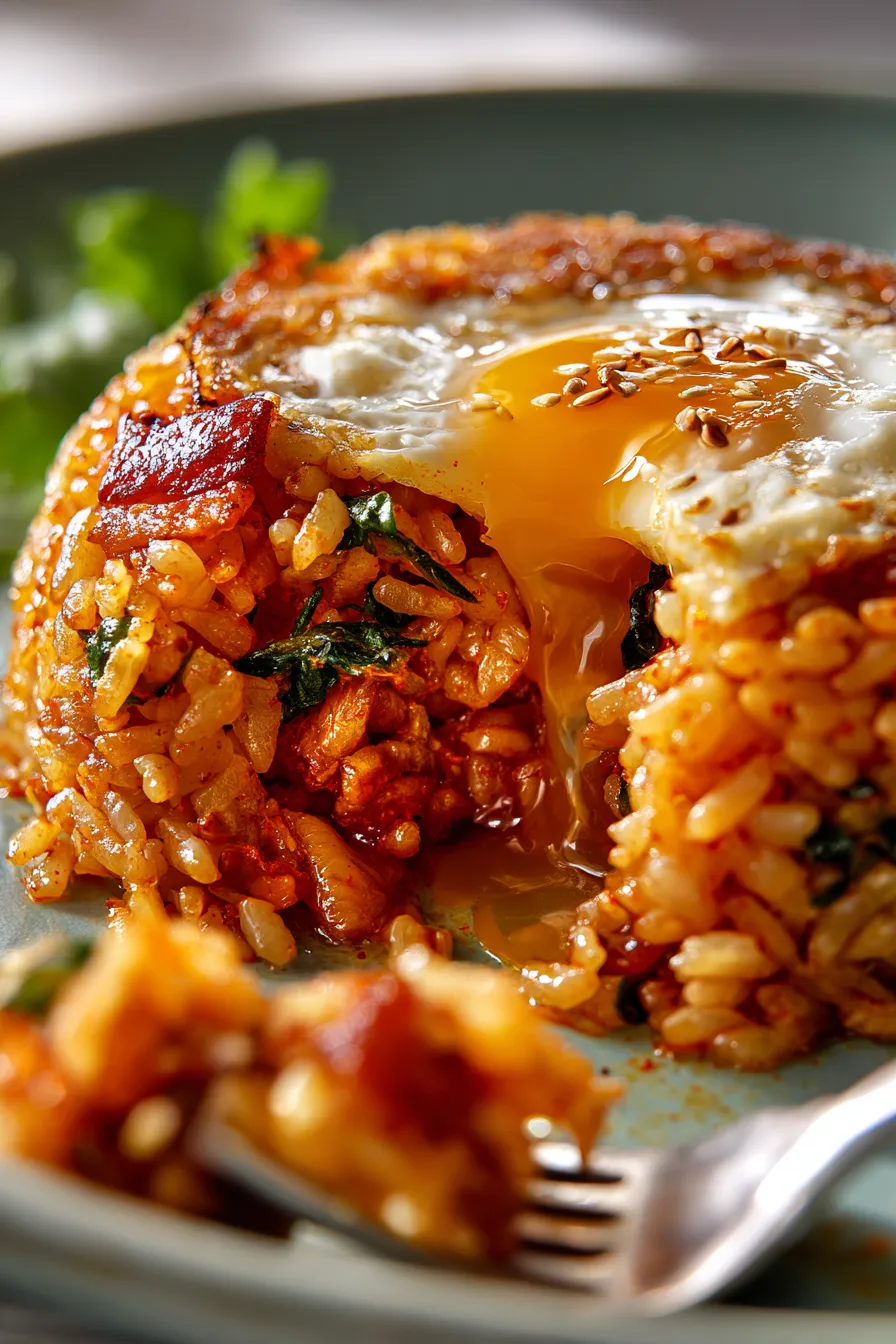
Best Ever Spicy Kimchi Fried Rice (Kimchi Bokkeumbap)
I remember coming home exhausted after a brutal 12-hour shift, and all I wanted was something intensely flavorful and filling—something that felt like a hug in a bowl. My Korean roommate, bless her heart, showed me her secret trick for the perfect, crisp-edged Spicy Kimchi Fried Rice.
That day, this recipe went from being a takeout craving to my ultimate secret weapon. It’s the definition of true comfort food and the fastest path to an incredible flavor bomb dinner. If you need a tried-and-true, incredibly satisfying easy dinner, stop scrolling—you found it.
This exact recipe has been tested countless times on gloomy Sundays and busy weeknights alike. Trust me, once you master this Spicy Kimchi Fried Rice, you’ll never order it out again!
Why You’ll Love This Recipe
❤️ Here are all the reasons this Kimchi Bokkeumbap belongs in your weekly rotation:
- Faster than Takeout: Seriously, you can have this on the table in under 30 minutes.
- Ultimate Umami Boost: The fermented kimchi, crispy pork, and savory gochujang create a depth of flavor that is truly unmatched.
- Pantry Staple Hero: It relies almost entirely on ingredients you likely already have (especially that leftover day-old rice!).
- Totally Customizable: Easily swap the protein or make it vegan—it works every time!
What You Need
You only need a few simple pantry staples for this recipe! The key is finding good quality aged kimchi, which provides the necessary sour punch.
Check the full printable recipe card below for detailed measurements of the rice, gochujang, and the exact amount of sesame oil needed for that authentic flavor.
Expert Tips for Perfect Kimchi Fried Rice
💡 Follow these simple secrets to get restaurant-quality results every time:
- The Rice Must Be Cold: I cannot stress this enough! Use rice that was cooked yesterday and chilled overnight. This prevents mushiness and allows the grains to crisp up beautifully.
- Squeeze and Sauté the Kimchi: Always chop your kimchi small and squeeze out some of the liquid before cooking. Sauté it until it turns a deeper red and softens; this intensifies its flavor profile.
- Build the Crust: After mixing everything together, use your spatula to flatten the rice against the pan. Let it sit for 30-60 seconds without stirring. This builds those coveted crispy, caramelized edges.
- Don’t Forget the Juice: While you squeeze the kimchi, reserve that juice! It is crucial for balancing the spice and ensuring maximum flavor absorption into the rice.
Variations & Substitutions
- Protein Swap: Swap bacon for Spam (classic!), thinly sliced pork belly, shrimp, or even leftover shredded chicken.
- Make it Vegan: Omit the bacon. Sauté the kimchi in neutral oil instead of bacon fat, and use mushroom broth or water instead of kimchi juice (if you need extra moisture). Ensure your kimchi is vegan-friendly (some contain seafood paste).
- Low Carb Option: Substitute the white rice entirely with riced cauliflower. Cook the cauliflower rice until most moisture is gone before mixing in the sauce and kimchi.
- Spice Level: If you want it screaming hot, add a teaspoon of gochugaru (Korean chili flakes) during the sauté stage.
Storage & Freezing
This fried rice is best enjoyed immediately, but it stores wonderfully for easy meal prep!
- Refrigeration: Store leftovers in an airtight container in the refrigerator for up to 3 days.
- Reheating: Reheat in a skillet over medium-high heat with a tiny splash of oil to restore the crispy texture. Avoid the microwave if possible, as it can make the rice mushy.
- Freezing: Freezing fried rice is generally not recommended, as the texture of the rice can degrade upon thawing and reheating.

FAQ
Why do I have to use day-old rice?
Using cold, day-old rice is the single most important rule for great fried rice. Freshly cooked rice has too much moisture, which turns the dish gluey and sticky. Cold rice separates better, allowing the grains to achieve a desired crispness and absorb the flavorings evenly.
What kind of kimchi is best for this recipe?
The sourer, the better! You want well-fermented, or ‘aged,’ kimchi. Freshly made kimchi is too mild and crunchy. The powerful sourness of aged kimchi provides the essential tangy base for the fried rice.
Is this Kimchi Fried Rice very spicy?
It has a moderate kick, primarily from the gochujang (Korean chili paste). Gochujang offers more complex flavor and heat than simple chili powder. If you are sensitive to spice, start with half the amount of gochujang and taste as you go.
I hope you love this incredible Kimchi Fried Rice recipe as much as my family and I do! It’s the perfect way to bring excitement to a boring weeknight.
Happy cooking, friend! Don’t forget to pin this recipe for later!

Best Ever Spicy Kimchi Fried Rice (Kimchi Bokkeumbap)
Ingredients
- 4 slices thick-cut bacon or 1/4 cup pork belly, diced
- 1 tbsp sesame oil, divided
- 1 cup aged kimchi, chopped small
- 1/4 cup kimchi juice (reserved from chopped kimchi)
- 3 cups day-old cold cooked white rice
- 2 tbsp gochujang (Korean chili paste)
- 1 tbsp soy sauce
- 1 tsp brown sugar
- 4 eggs, fried, for serving
- 1/4 cup sliced green onions, for garnish
- 1 tsp toasted sesame seeds or crushed nori (seaweed sheets), for garnish
Instructions
- Step 1 Cook the Bacon: Heat a large skillet or wok over medium-high heat. Add the bacon or pork belly and cook until crisp. Remove the bacon pieces with a slotted spoon, leaving the rendered fat in the pan.
- Step 2 Sautu00e9 Kimchi: Add 1 teaspoon of sesame oil and the chopped kimchi to the hot skillet. Sautu00e9 for 3-5 minutes until the kimchi softens and turns a deep red color.
- Step 3 Add Flavorings: Stir in the kimchi juice, gochujang, soy sauce, and sugar. Mix well until a thick, uniform sauce forms.
- Step 4 Incorporate Rice: Add the cold, day-old rice to the pan. Break up any clumps. Stir constantly until the rice is evenly coated in the sauce and fully heated through (about 5-7 minutes).
- Step 5 Crisp the Rice: Once heated, use a spatula to press the rice flat against the bottom of the pan. Let it cook undisturbed for 60-90 seconds to create a crispy crust, then stir and repeat once or twice.
- Step 6 Finish and Serve: Stir in the remaining bacon pieces and the last teaspoon of sesame oil. Fry eggs separately to desired doneness (sunny side up is traditional). Serve the fried rice immediately, topped with a fried egg, green onions, and crushed nori.