Best Ever Glazed Donuts with Milk Bread Dough: Your New Favorite Sweet Treat!
There’s something truly magical about the aroma of freshly baked goods wafting through the house, isn’t there? For me, it instantly transports me back to my grandmother’s kitchen on chilly Sunday mornings. She always had a special way of making even the simplest treats feel like a grand occasion. Her secret? A dash of love and a whole lot of patience.
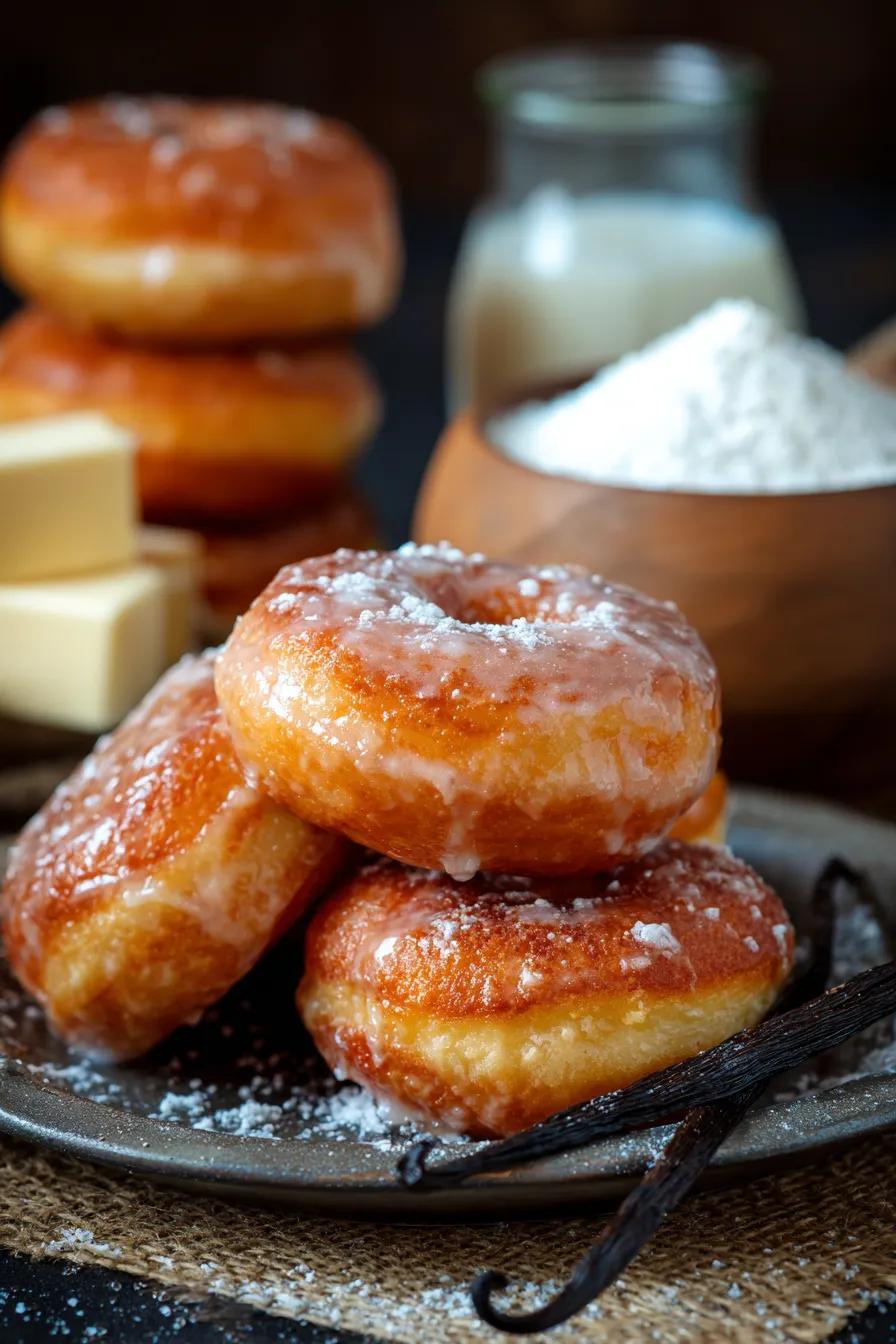
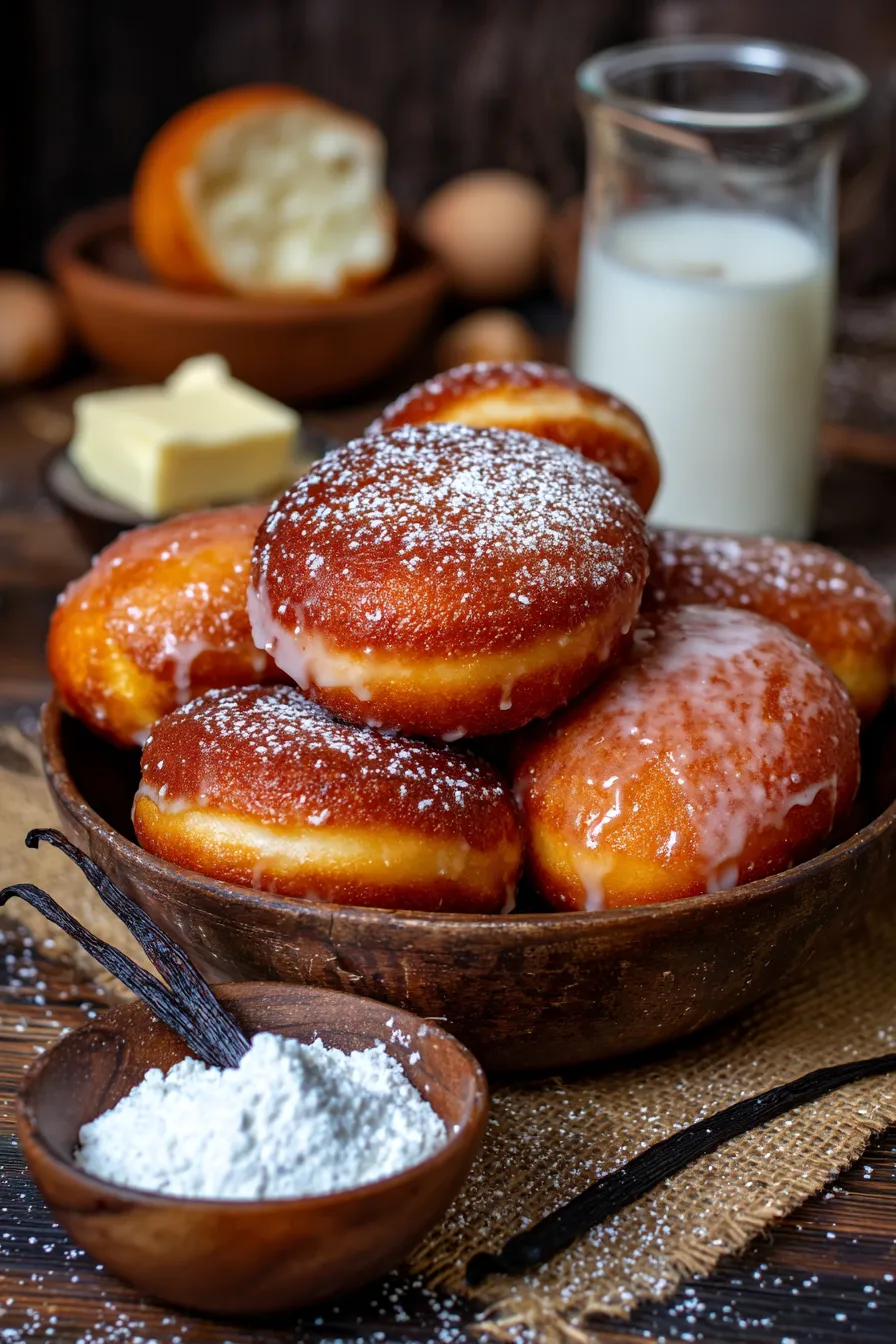
While she was famous for her apple pie, it was her occasional foray into making Glazed Donuts with Milk Bread Dough that truly captured my heart. The memory of biting into those impossibly soft, sweet, and pillowy donuts, still warm from the fryer, with that perfect sheen of glaze melting on my tongue, is etched into my mind. They weren’t just a dessert; they were a moment of pure, unadulterated comfort food joy.
Fast forward to today, and I’ve spent years perfecting that very recipe, ensuring it lives up to those cherished memories. This isn’t just a recipe; it’s an invitation to create your own cherished moments, a tried-and-tested family favorite that brings homemade goodness right to your table. Get ready to bake up some happiness!
Why You’ll Love This Recipe
❤️ Here’s why these Glazed Donuts with Milk Bread Dough will become your new go-to:
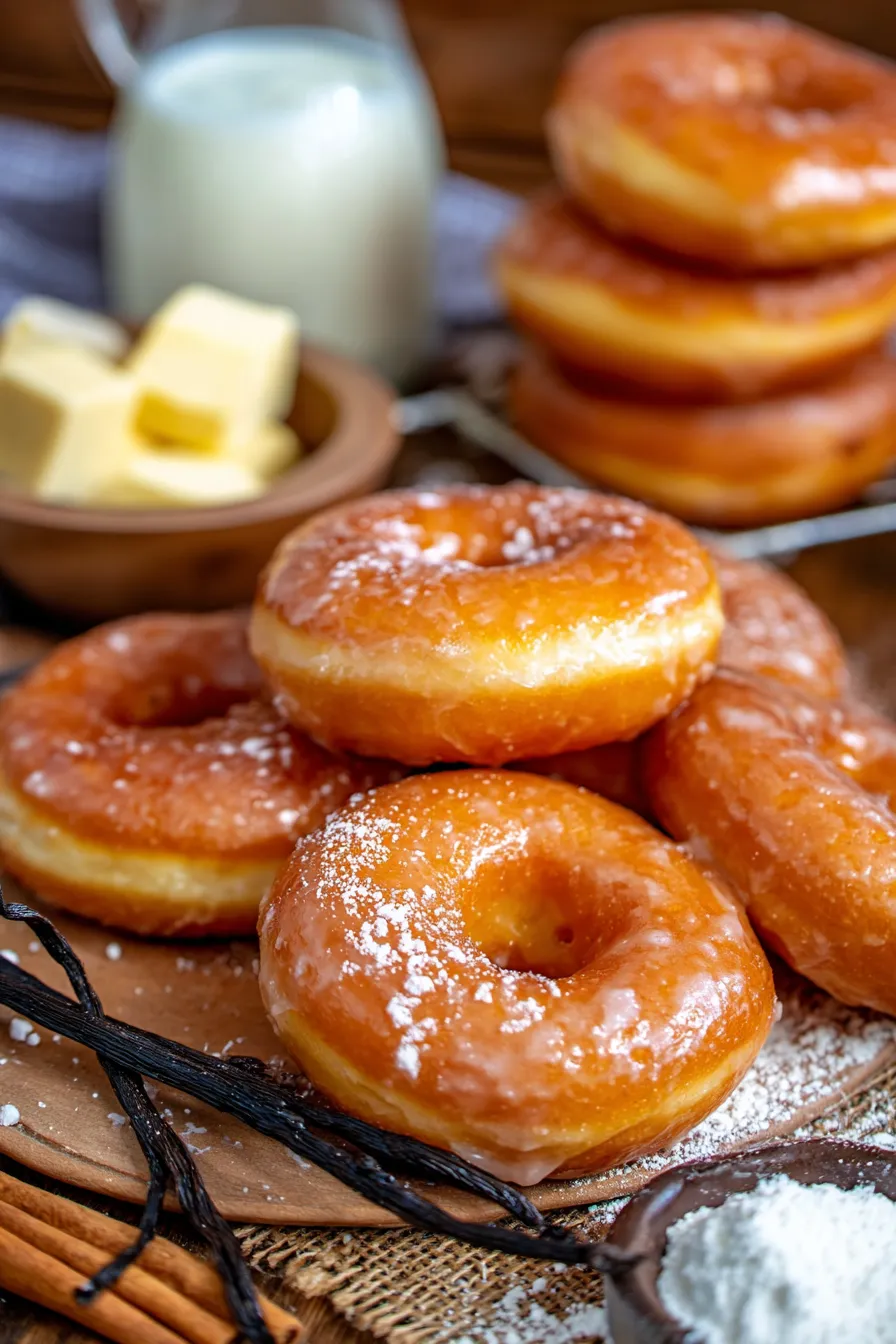
- Unbelievably Soft & Fluffy: The milk bread dough technique creates a donut texture that’s light as a cloud and simply melts in your mouth, far superior to store-bought varieties.
- Rich, Tender Crumb: Thanks to the inclusion of milk, eggs, and butter, the dough boasts an incredibly rich and tender crumb that stays fresh longer.
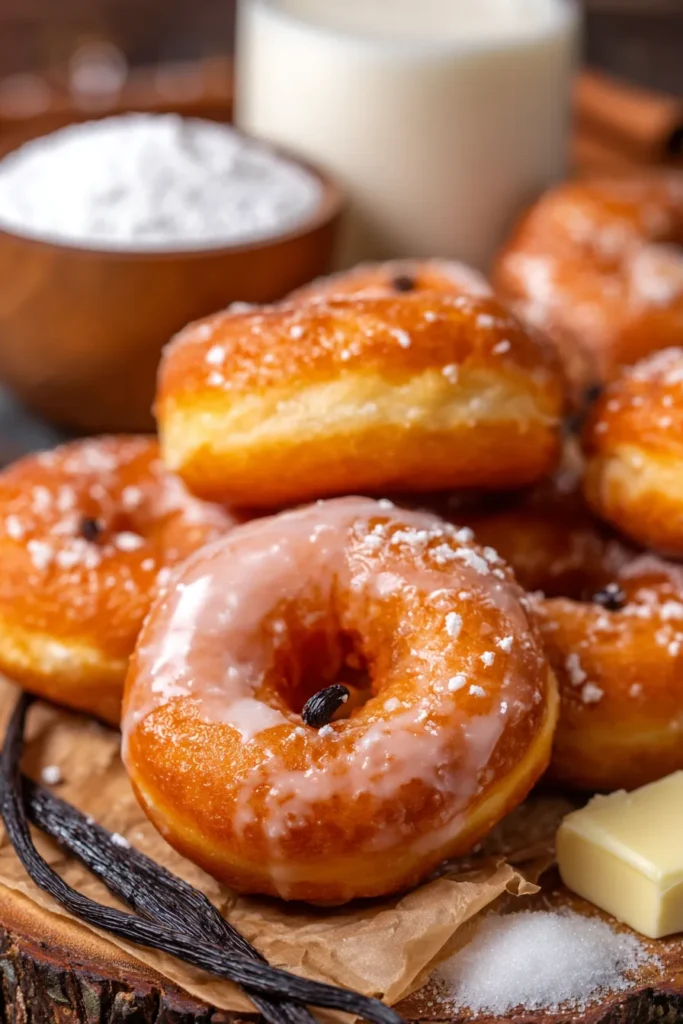
- Perfect Sweet Balance: The classic vanilla glaze offers just the right amount of sweetness, complementing the subtle richness of the donut without overpowering it.
- Satisfyingly Homemade: There’s immense satisfaction in making donuts from scratch. The process is a rewarding culinary journey that results in an unparalleled treat.
- Crowd-Pleaser Guaranteed: Whether it’s for a special brunch, a weekend breakfast, or an afternoon snack, these donuts are sure to impress everyone who tries them. They vanish quickly!
- Versatile & Customizable: While the classic glaze is divine, the sturdy yet soft base dough is perfect for various toppings or even fillings, making it adaptable to your cravings.
- A Warm Hug in Food Form: Nothing beats a warm, homemade donut. It’s the ultimate comfort food that brings a smile to any face, evoking feelings of warmth and nostalgia.
- Easier Than You Think: Don’t be intimidated by homemade donuts! My step-by-step guide breaks down the process, making it accessible and enjoyable for even novice bakers.
What You Need
You only need a few simple pantry staples for this recipe, many of which you likely already have on hand! The magic truly lies in how these basic ingredients come together to create something extraordinary. Check the full printable recipe card below for detailed measurements of flour, yeast, milk, and other essentials.
Expert Tips
💡 Master your homemade donuts with these pro tips:
- Proof Your Yeast: Always start by proofing your yeast in warm (not hot!) milk with a pinch of sugar. This ensures your yeast is active and will give you a light, airy dough. If it doesn’t get foamy, your yeast might be old, and it’s best to start with a new packet.
- Don’t Over-Flour: When kneading, resist the urge to add too much extra flour. A slightly sticky dough is often a good thing for a soft texture. Flour your hands and work surface lightly instead of incorporating too much into the dough itself.
- Patience with Rising: Dough rising takes time, and patience is key. Find a warm, draft-free spot (like a slightly warm oven that’s turned off). The first rise should double the dough’s size, and the second rise after shaping is crucial for airy donuts.
- Gentle Handling: After the first rise, punch down the dough gently. When rolling and cutting, handle the dough with care to maintain its airy structure. Avoid overworking it, which can lead to tough donuts.
- Temperature Control for Frying: This is critical! Use a thermometer to keep your oil at a consistent 350°F (175°C). Too cool, and your donuts will be greasy; too hot, and they’ll burn outside before cooking through inside. Fry in batches to avoid dropping the oil temperature too much.
- Don’t Overcrowd the Fryer: Frying too many donuts at once will lower the oil temperature significantly. Give them space to float and cook evenly, usually 2-3 at a time depending on your pot size.
- Drain Properly: As soon as donuts are golden brown, remove them with a slotted spoon or spider and place them on a wire rack set over a baking sheet. This allows excess oil to drip off and prevents them from becoming soggy.
- Glaze While Warm: The best time to glaze your donuts is while they are still warm, but not piping hot. The warmth helps the glaze adhere beautifully and gives it that signature melt-in-your-mouth quality.
- Store Properly: While best eaten fresh, store leftover donuts in an airtight container at room temperature. For optimal freshness, enjoy them within 1-2 days.
Variations & Substitutions
The beauty of homemade Glazed Donuts with Milk Bread Dough is how easily you can customize them to your liking! For a different flavor profile, consider adding a pinch of nutmeg or cardamom to the dough. Instead of a vanilla glaze, try a rich chocolate glaze using melted chocolate and a touch of milk, or a citrus glaze with lemon or orange zest and juice for a brighter finish. You could also experiment with cinnamon sugar coatings for a classic twist, or even fill them with jam or cream once cooled.
Storage & Freezing
These Glazed Donuts with Milk Bread Dough are undoubtedly at their peak freshness the day they are made. If you have any leftovers, store them in an airtight container at room temperature for up to 2 days. To refresh them slightly, you can pop them in the microwave for 10-15 seconds. Freezing glazed donuts is not recommended as the glaze can become watery upon thawing. However, you can freeze the unglazed fried donuts for up to a month. Thaw them at room temperature, then warm them slightly before glazing and serving.
FAQ
Can I make the dough ahead of time?
Yes, you can! After the first rise, you can punch down the dough, cover it tightly with plastic wrap, and refrigerate it overnight (up to 24 hours). Let it come to room temperature for about 30-60 minutes before rolling, cutting, and proceeding with the second rise and frying.
What kind of oil is best for frying donuts?
Neutral-flavored oils with a high smoke point are best. Vegetable oil, canola oil, or peanut oil are excellent choices. Avoid olive oil or butter, as they have lower smoke points and will impart unwanted flavors.
Why are my donuts dense or chewy?
This can happen for a few reasons. Overworking the dough can develop too much gluten, making them tough. Not allowing enough time for the dough to rise (both times) will result in a dense texture. Also, oil that’s too cool during frying can cause them to absorb too much oil and become heavy.
Can I bake these donuts instead of frying?
While you can technically bake them, the texture will be different – more like a sweet roll or a baked cake donut rather than a classic fried donut. For that authentic melt-in-your-mouth fried donut experience, frying is highly recommended.
There you have it! Your ultimate guide to creating the most incredible Glazed Donuts with Milk Bread Dough right in your own kitchen. I promise, the effort is truly worth it for these soft, fluffy, and utterly delicious treats. Don’t forget to pin this recipe for later, and happy baking!
Best Ever Glazed Donuts with Milk Bread Dough Recipe
Ingredients
- 2 cups whole milk, divided (warm, 105-115°F / 40-46°C)
- 1/2 cup granulated sugar, divided
- 2 1/4 tsp active dry yeast (one packet)
- 5 cups all-purpose flour, plus more for dusting
- 1 tsp salt
- 2 large eggs, room temperature
- 1/2 cup unsalted butter, softened
- 1 tsp vanilla extract
- 6-8 cups vegetable oil, for frying
- For the Glaze:
- 2 cups powdered sugar
- 4 tbsp milk or heavy cream
- 1/2 tsp vanilla extract
Instructions
- Step 1 In a small bowl, combine 1/2 cup warm milk (105-115°F), 2 tablespoons of the granulated sugar, and active dry yeast. Stir gently and let it sit for 5-10 minutes until frothy. This indicates the yeast is active.
- Step 2 In a large mixing bowl (or the bowl of a stand mixer fitted with a dough hook), combine the remaining 1 1/2 cups warm milk, remaining granulated sugar, all-purpose flour, and salt. Add the proofed yeast mixture, eggs, softened butter, and vanilla extract.
- Step 3 Mix on low speed until a shaggy dough forms. Increase speed to medium-low and knead for 8-10 minutes until the dough is smooth, elastic, and pulls away from the sides of the bowl. It should still be slightly tacky.
- Step 4 Lightly grease a large bowl with oil. Transfer the dough to the bowl, turning once to coat. Cover the bowl with plastic wrap or a clean kitchen towel and let it rise in a warm, draft-free place for 1.5 to 2 hours, or until doubled in size.
- Step 5 Once risen, gently punch down the dough to release the air. Lightly flour a clean work surface. Roll out the dough to about 1/2-inch thickness.
- Step 6 Using a 3-inch donut cutter or two different-sized round cutters (a larger one for the donut, a smaller one for the hole), cut out donut shapes. Place the cut donuts and holes on individual squares of parchment paper on a baking sheet.
- Step 7 Cover the donuts loosely with plastic wrap or a kitchen towel and let them rise again in a warm place for another 30-45 minutes, or until visibly puffy.
- Step 8 While the donuts are proofing for the second time, heat 6-8 cups of vegetable oil in a large heavy-bottomed pot or Dutch oven over medium heat to 350°F (175°C). Use a candy thermometer to monitor the temperature.
- Step 9 Carefully lift the donuts by the parchment paper squares and gently drop them into the hot oil (you can remove the parchment once the donut is in the oil). Fry 2-3 donuts at a time to avoid overcrowding and dropping the oil temperature.
- Step 10 Fry for 1-2 minutes per side, or until golden brown and cooked through. Use a slotted spoon or spider to carefully flip the donuts. Remove fried donuts and holes, placing them on a wire rack set over a baking sheet to drain excess oil.
- Step 11 To make the glaze, whisk together powdered sugar, milk (or cream), and vanilla extract in a shallow bowl until smooth. The consistency should be pourable but thick enough to coat a spoon.
- Step 12 Dip each warm (not hot) donut into the glaze, turning to coat both sides, or dip just the top. Place back on the wire rack to allow excess glaze to drip off and set.
- Step 13 Serve your Glazed Donuts with Milk Bread Dough immediately and enjoy the homemade goodness!